
Pinewood Beauty Contest
Introduction
It has been a couple of weeks since I updated the blog. We were gone visiting family and I unplugged from the internet. It was a really nice cleansing. Now we are back.
We pick up from last time. The crowd is cheering Gouda…. Gouda….Gouda. Yeah, my son won the race. There is another contest that is part of the competition. It is the beauty contest. The car is run through an inspection and the judges evaluate whether the car is aesthetically pleasing.
The Wedge
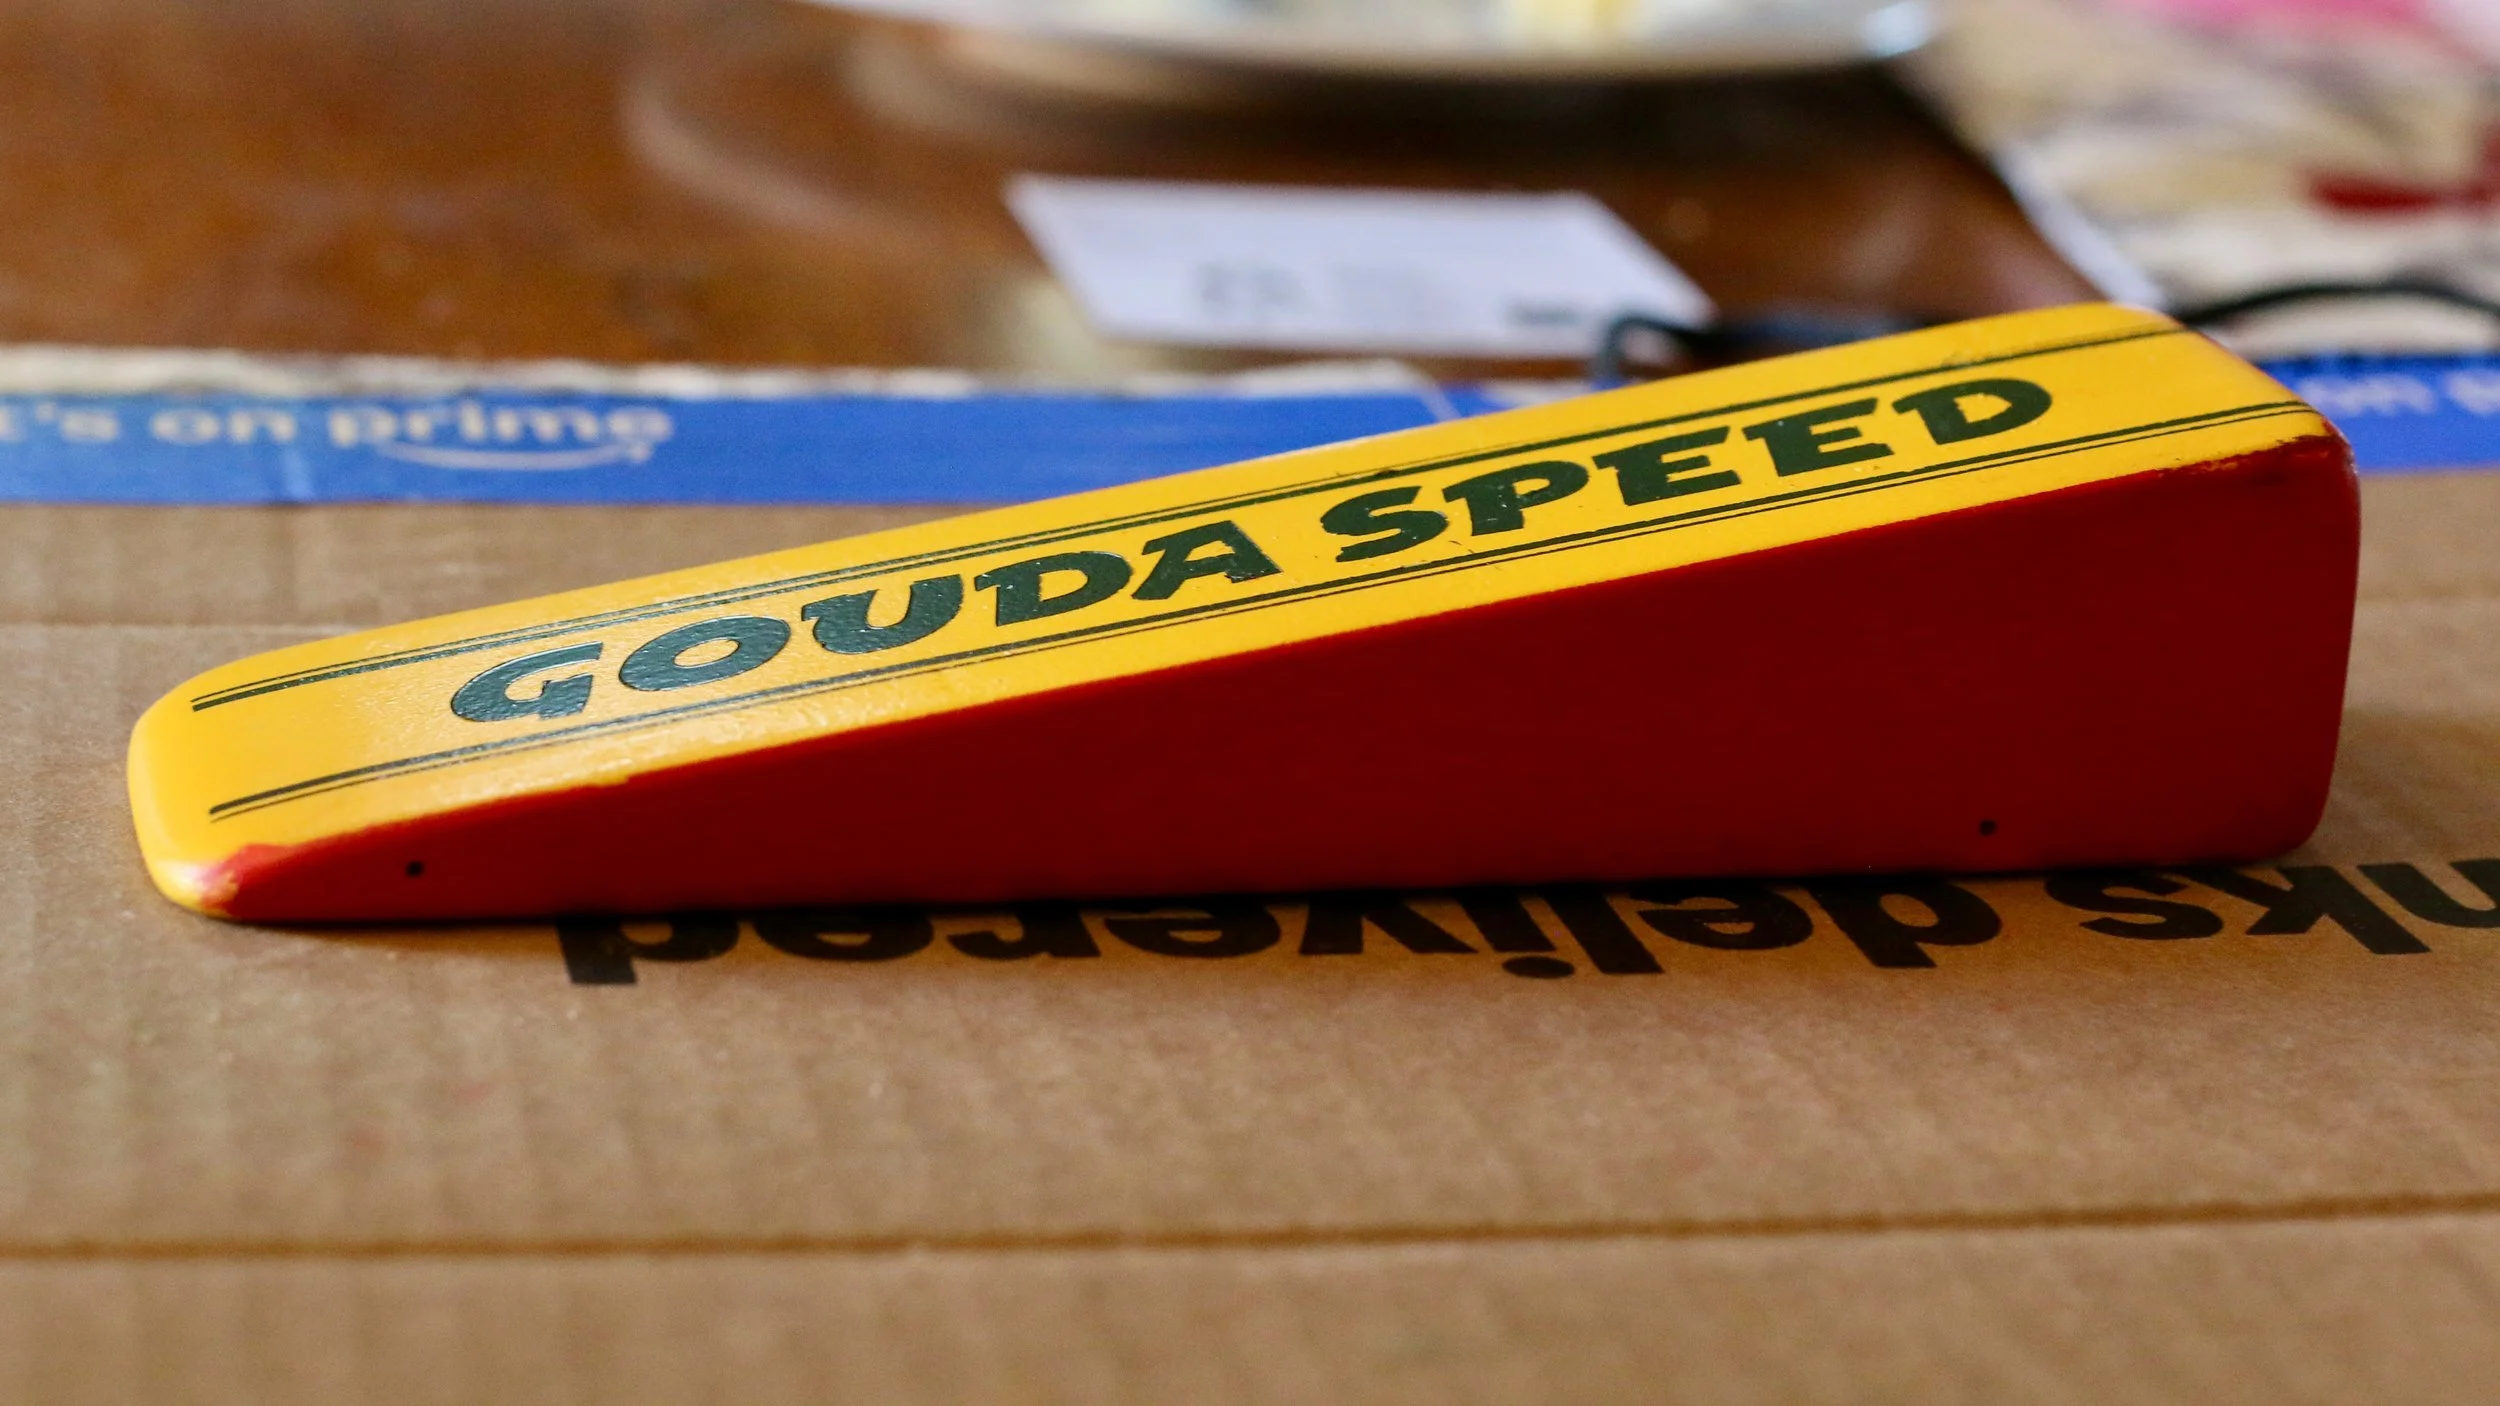
My son had the car cut as a wedge shape because his priority was the speed run. When you cut a car into a wedge shape you are not going to capture the scale model beauty category. So, we had to get very creative to make the car look nice.
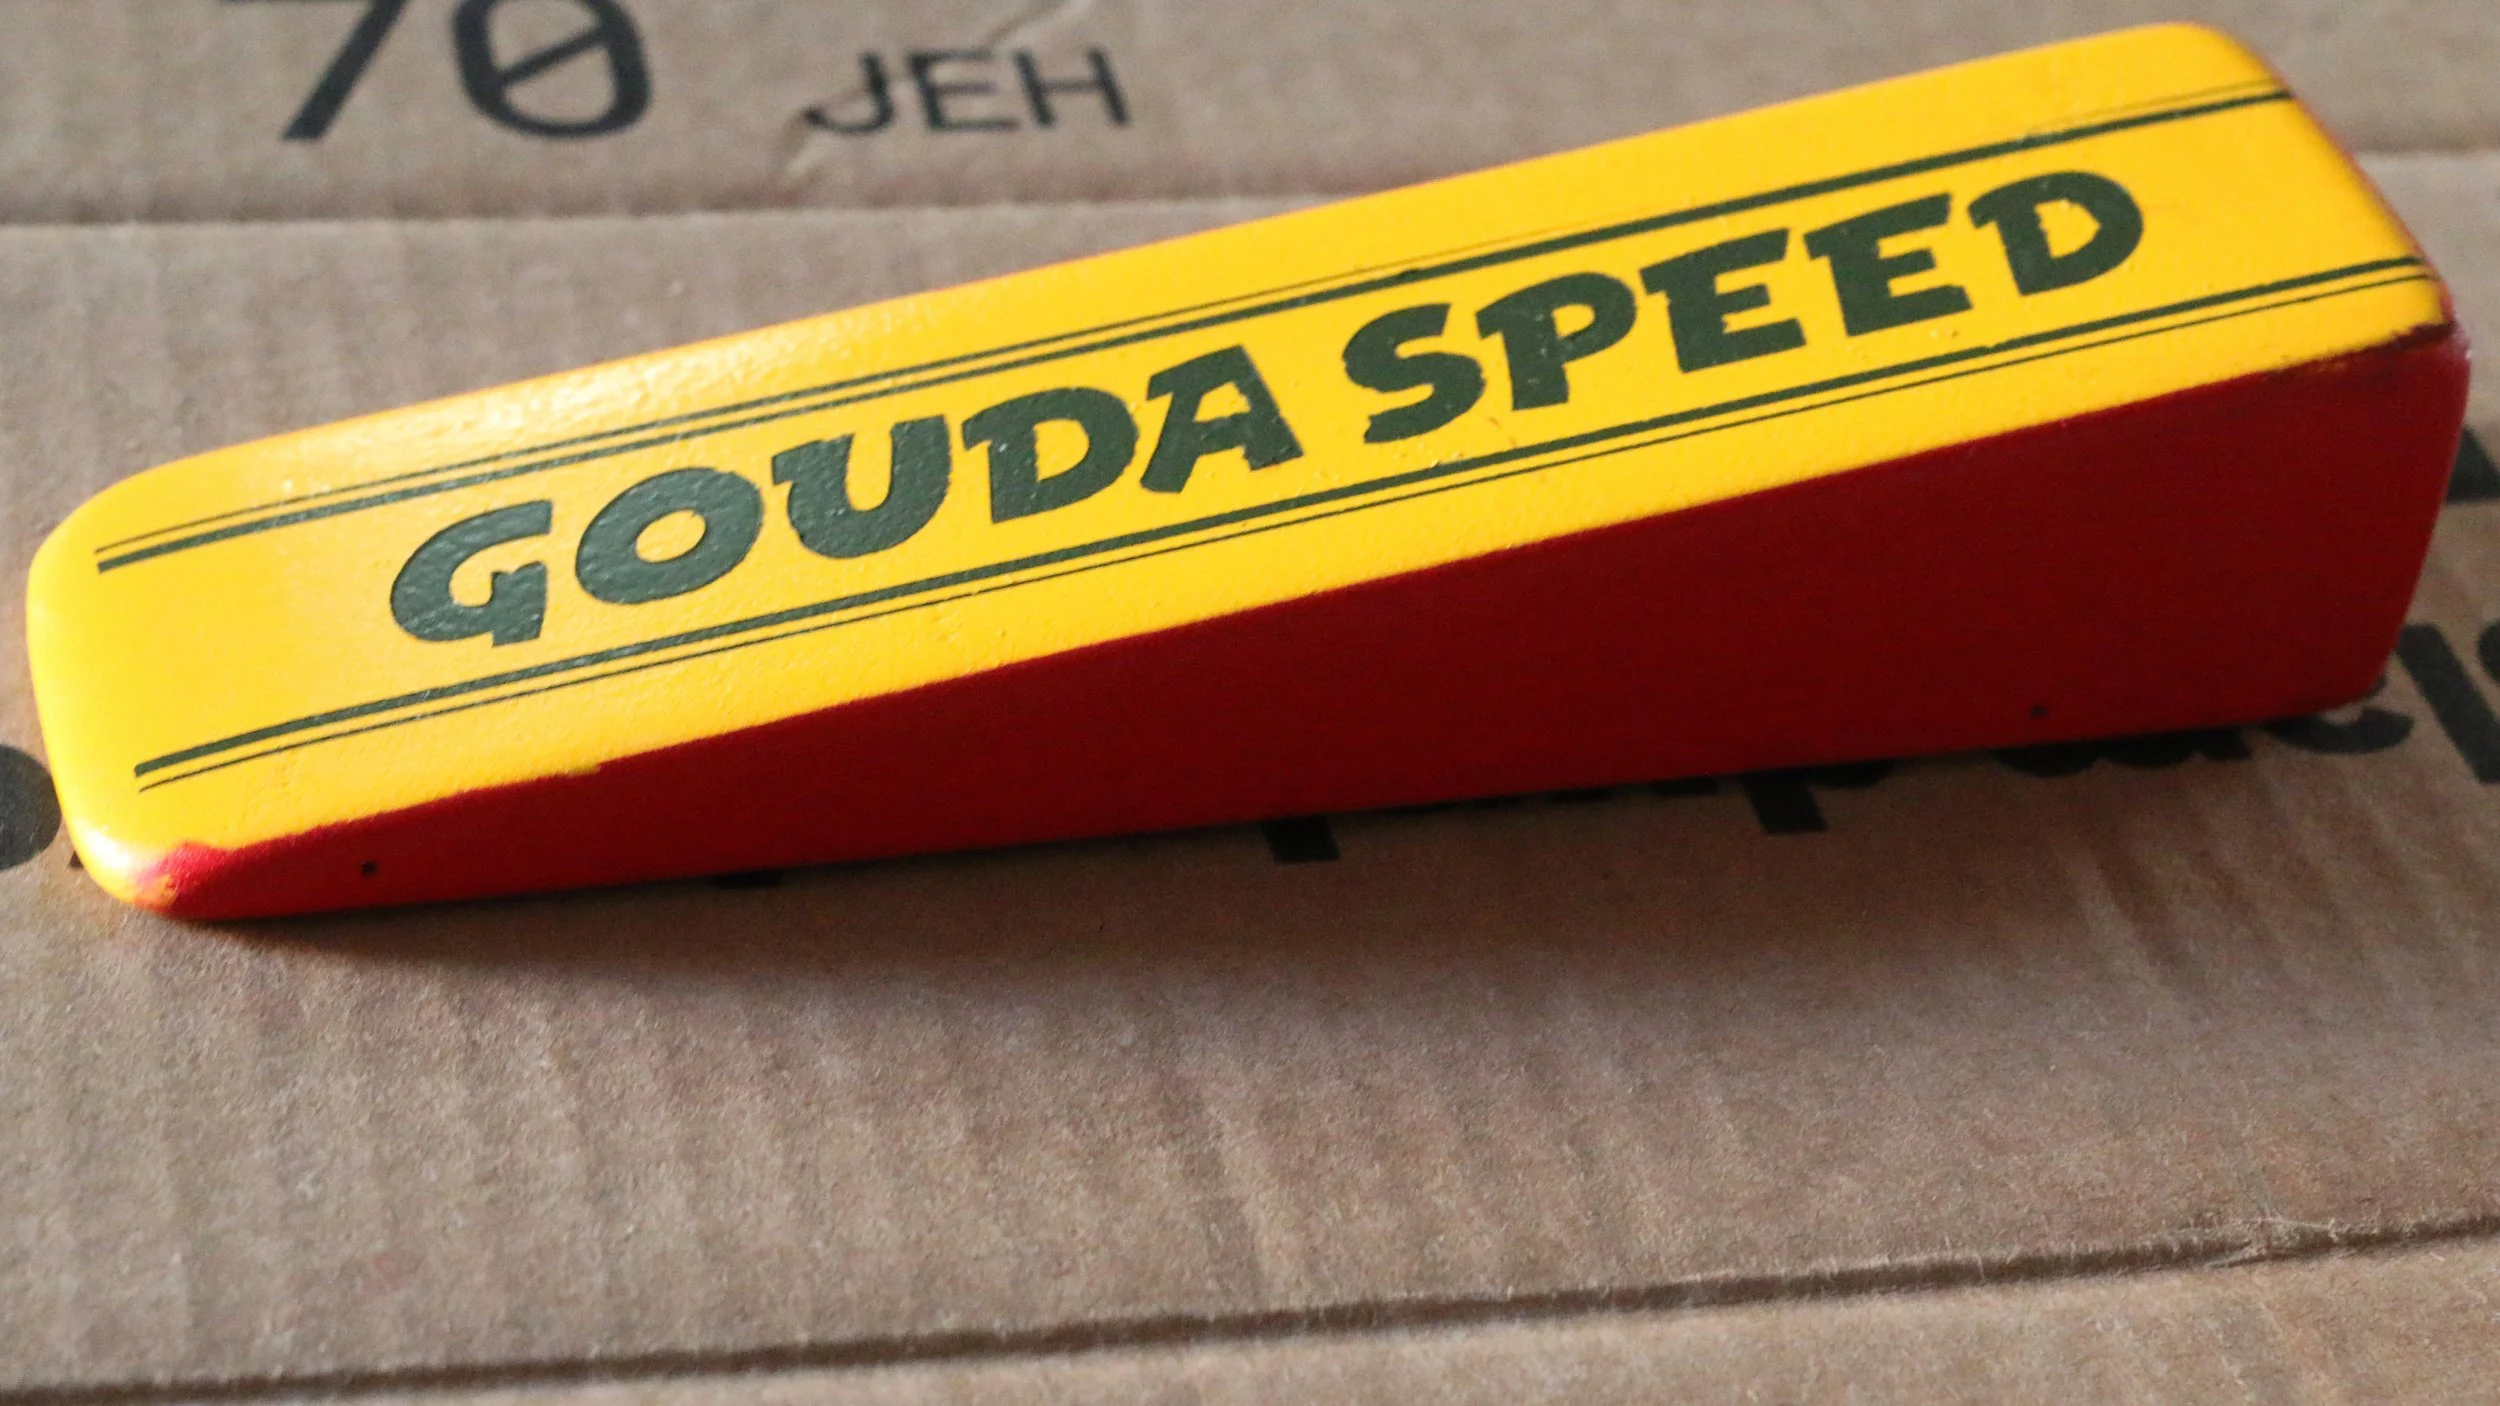
We noted that the car looked like a wedge of cheese. So, we started thinking, “Cheddar Watch Out”, Gouda To Go!”, “Cheddar Better”, “Cheesy Fast” and we threw out some others. We decided on “Gouda Speed.” We decided to go for broke and rattle the competition right out of the box. This car was built to be fast and so why lie about it. We opted to advertise that the car is fast.
Meet the Cricut
I gave him some tape, and my son got to work on the masking.
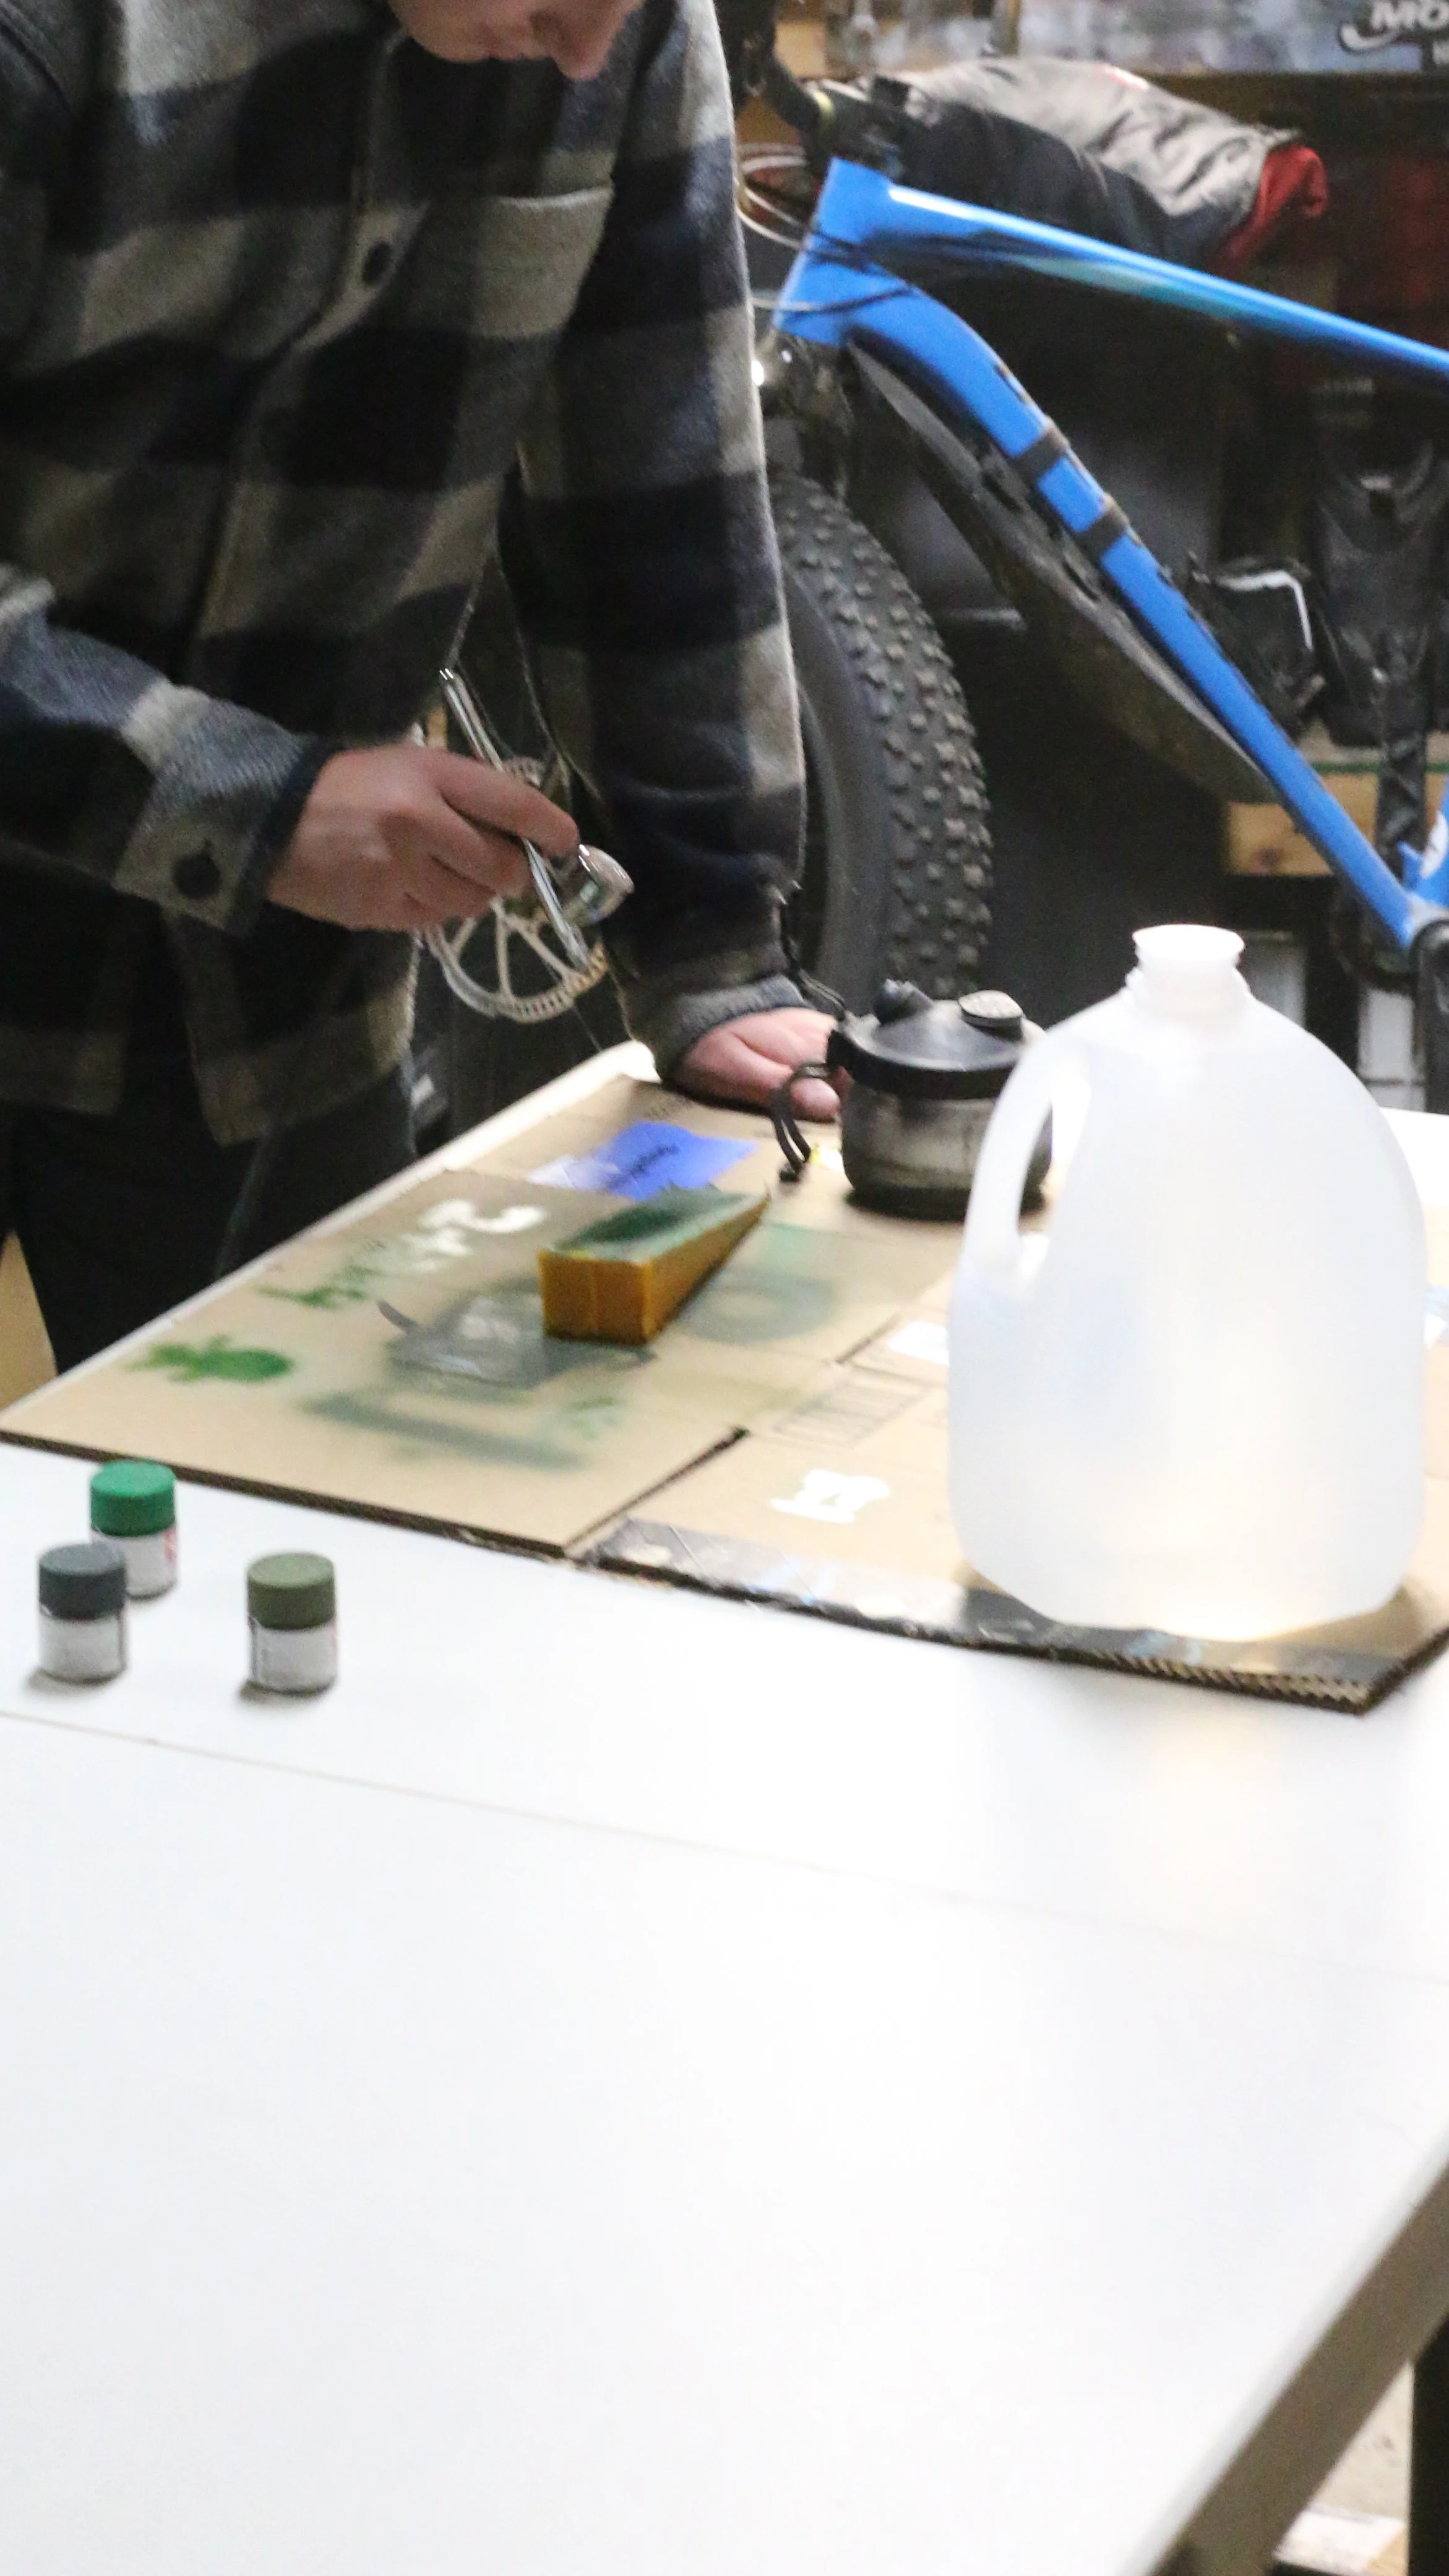
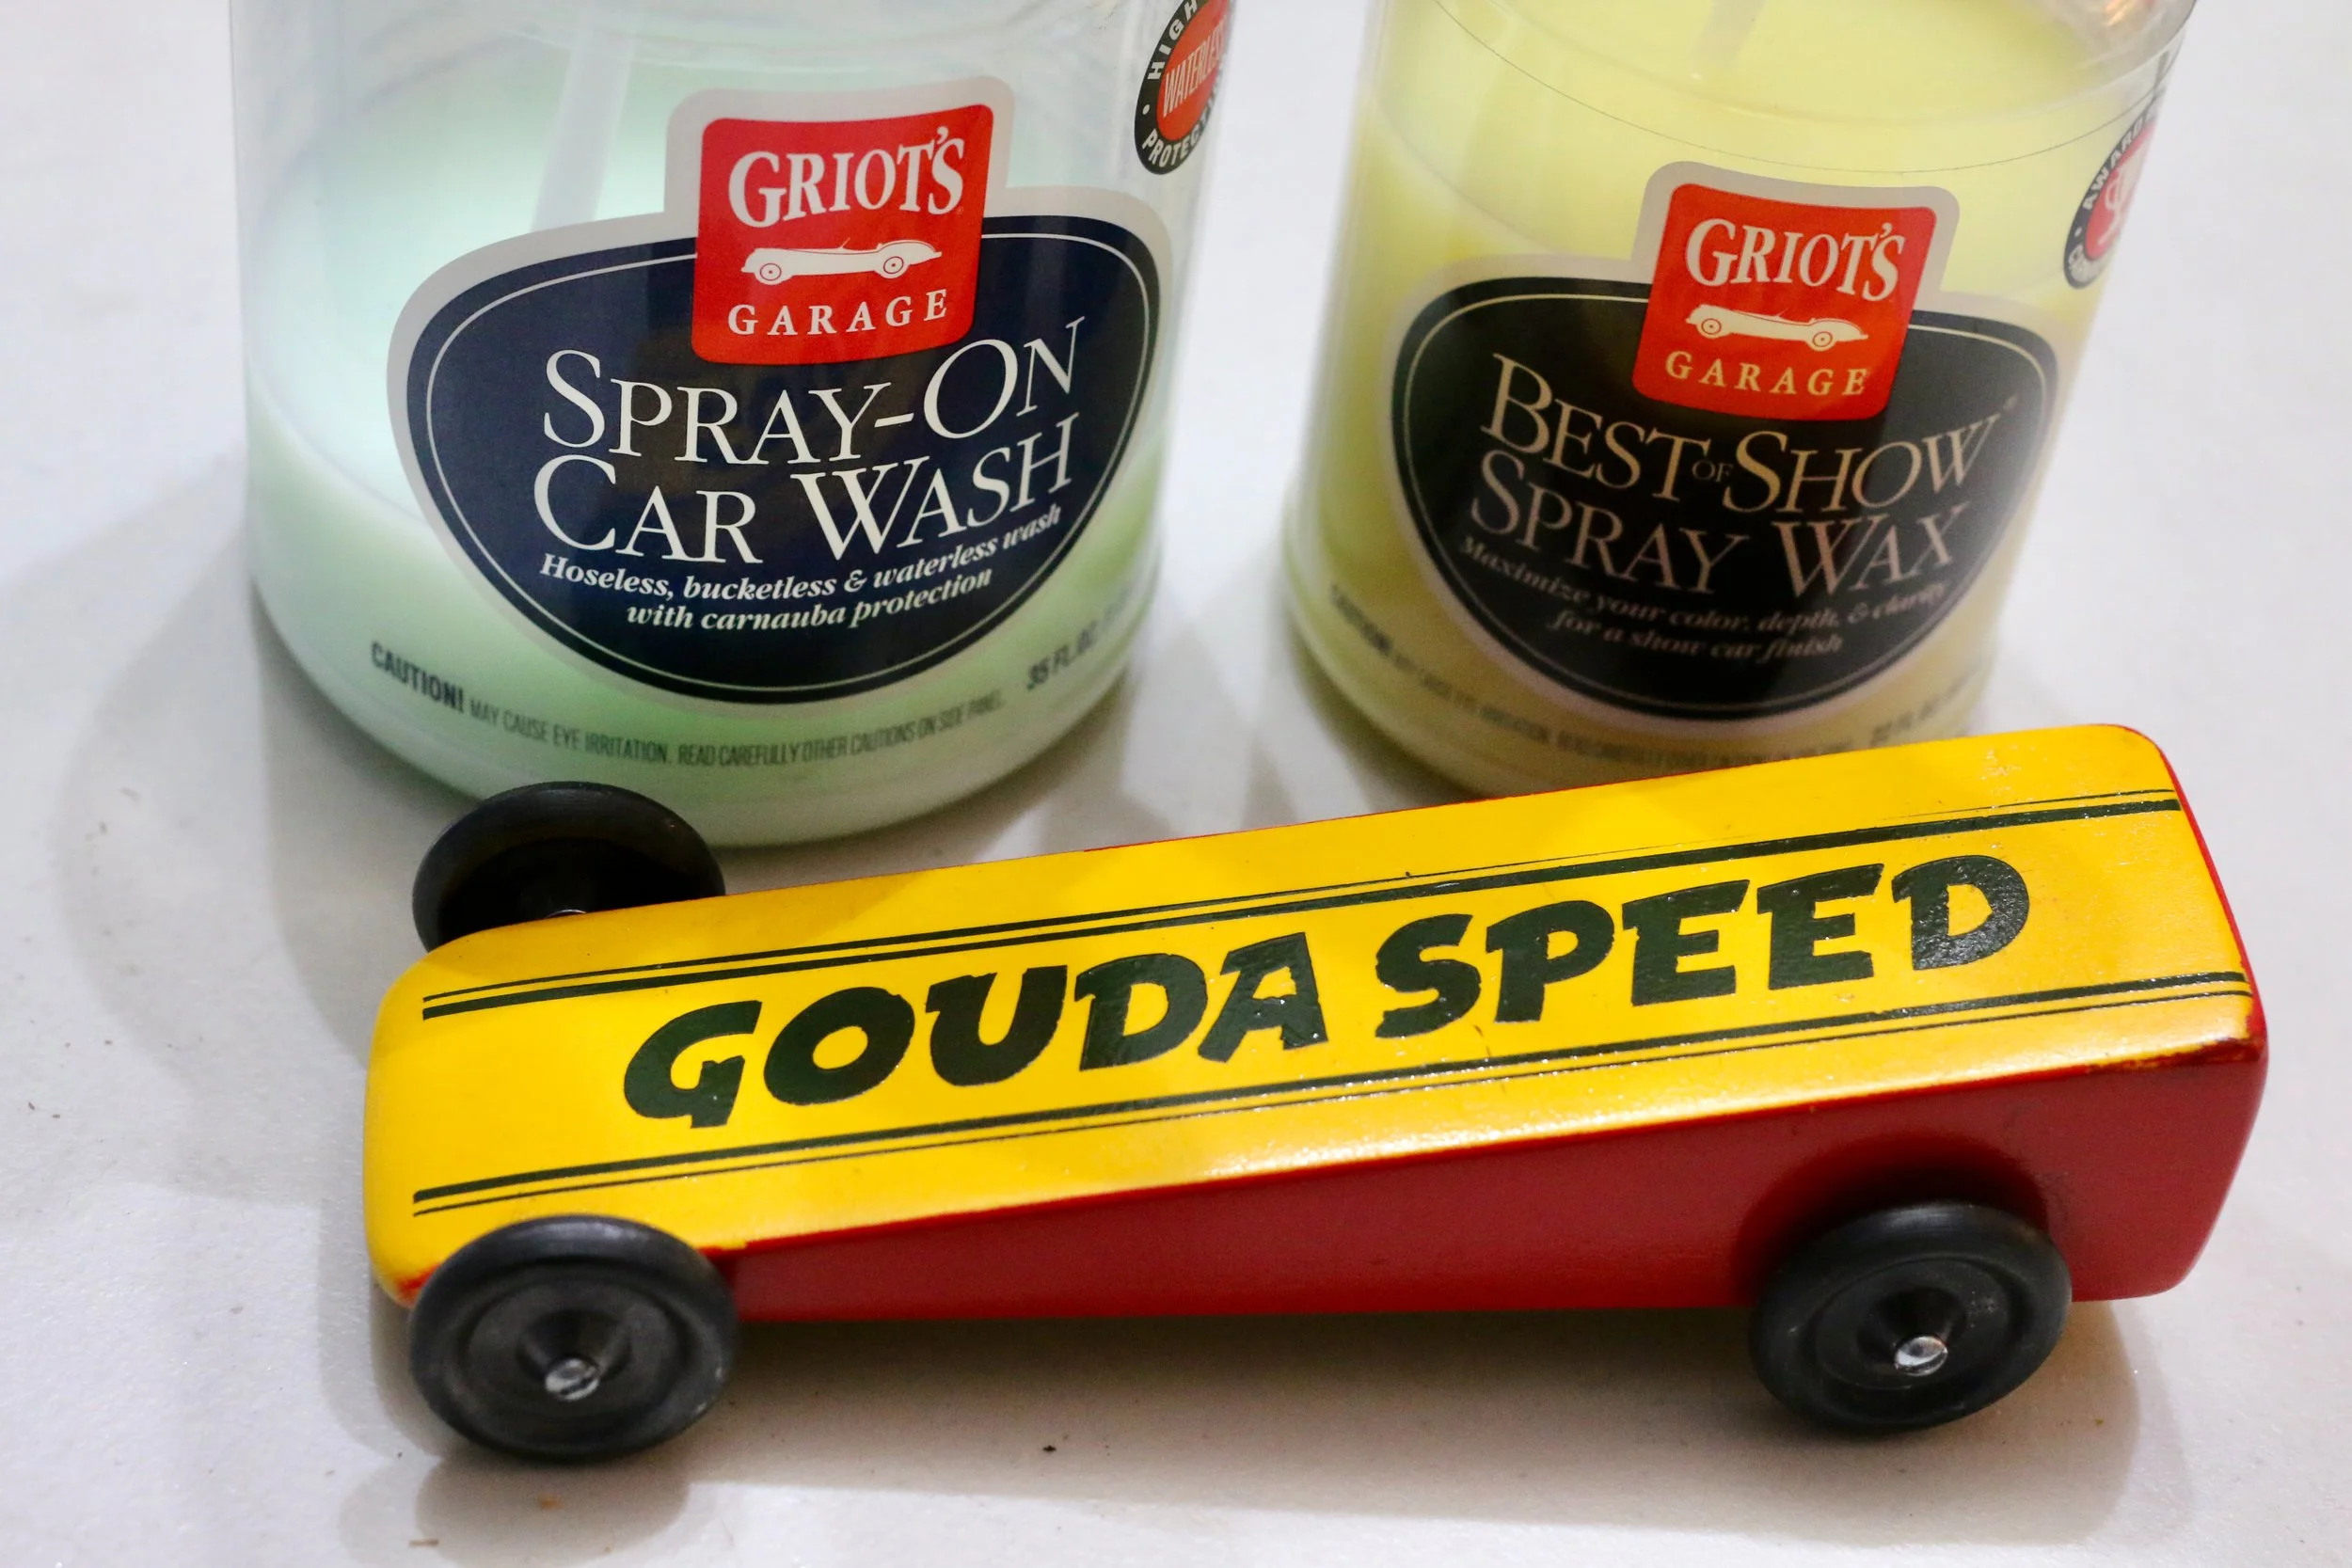
First, he painted the car yellow to be cheese. Then he got to work on the masking. Cheese has wax, and so the sides of the car needed to be red.
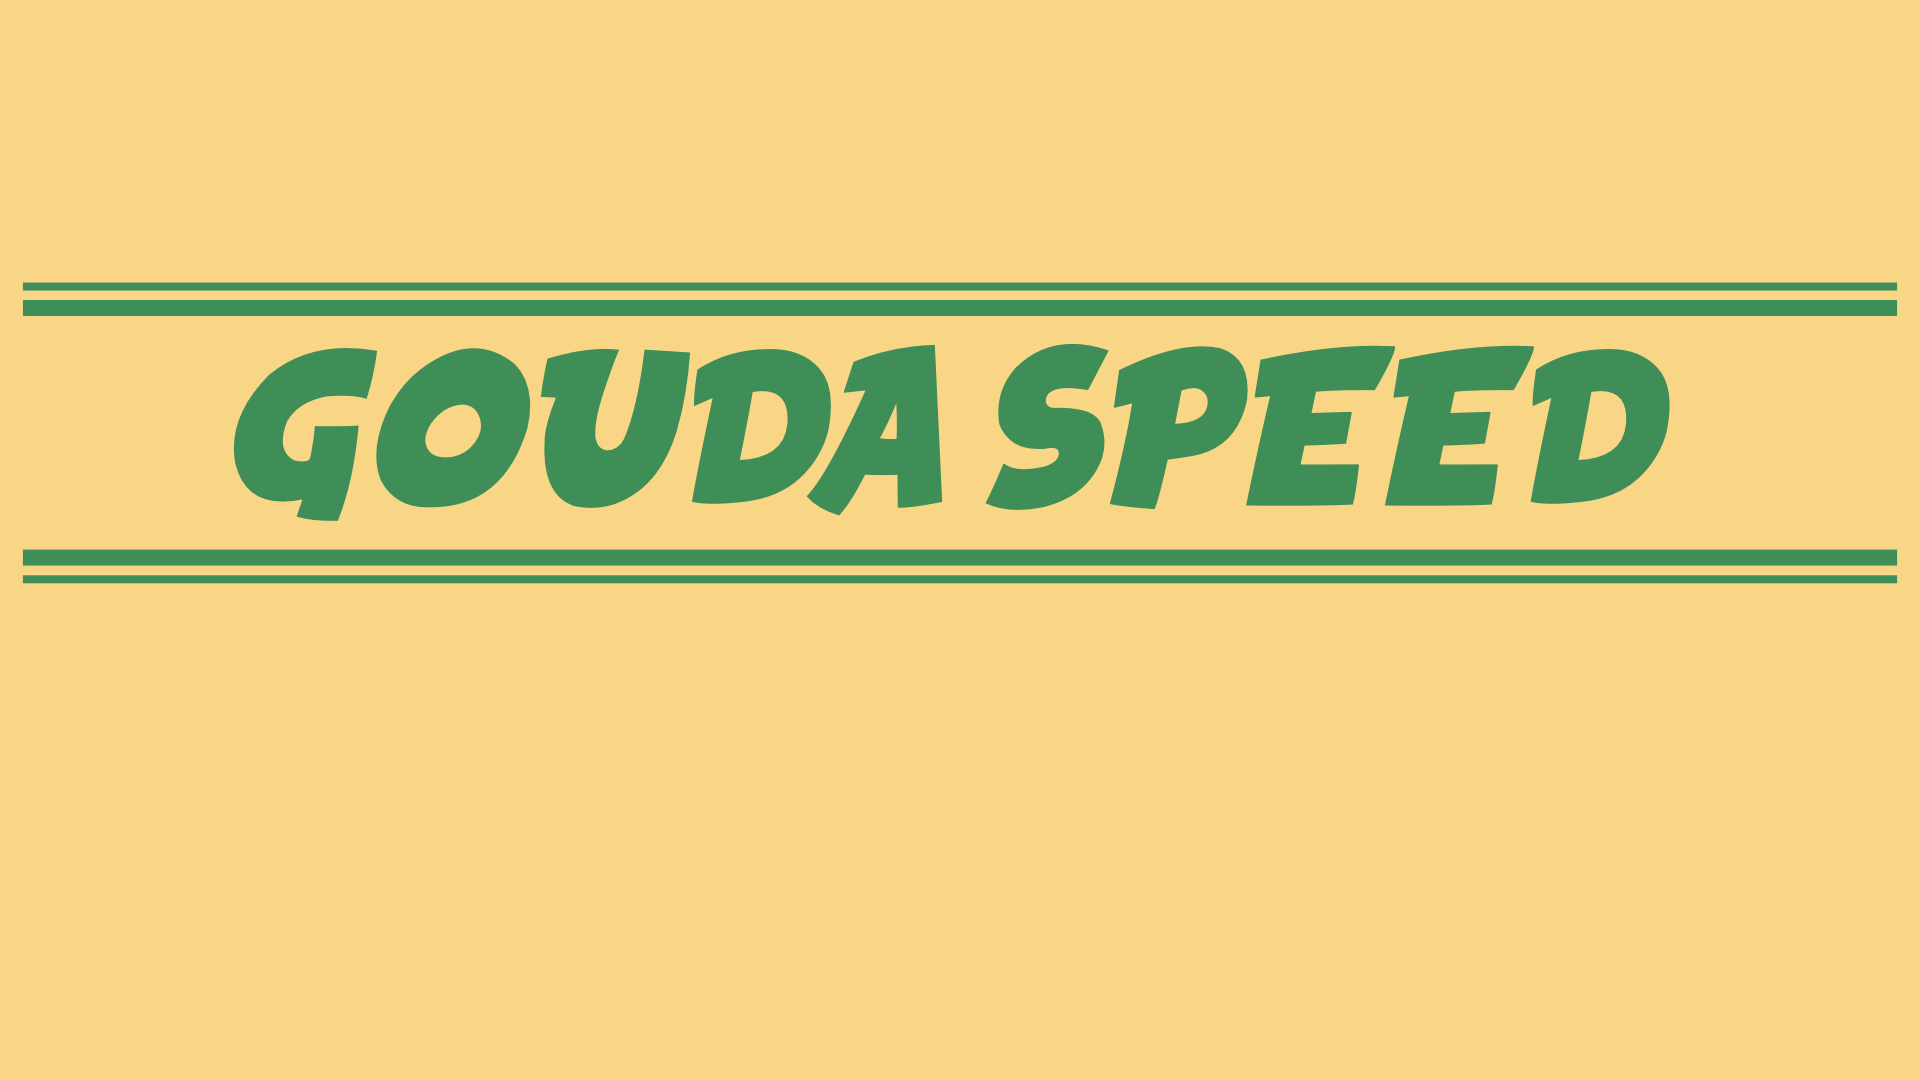
We created the name using Keynote, creating the lettering, and building the graphic there. Once we figured out the design I exported the file as a PNG.
I opened the Cricut Design space. I imported the image into the Cricut software. We measured the car, made sure that our dimensions were set in the software.
Then I got out my Tamiya Masking Sheets. I stuck it to a mat, and fed the mat in the Cricut machine. I sent the file to cut, and then we pasted the graphic on top of the car.
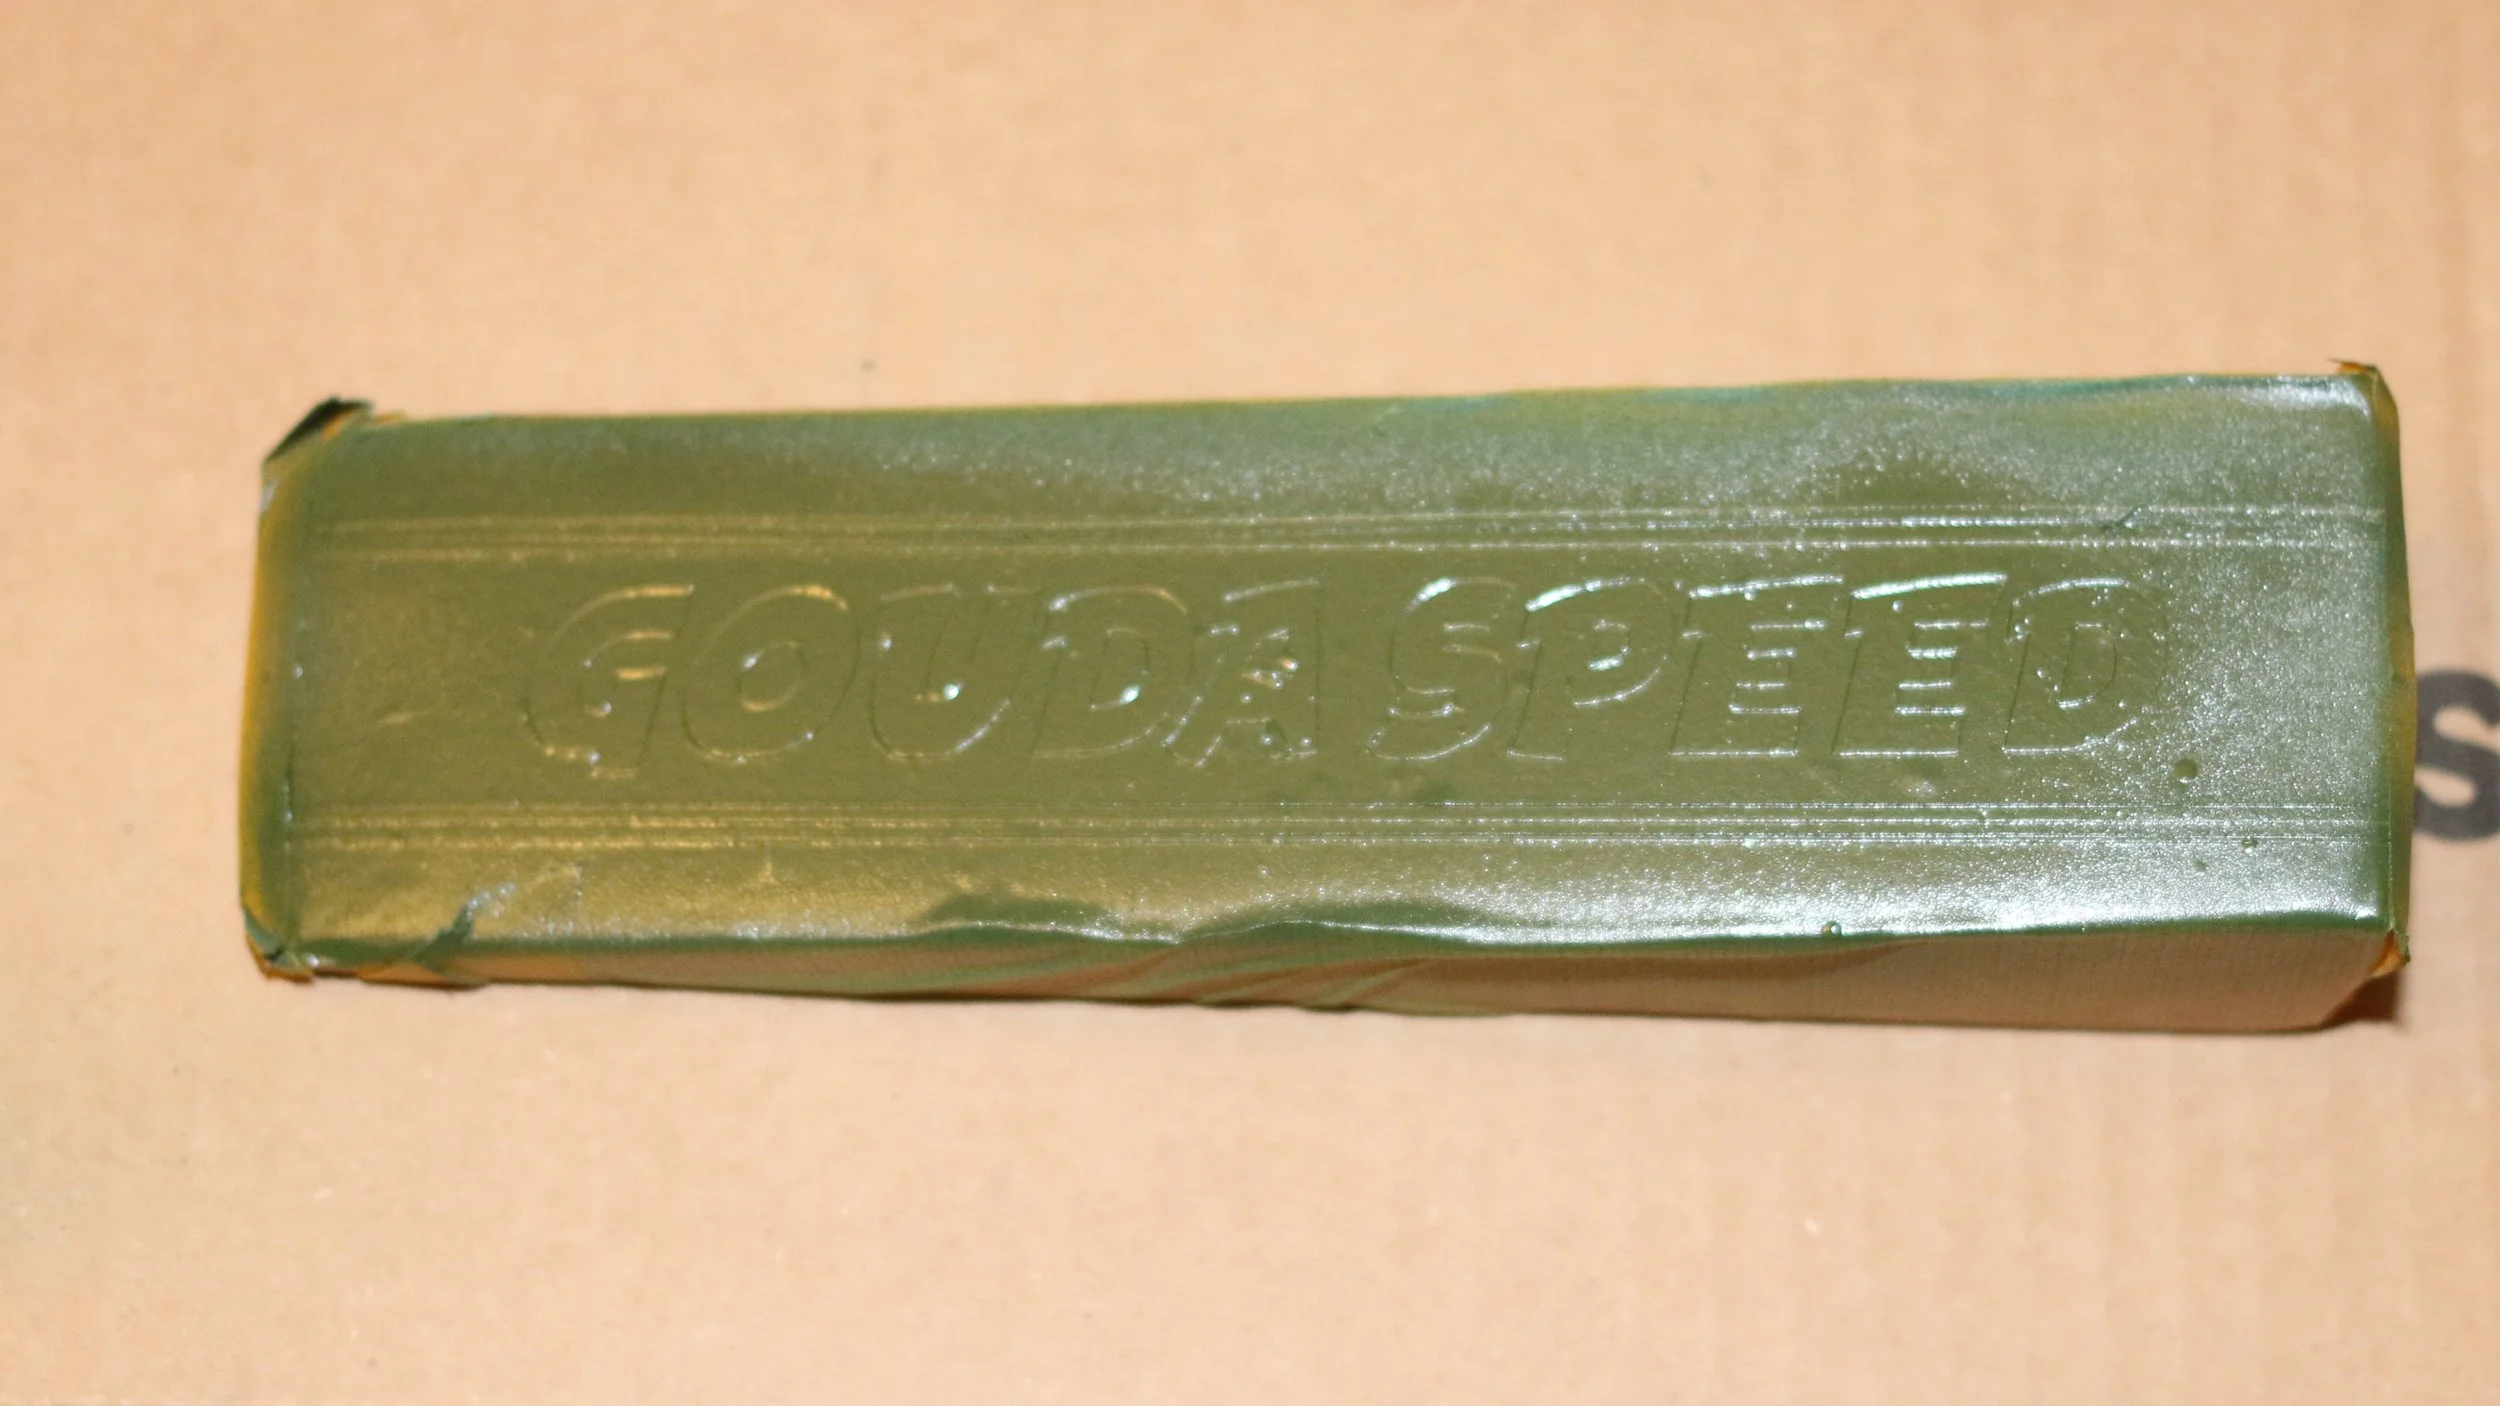
This is tricky. I always pick out the letters first and discard them. You have to make sure that the center of the A, P, O, etc stay on the paper. Then I take masking tape and put it over the stencil. I lift it off the backing paper, and then place it on the car. I was at a little bit of angle which bothered me, but it was not terrible. So, we lived with it.
Then we proceeded to paint the stencil after lifting the masking tape off. This does take some patience, but it is worth the effort. The car turned out great.

Conclusion
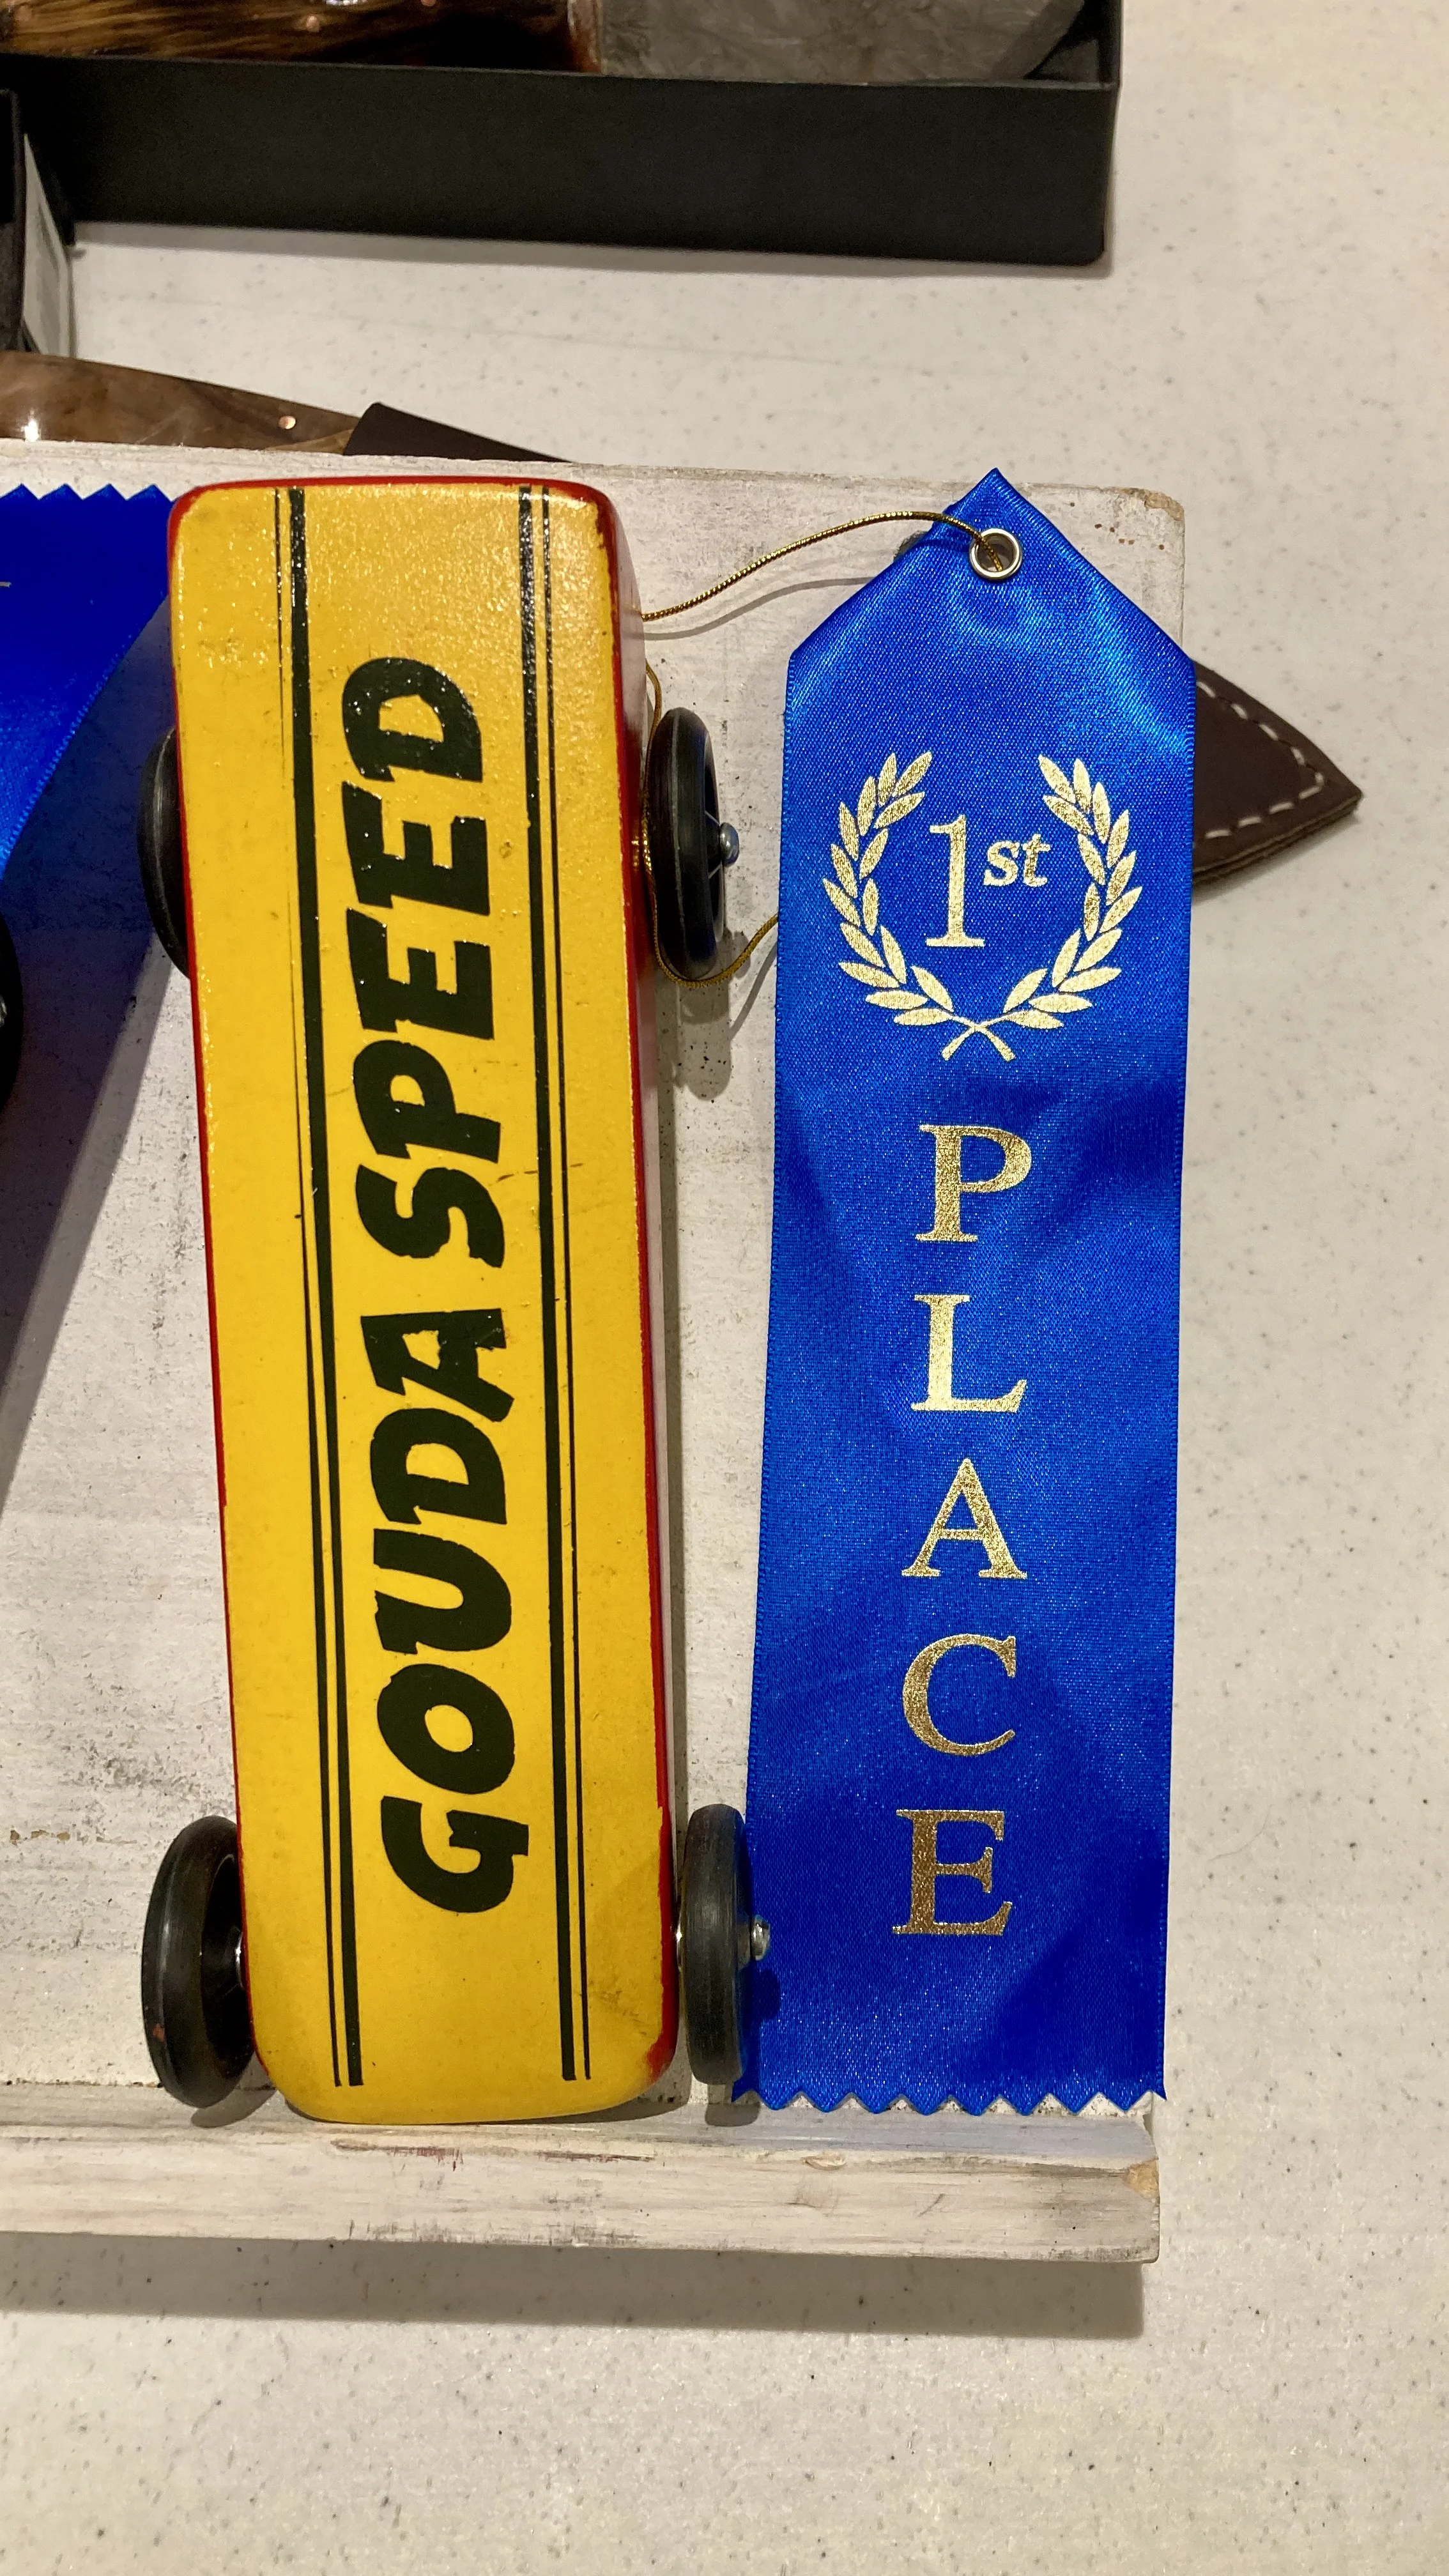
In fact, it turned out so great that he won the beauty contest as well. So his car got a trophy and a ribbon. This taught us that perseverance can win over brilliance. Who would have thought that a pinewood derby car would give you a life lesson? I am glad we went all in because it paid off to keep brainstorming a simple livery scheme.
I hope this inspires you to check out pinewood derby if you are looking for a fairly cheap hobby to pass some time and hang with the kids. It was fun to joke about rally racing and how manufacturers “interpreted” the rules. The other added challenge is figuring out how to make a wedged car look good. I am happy that it came together.