
Does Tamiya's Audi Quattro Capture the Legend?
Introduction
It was pushing 8:00 AM, and I had been at this since 5:30 this morning. I needed to get ready for my day job. I had to watch one more vintage rally video. I have to watch just one more.
I’m watching grainy videos of the 1982 Monte Carlo. I think to myself, “The Castrol logo is there. Okay, Pierburg…. Oh, that’s where it goes.” I should be watching Hannu Mikkola drift through the snow. I should be listening to the beautiful symphony of the rev limiter. I realize that I have become that person: that person who spends hours figuring out the sponsor placement and livery on the rally car.
I’ve invested this time into a 40 dollar Tamiya Lexan Rally car model. Yup, I have become that nerd who makes it a priority to know all the details of the livery design. Or have I?
What is Livery?
Livery is an old word. It means household allowance, ration, or pay. It came to be rations that would be given to horses. Ever hear of a livery stable?
It was also a particular type of clothing that a servant would wear. This makes sense because livery in racing is the sponsor placement on a race car. It gives credit to the people who fund the race car and team. Basically, it is saying, “Hey, thanks for letting us race! This is awesome!” It is saying these people gave us the rations to be here, and we are very thankful!
Livery is not just some random splashes of paint. It is not randomly placed words. It has to look symmetrical. It has to be memorable. The more I study the car, the more I realize that what appears random is deliberate placement. Every decal has a place and a purpose.
So Michelin supplies the tires. It makes sense that they are above the wheels. Pierburg supplies the fuel delivery system. You can go down the line to the people who backed this car. It is funny that they stuck their name on a car that so many thought would fail.
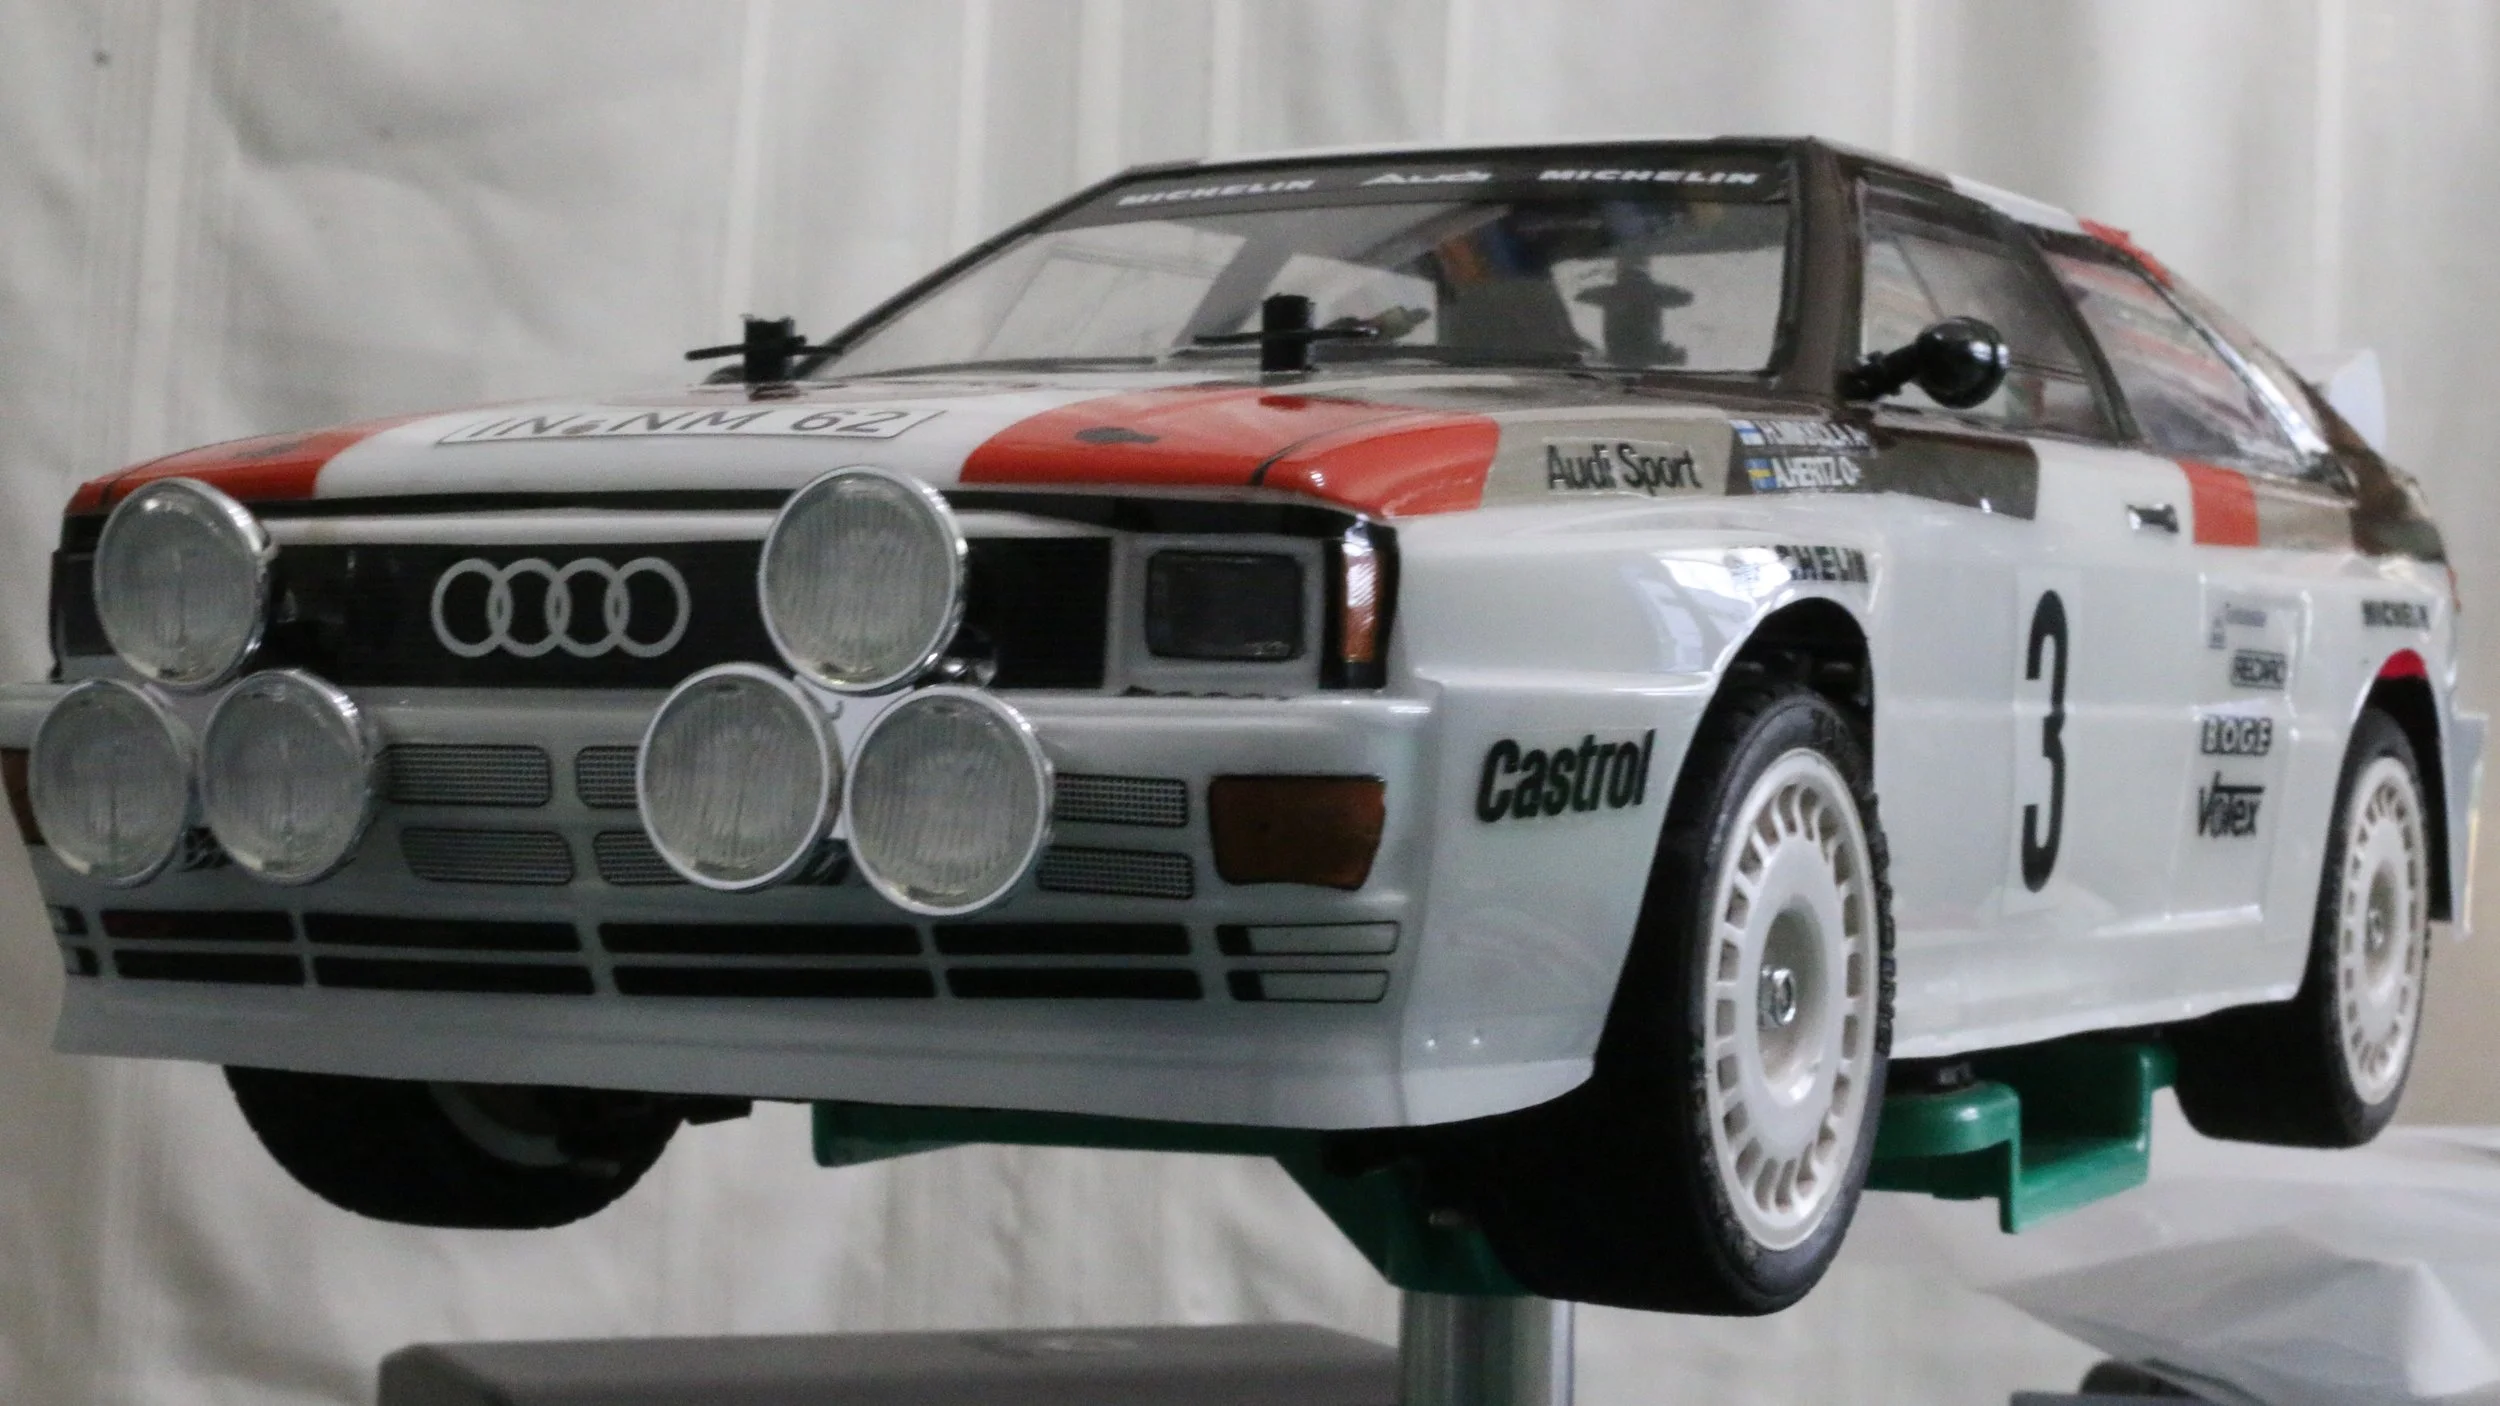
You can see the sponsors/livery organized on the body.
My Obsessive Confession
So, it was 8 AM. I have not transitioned into my day job. I just invested another 3 hours of time into studying the rally livery. I thought that I noticed every little nuance and detail. So, am I the nerd?
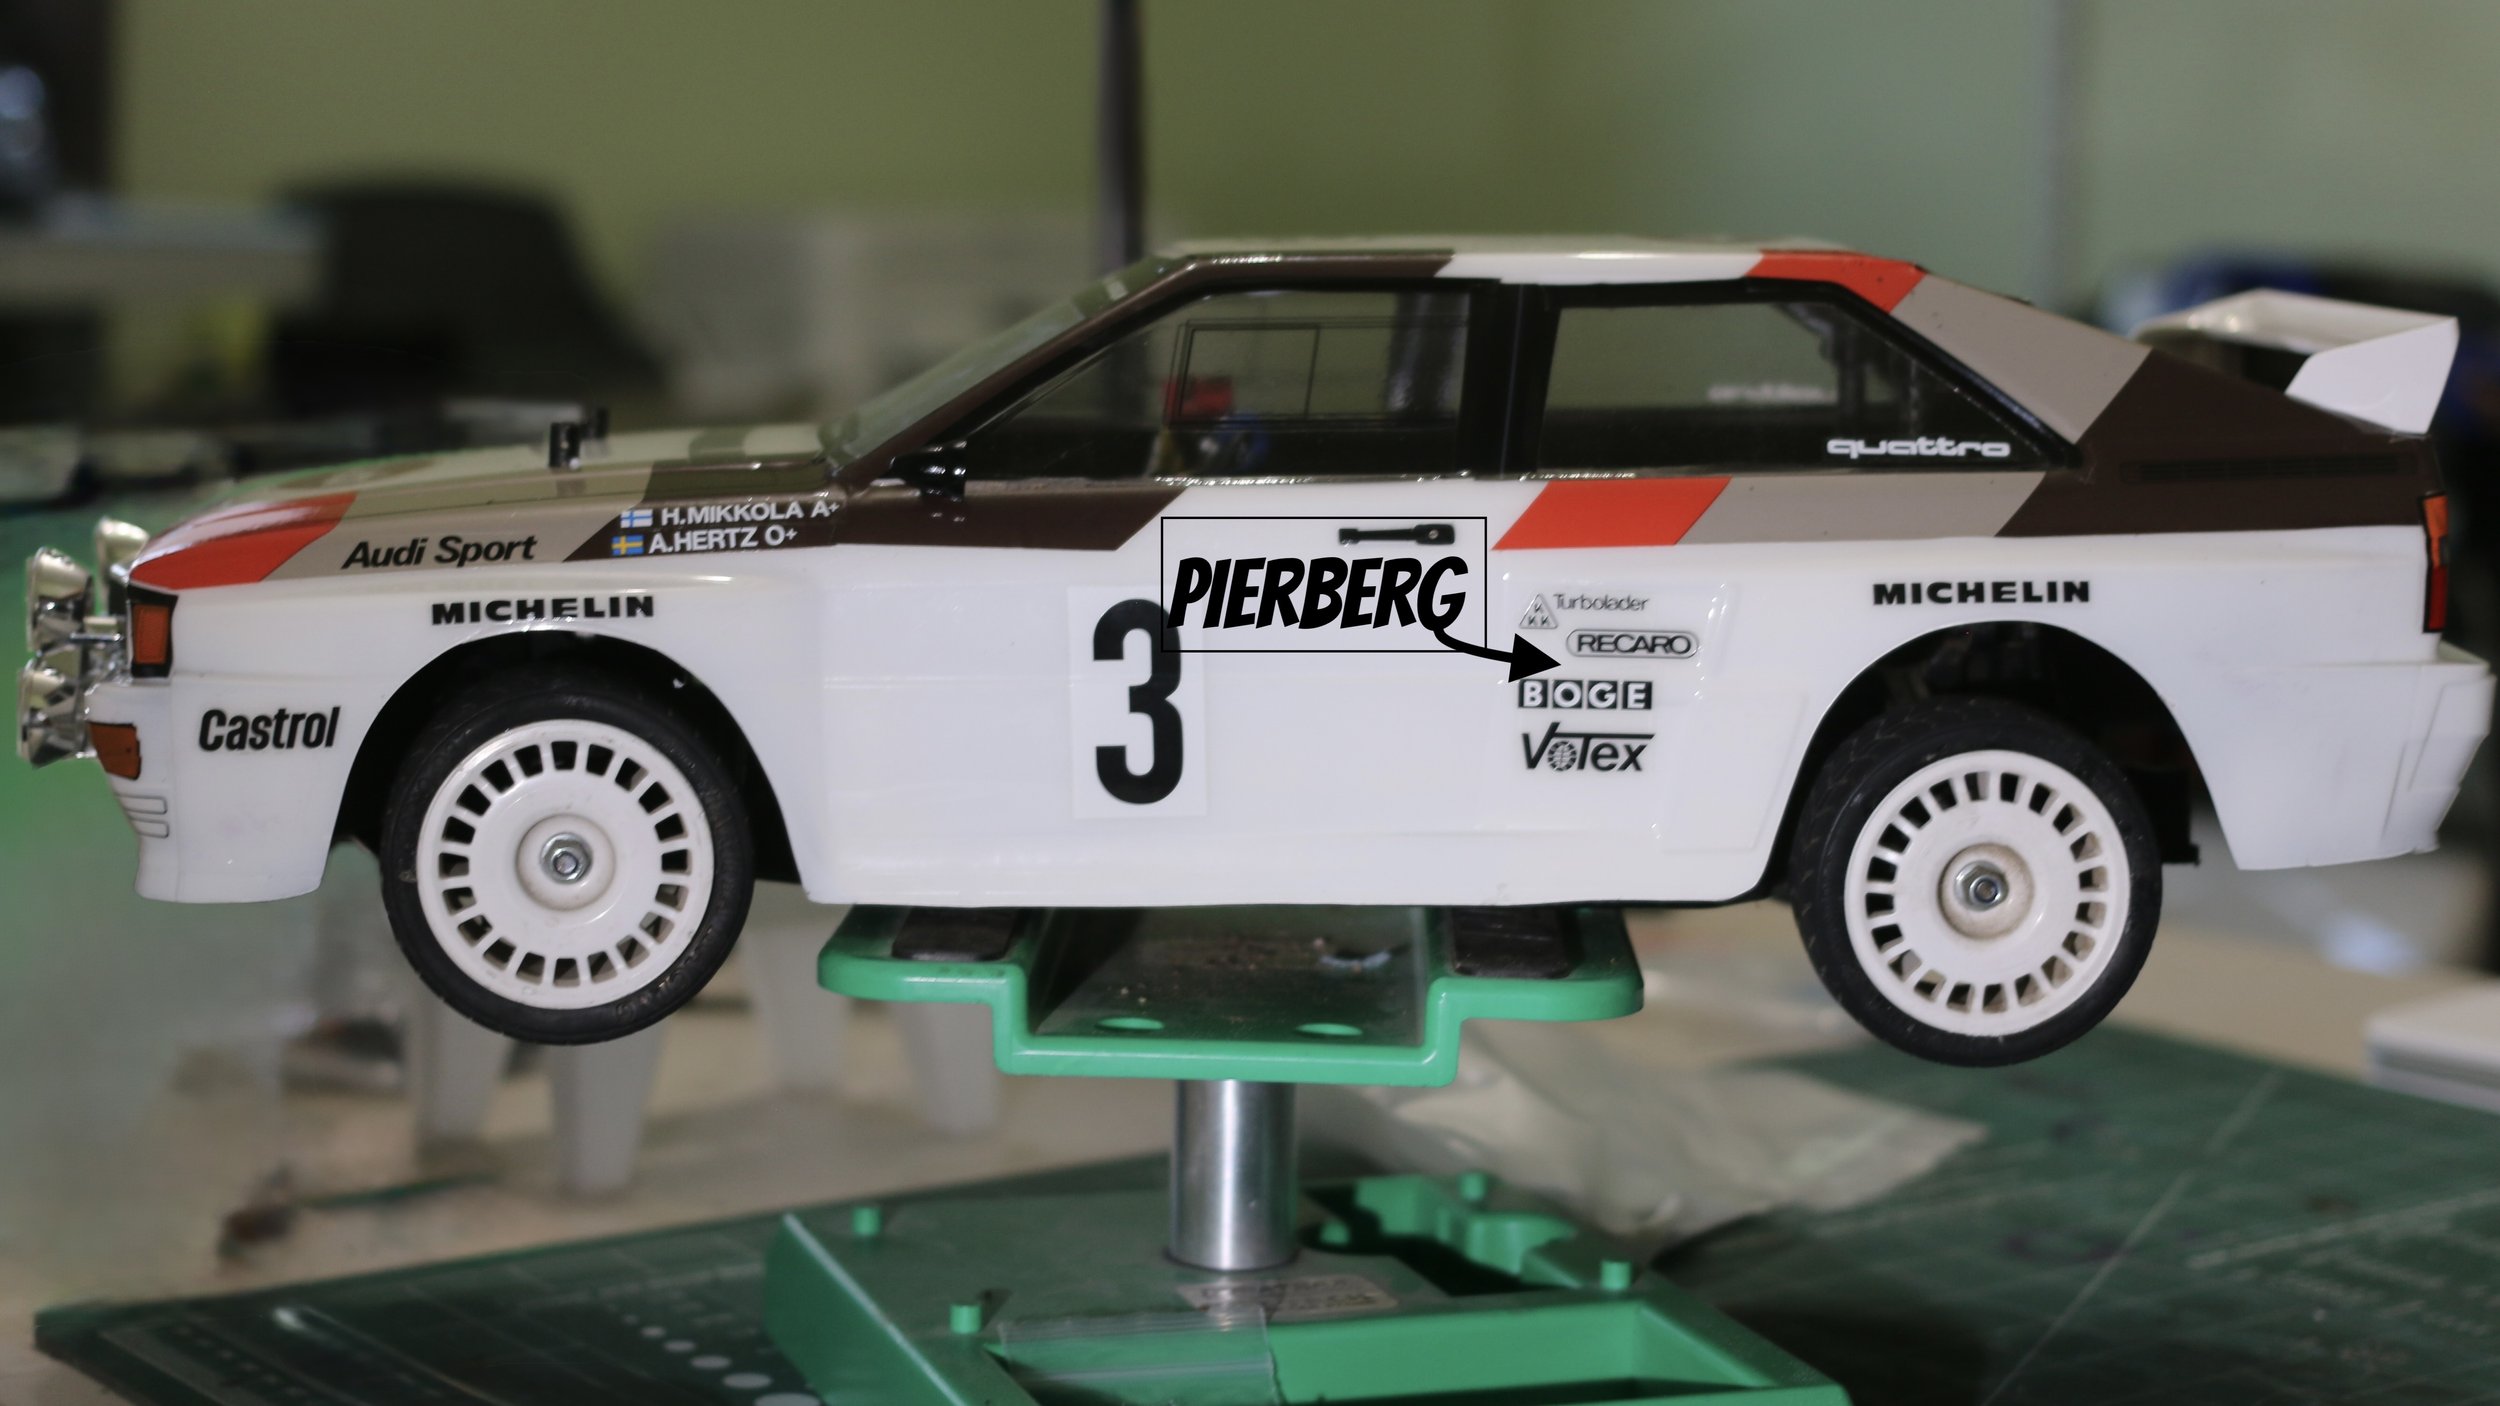
The disappointing part is that I still got it wrong. I forgot to put the Pierburg decal on the car. I failed to note how Tamiya arranged the decals. I should have cut below Recaro. However, once I stuck the decals on, I realized that I completely forgotten the Pierburg sponsor. Thankfully, this model is electric, so fuel injection does not matter. However, details do, and I failed to notice.
Why do all this for a 40-dollar RC car? The reality is that it does not matter if this is a 40 dollar car or a 400,000 dollar restoration project. The details matter. This car deserves proper homage. I do not see this RC car as merely a toy, but a tribute to a great car that literally changed rally racing permanently. It is the car that proved AWD was not only possible, but could win races! The first part of the story is here.
The Tamiya Model
Originally, I purchased the TT-02 chassis with the Celica 165 body. The Audi Quattro body goes in and out of stock. I saw it was in stock, and I bought it.
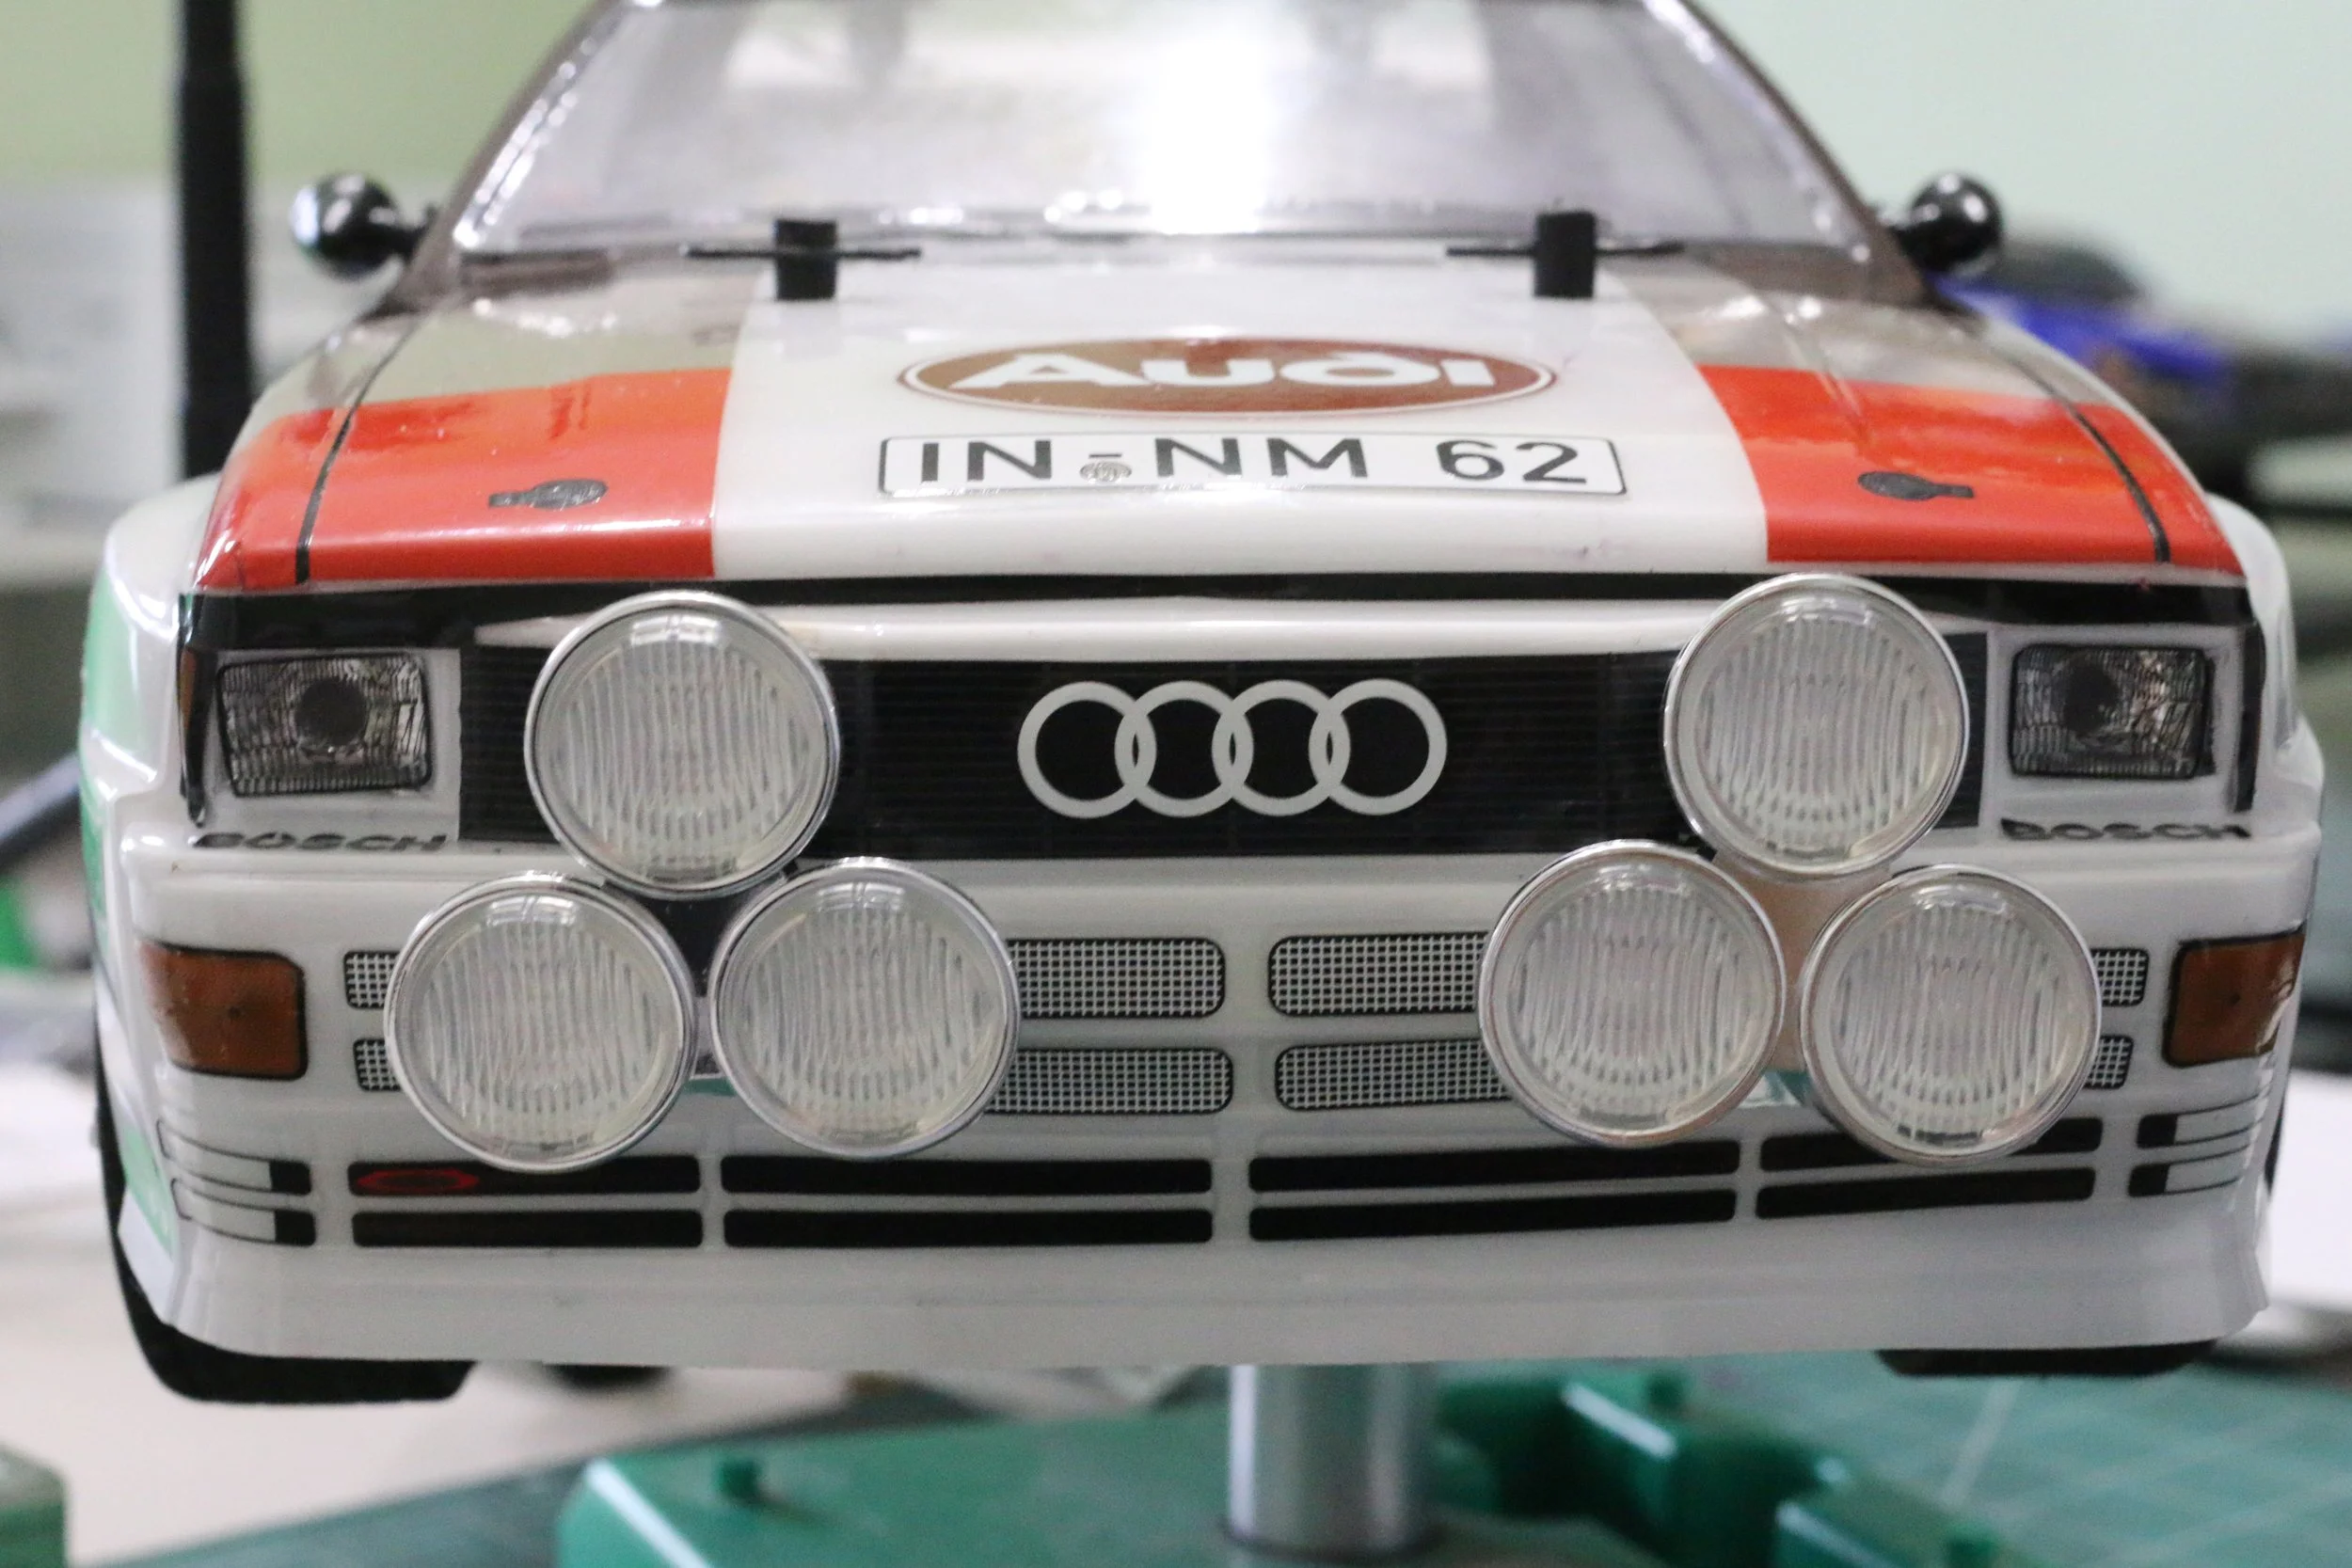
I wanted to make this car a “tribute car.” I wanted to paint custom accents. I wanted ‘AUDI' on the nose, 'INNI' on the tail to match the logo colors exactly, and show some personality. It is fun to make people smile when they get the joke. When the Proline paint was wet, it looked perfect. Then it dried two shades darker. So much for my tribute car. I covered my mistake with Tamiya's decals and called it a replica. Lesson: Don’t be discouraged if your paint job does not turn out as planned. Think of it as an opportunity for a new challenge.

The other problem I had to overcome was that when I painted my own designs, I used newspaper to catch the overspray. I learned that newspaper is very porous and the paint will sneak right through it. I am reminded that the details in prep work really matter.
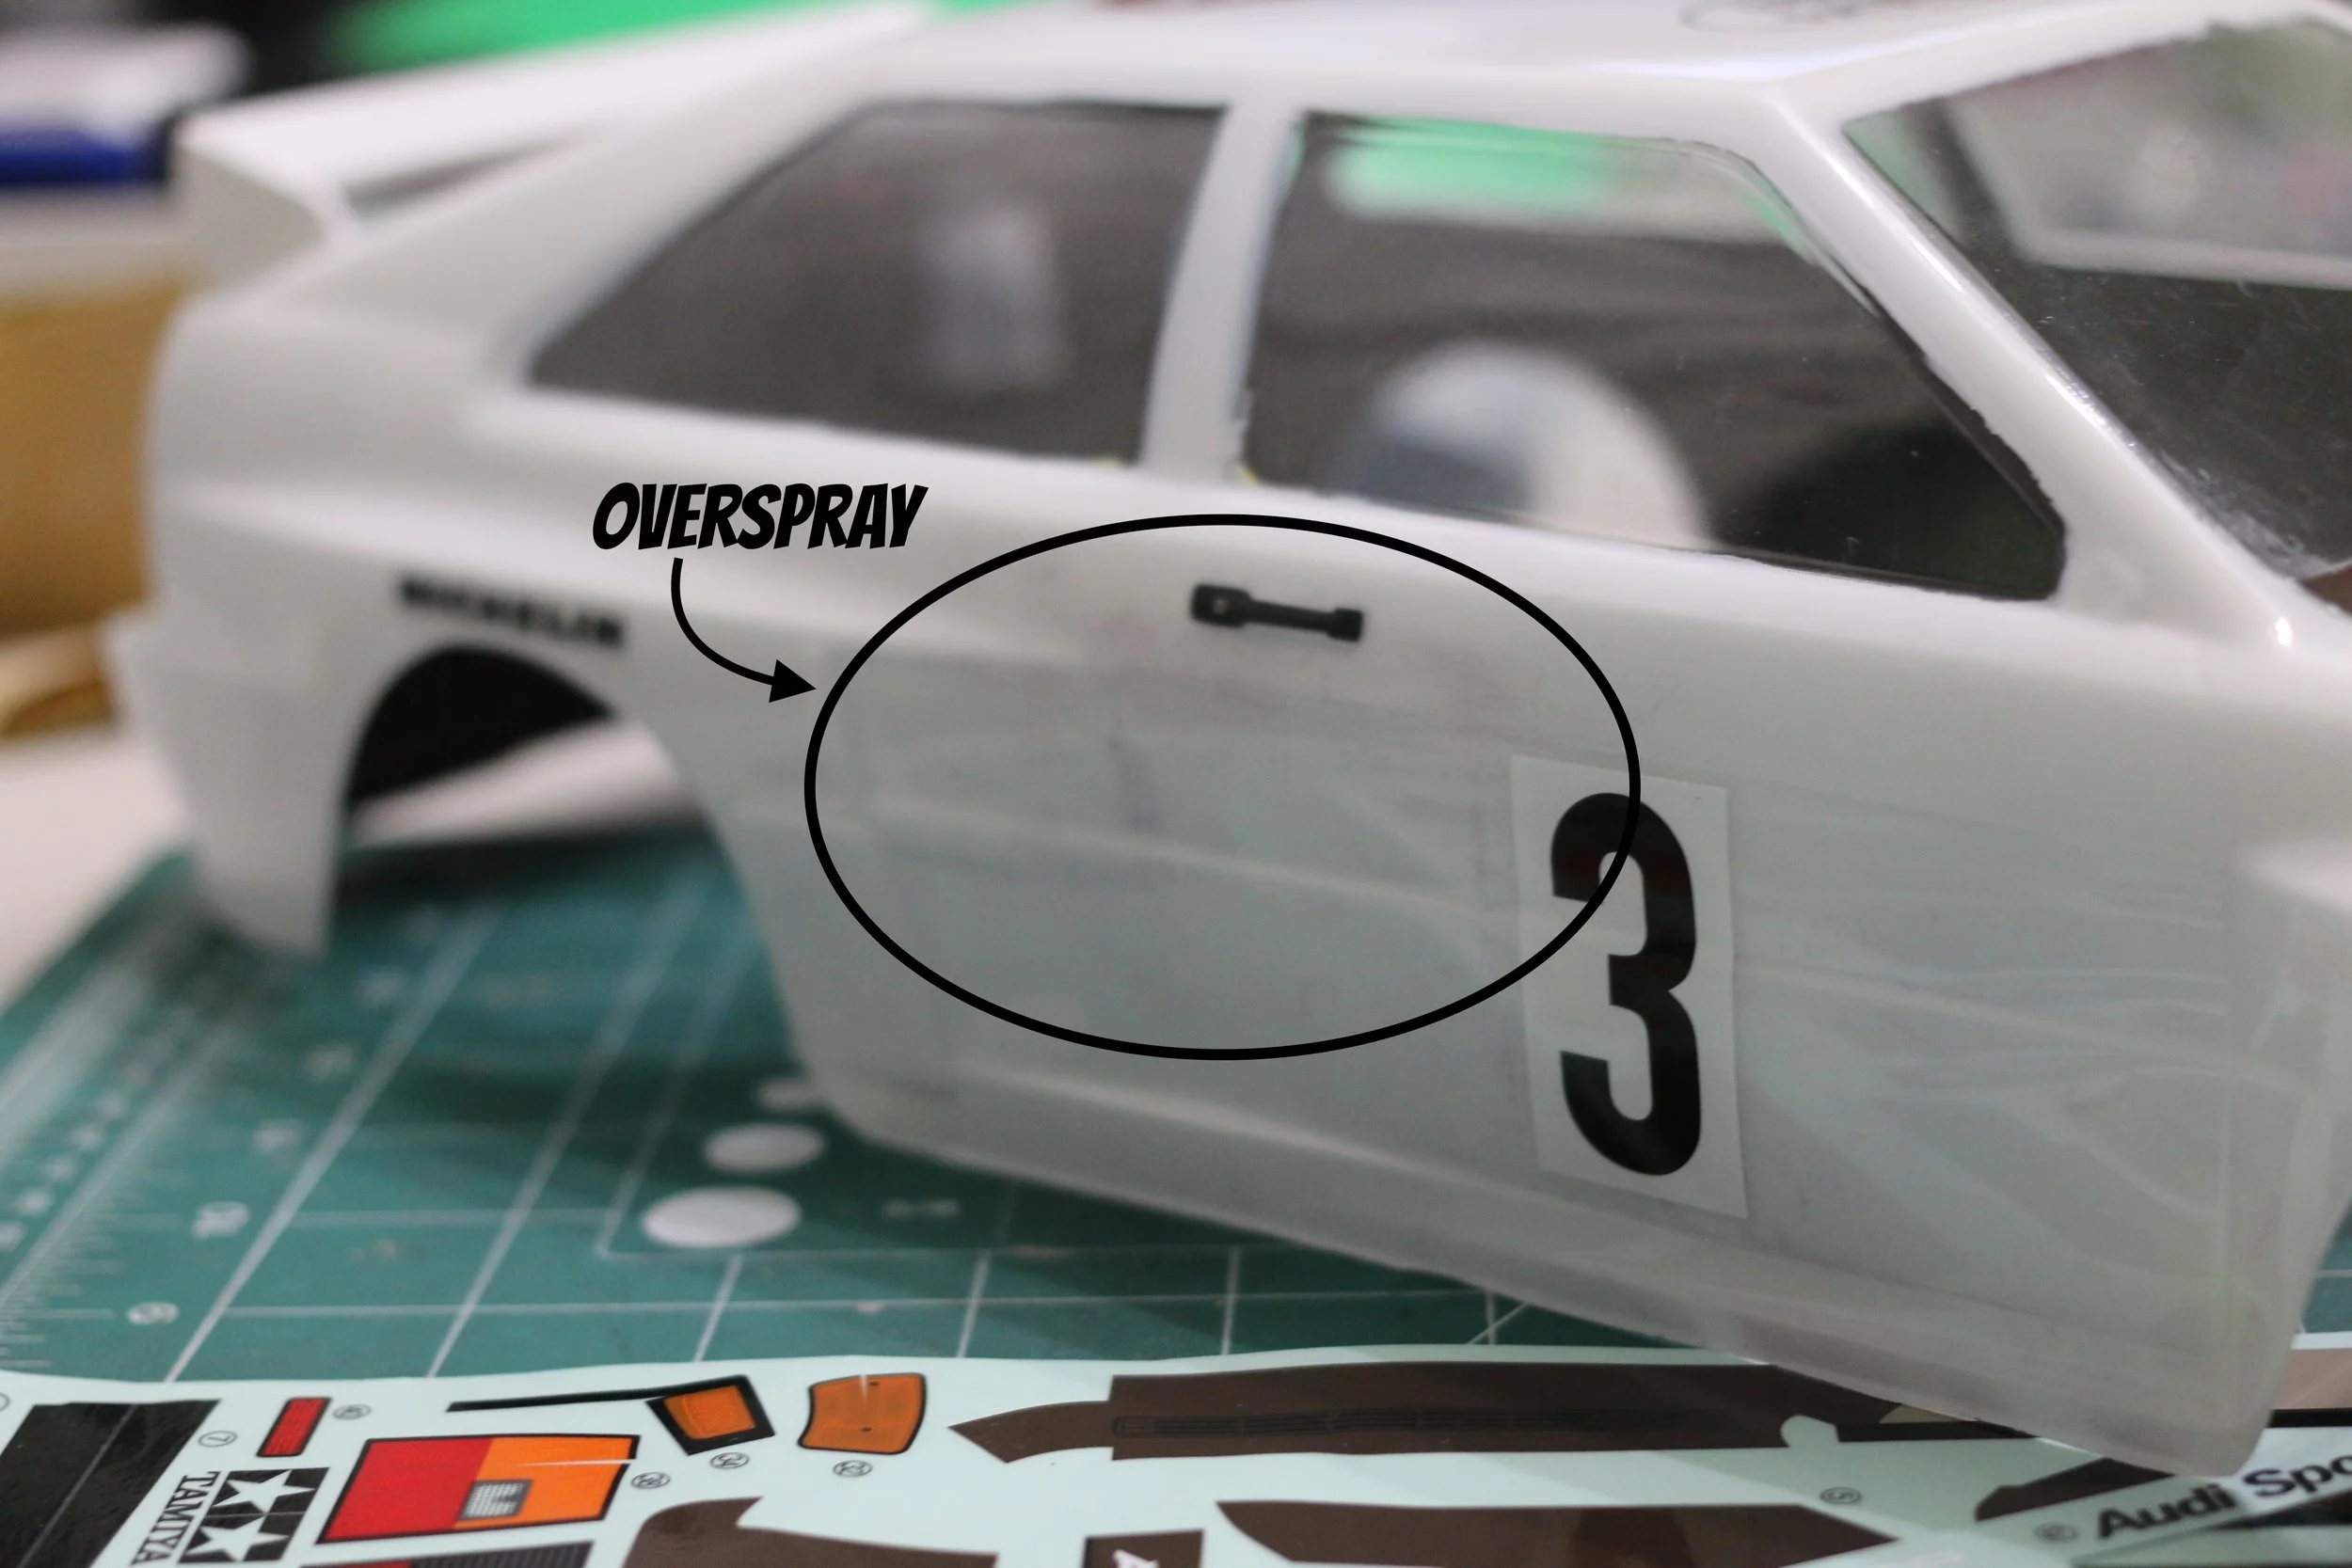
You can see the mistake that I made with the overspray. The paint got through the pores in the newspaper.
Thankfully, I can buy another body. I can learn from my mistakes and do it right. The upside is I can justify watching more vintage rally videos. The real upside is that I did not cut a bunch of metal to do a real restoration project. Old metal is precious. Thankfully, this model is from a body mould.
How to Make the Model?
Tools Needed: (Yes, Amazon links which do help fund the blog)
X-Acto Knife (any will do) (I love this one)
Heat Gun (mine is discontinued, but I linked a bunch of options)
Modeling Glue for Light Buckets (I used Tamiya glue. Their products are great)
Patience…. Lots of Patience…. (Unfortunately, Amazon does not sell that)
Round Wheel Wells
People ask me how to get the round wheel wells. This is a challenge. I start with the Lexan scissors. I cut a rough cut along the lines and do the best that I can. Make sure the paint is dry, or you will start separating it from the body.
Then I find a can that is about the right diameter for the wheel well. I use my water bottle with different diameters up and down. The bottle works great for finding just the right diameter to make a wheel well look right. You just need a can that is the correct diameter.
I take sandpaper, usually around 300 grit to start, and get finer depending on how smooth I want the wheels. This really does not take that long to get the wheels to the proper roundness.
It is good to glue in the light buckets to add that layer of realism.
Decals
Windex is the key trick to delaying the glue from fully bonding. I should have done Windex on the whole car and dedicated a set time to work on it. Instead, I did a decal here and there as I was on the phone. I think once the overspray was a problem, I sort of gave up on doing a perfect car.
I simply cut the decal. Then I figure out where I want the decal. I cut a little bit of the tip off the decal backing paper. Place the decal down. I then press the exposed decal on the body. Then I slowly peel off the paper. If it is a really big decal windex will slow down the glue bonding to the body, so you can slide and move the decal around for a few seconds.
Now, you let the car dry overnight. Put the body on the car, and you are ready to roll!
Conclusion
There is no quick way to finish a task. Poor Pierburg could tell you that! I learned that being in a rush leads you to overlook things. I had fun reliving the old rally days.
Next time, and there will be a next time, because I've already justified buying another body. Pierburg gets the recognition it deserves. Until then, I've got more rally videos to watch and rev limiter sounds to make while staring at my slightly-wrong tribute to the car that changed rallying forever.
I am thankful that Tamiya put this body into production so we mortals can taste a restoration project on a scaled budget. Whatever you do, I hope it motivates you to get out and do something fun.