
So close, but no cigar
I am close…. very close. However, like most of my projects, this one is taking longer than expected. My goal was to get the body mounted by now, but Houston we have a problem. Lift off is not happening today, but we are close. So, let’s walk through what has been done.
The body is painted, which is a major YAY! We are making progress, and now it is time to reveal. You can order a clear body as well if you so desire.

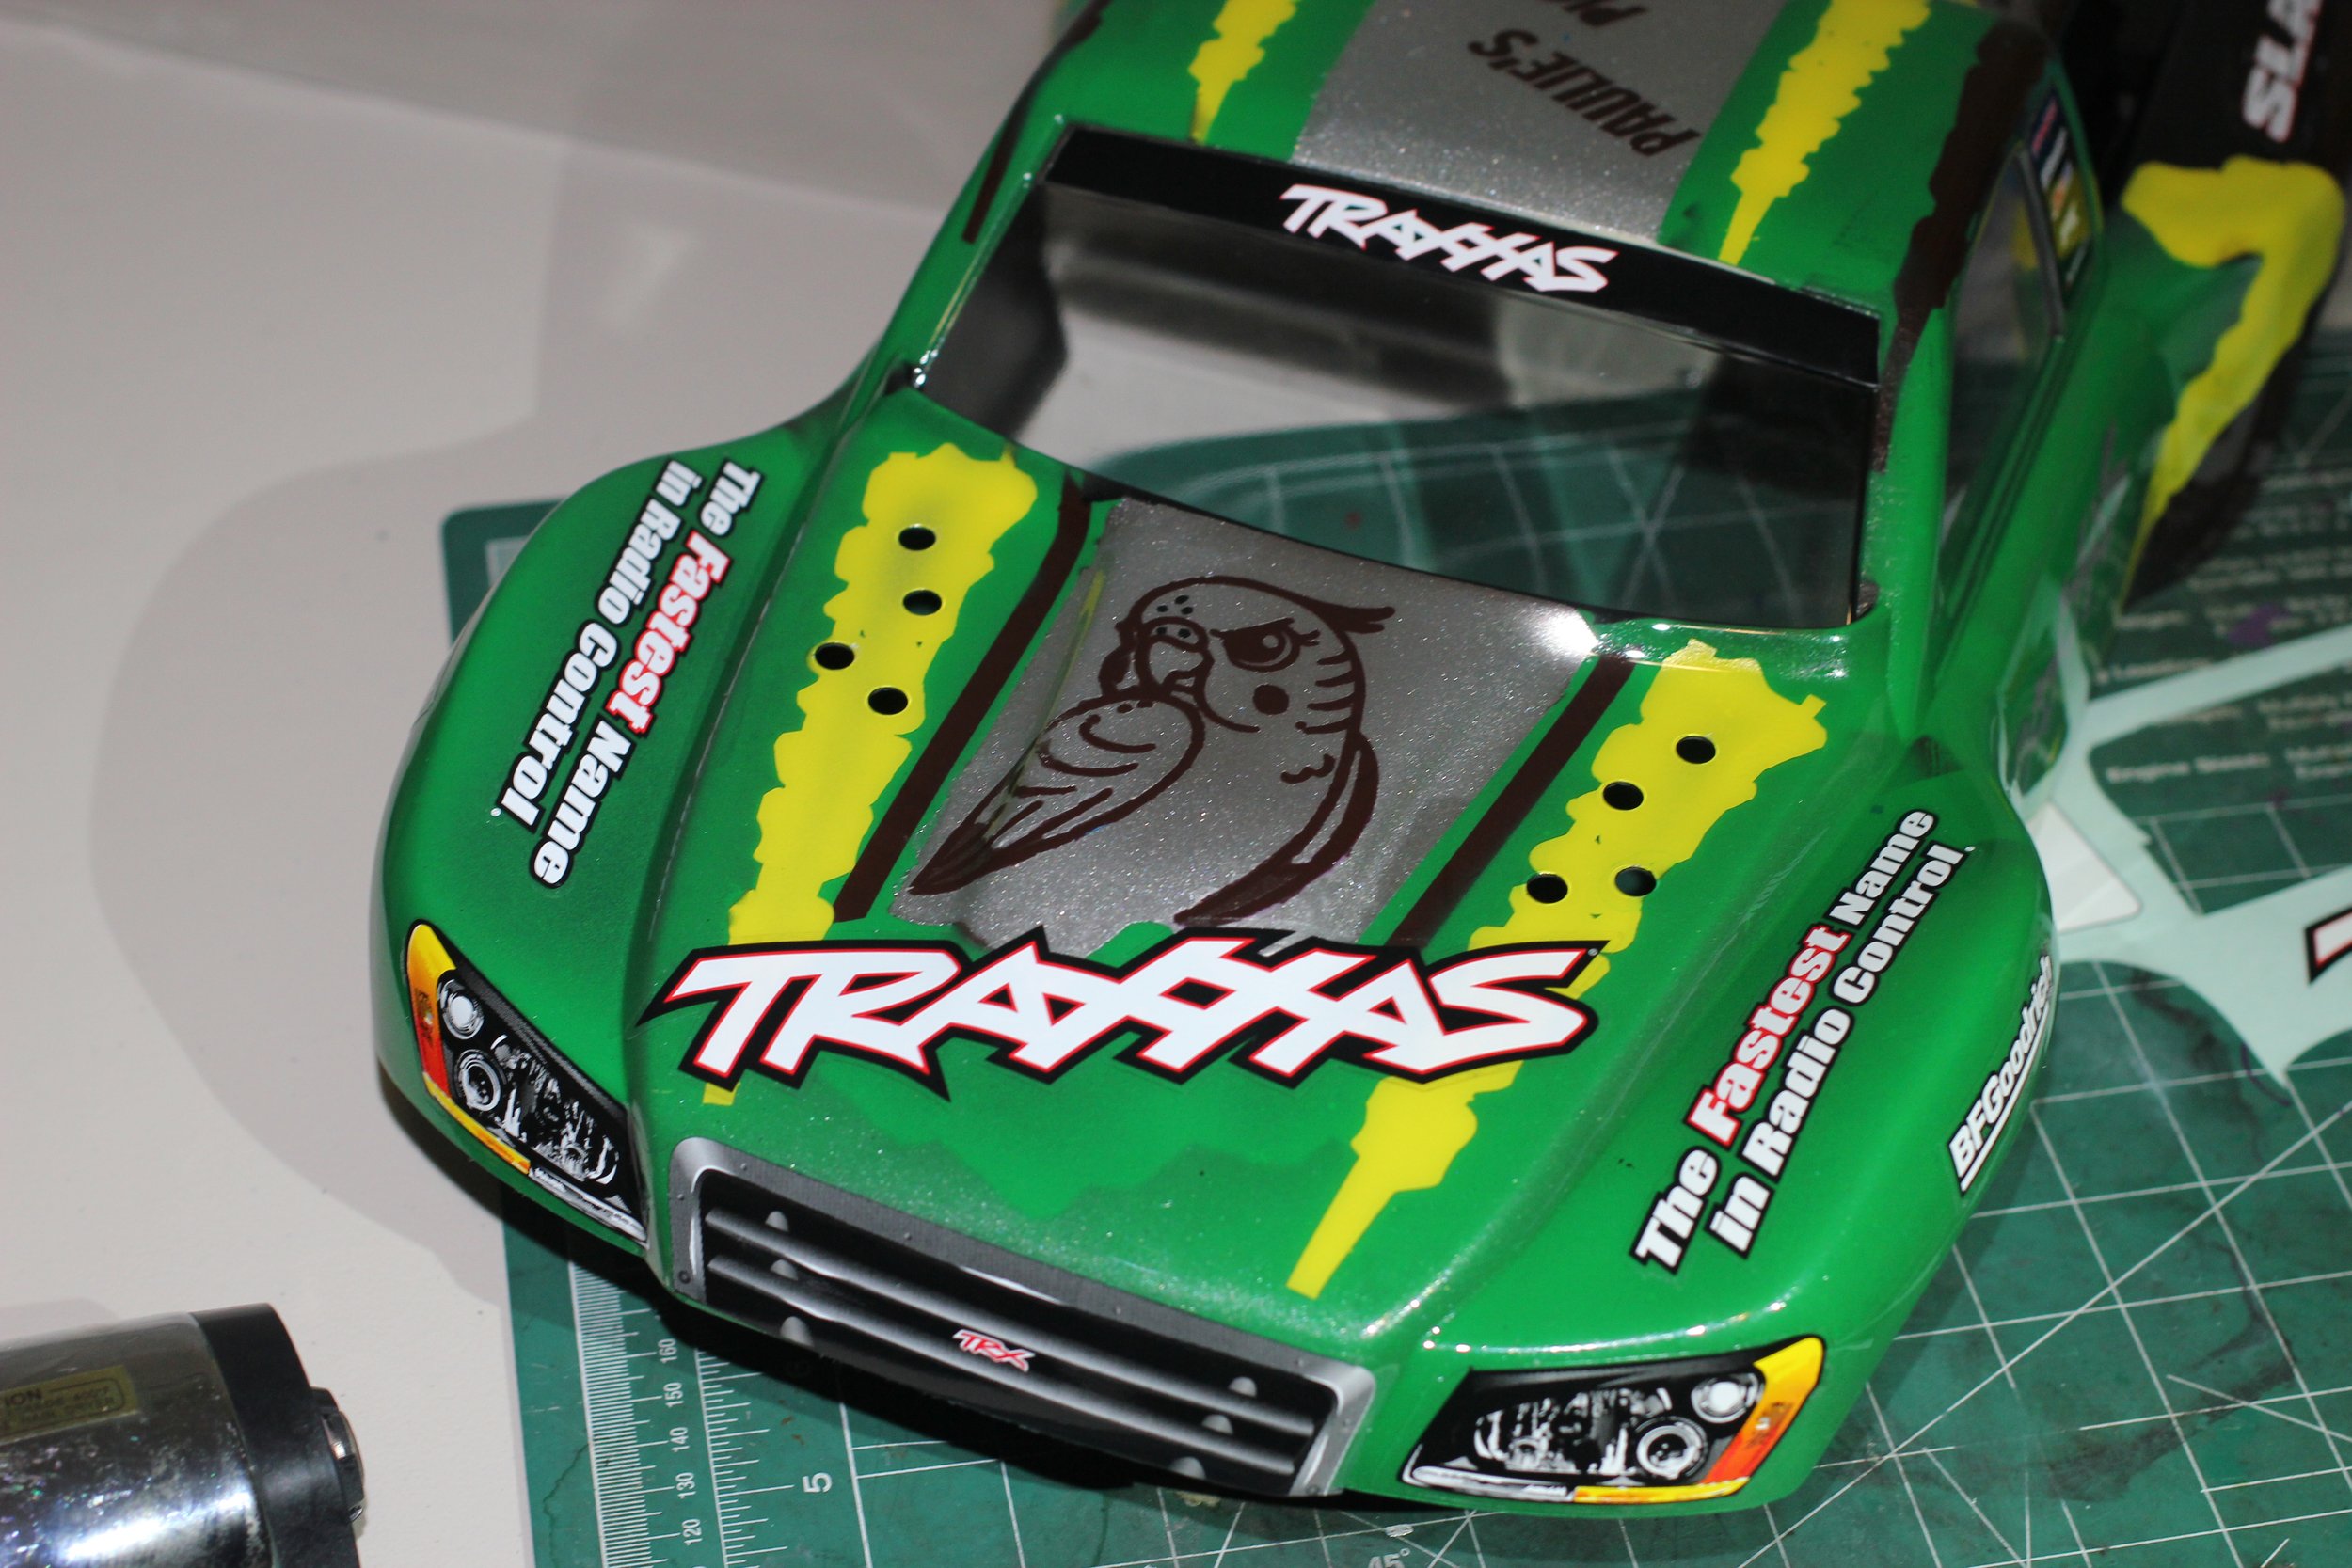
Sometimes people forget that there is a protective plastic layer cover thingy (technical term) over the body. This is to protect the outside of the body from overspray. So, if you notice, I added some tape over the holes. The reason is that sometimes paint will sneak between the body and the plastic protective layer. I most likely just read that somewhere…. it is not like this may have been from personal experience. In fact, I may or may not be able to confirm that the lexan paint placed above the body will have a matte finish…. So, my experience …er… research I read… has taught me to make sure that the holes are plugged. So, the masking tape does help to keep the spray paint from pushing up on the protective layer.
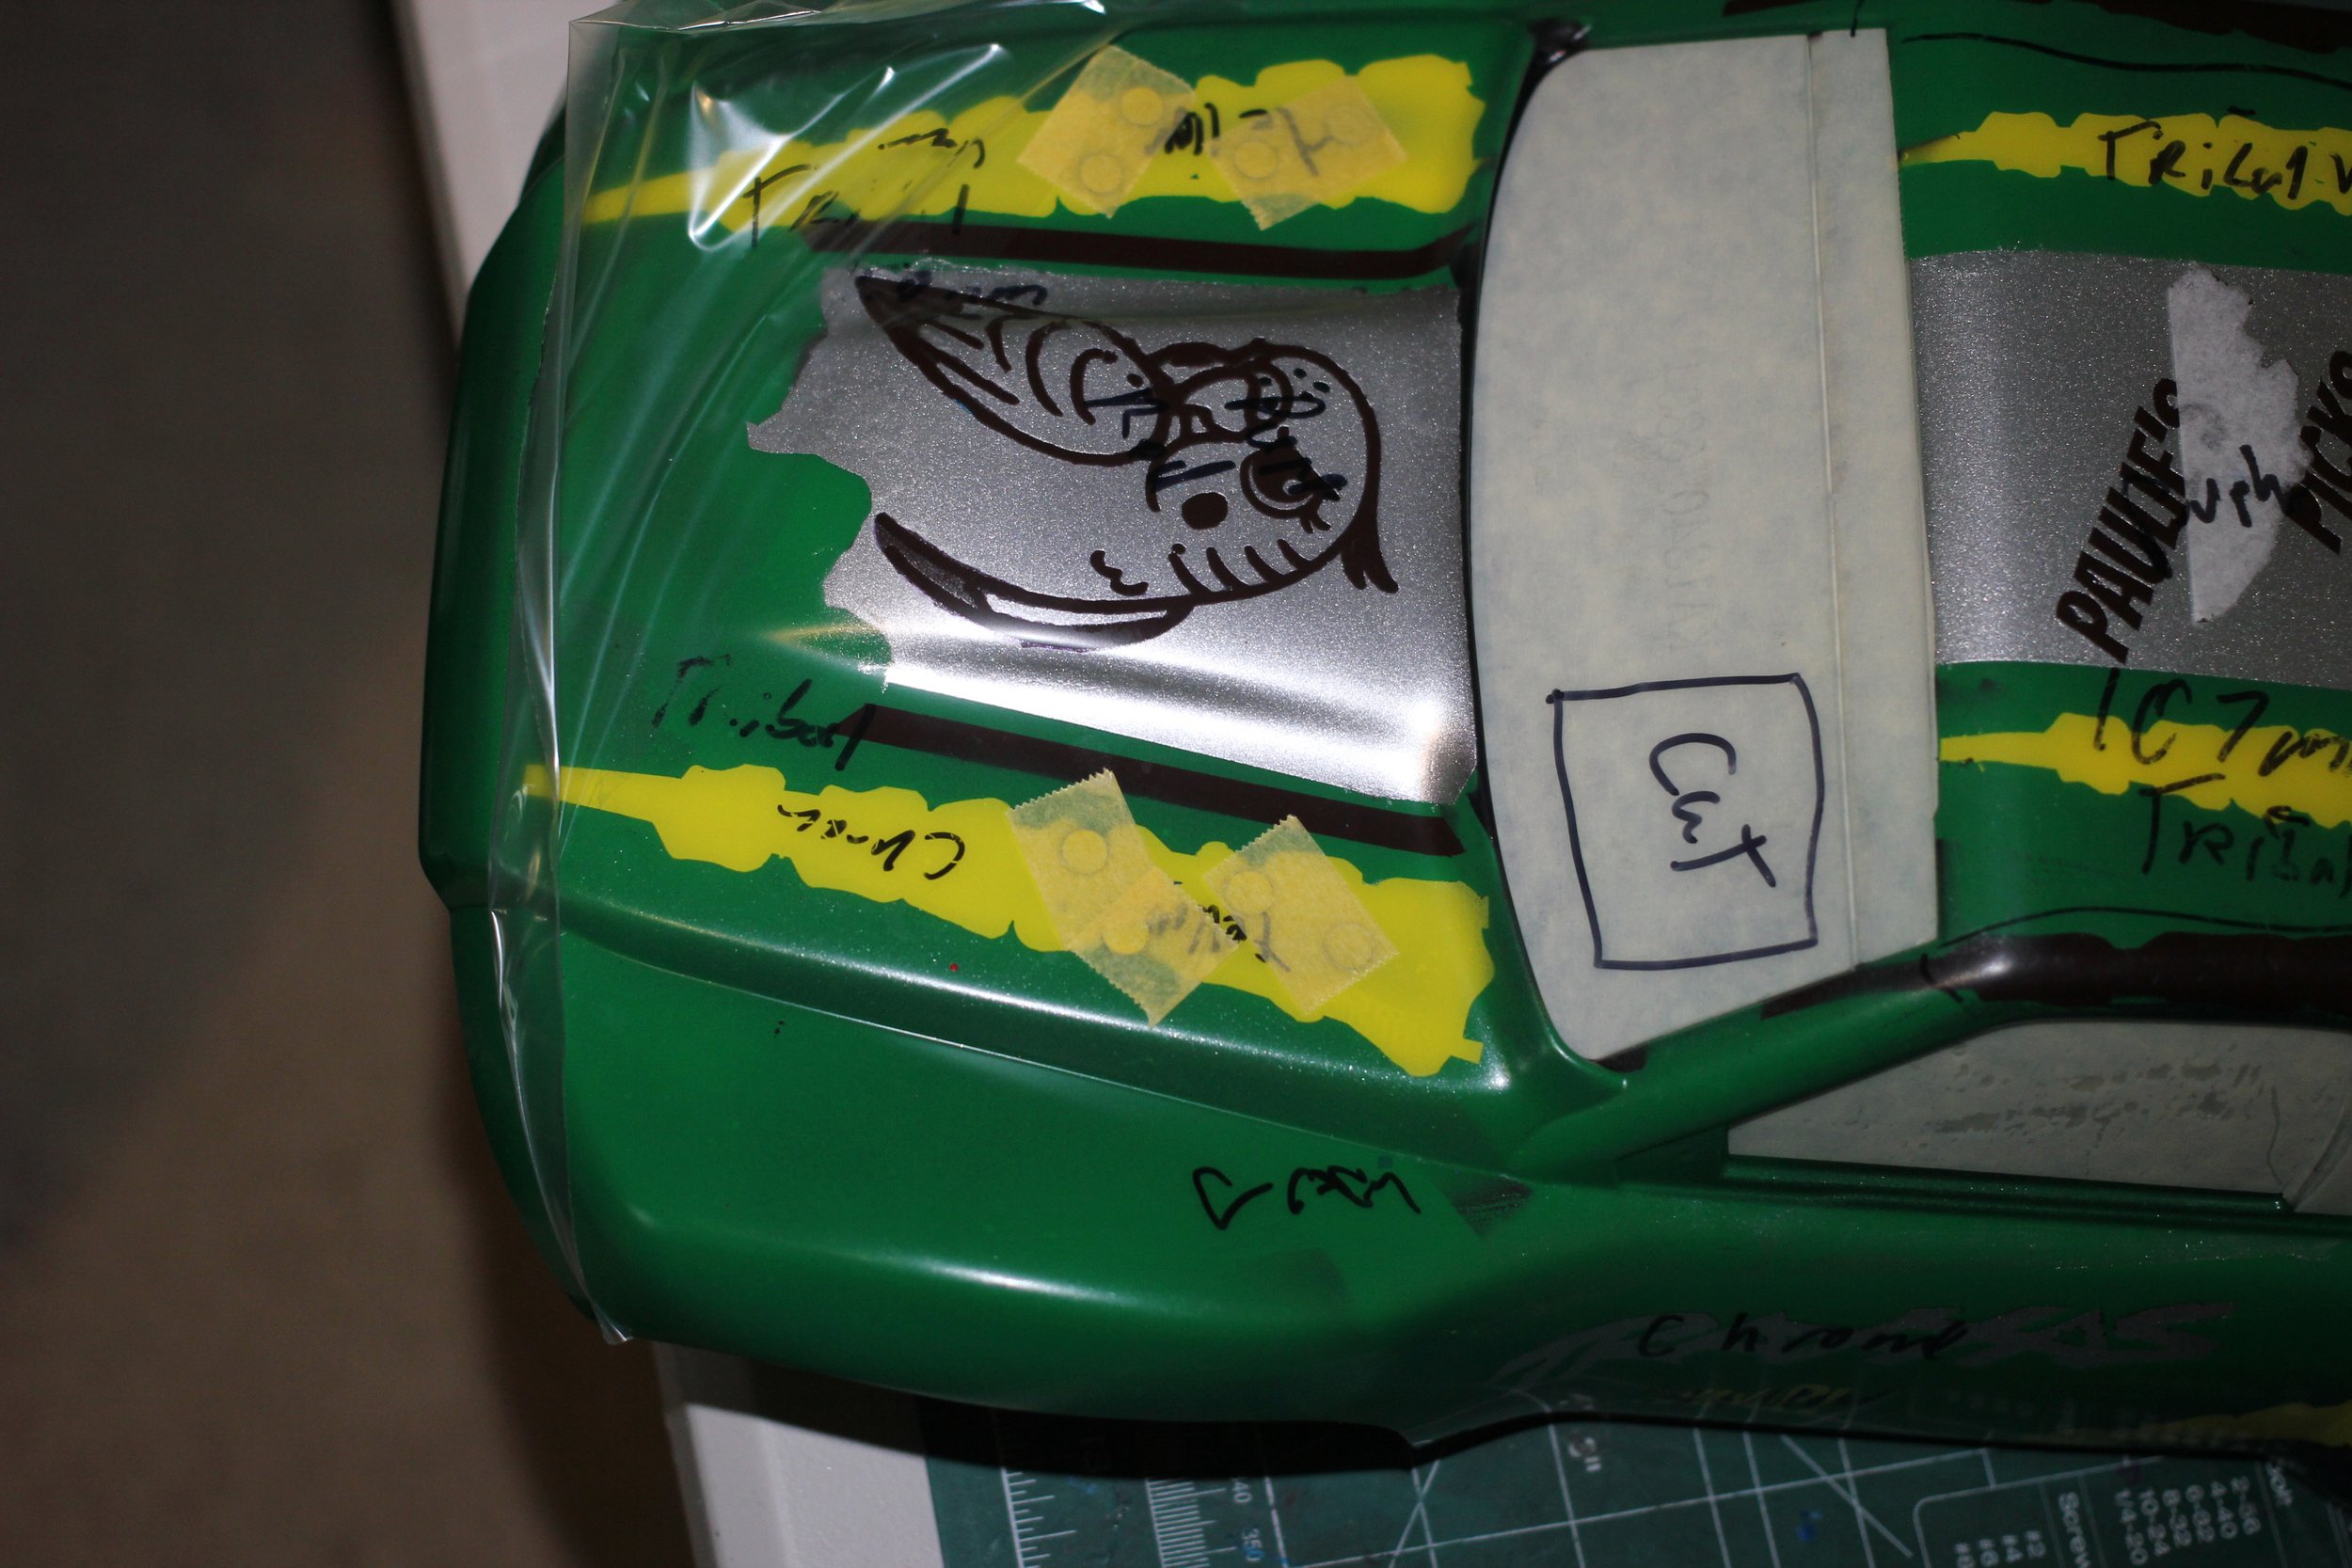
So, we got that covered, and now it is time for the reveal. This is always the best part when the protective layer… sorry forgot the technical term…. protective layer thingy is peeled off. This is when we see the shiny paint. It seriously looks like a detailed car with a fresh coat of wax. This will be great to remember when the truck does the first cartwheel down the road….

There is you have it…. the picture is not doing a great job of making the contrast, but hang with me and you’ll see. You can pick on the plastic cover until it breaks loose. You will get it, but keep in mind it is pretty sticky. However, once you get the corner loose then you can pull off the plastic.
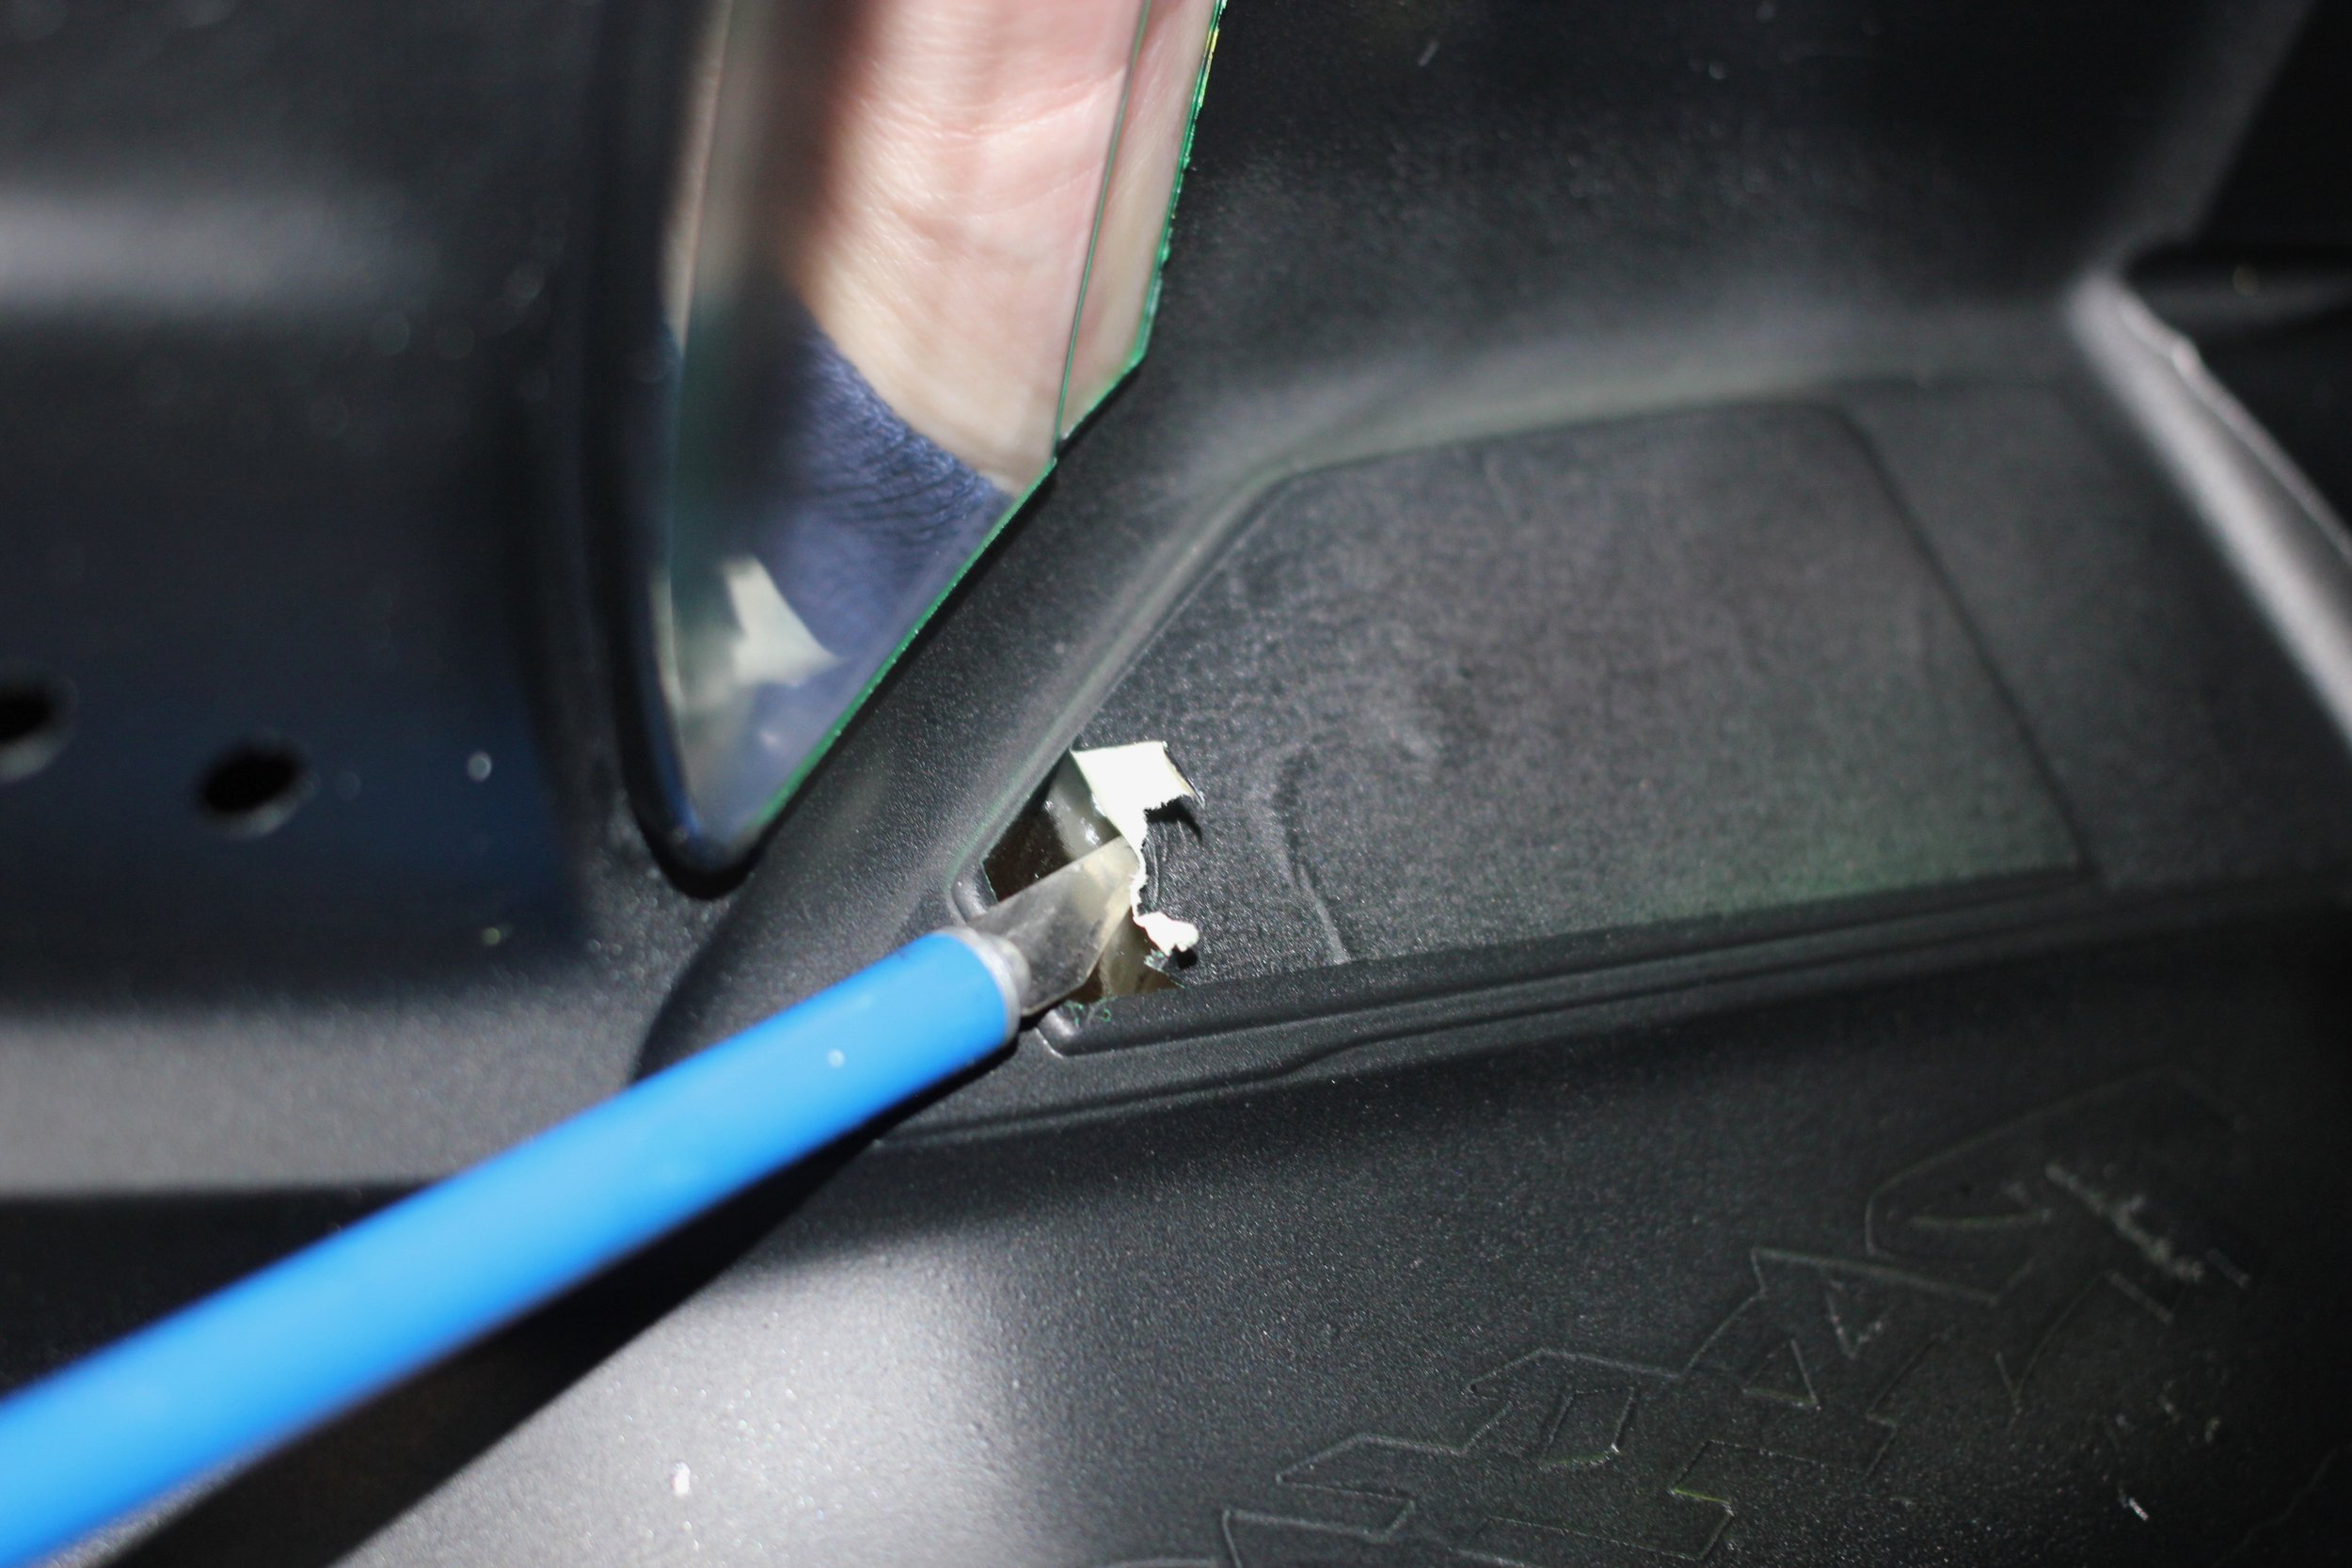
After we remove the plastic and admire the work, it is time to remove the window masks. I take a hobby knife and carefully get it between the mask and the paint. I find that at times I like doing this because if the mask is sticking to the paint, it is very easy to do a quick cut, if maybe the paint is not fully bonded to the body. I usually have this happen when I am in too much of a rush…. yeah, remember that part about being a kid at heart? I still have to fight against that tendency to be impatient. I’m still the kid who asks every five minutes if we are there yet. It is very troubling when I travel alone…. It is even worse when one of the voices answers me. Just kidding…. I don’t have voices…. although it sure would be nice sometimes to have someone bounce ideas off of.
We have the masks removed, and now it is time to survey the body. This is not a body that I went for the most professional finish. I never intended to compete with this body. I know that it is going to be carwheeled a few times, will be flipped, and so it was a good-enough job by its intention. However, I still want it to look nice, so we note a few things that could be improved.

I notice that the green looks a bit clumpy under the parakeet. I also did not like how the green moves into the parakeet. I thought it would look kind of cool, but I am disappointed. So, this is something that I need to figure out how to break up.
The next thing that I notice is that the BF Goodrich on the fender did not set up well. I think we need to figure out how to fix this.


This is something that needs to be addressed because that is not acceptable. The other thing that I learned is that the colors need to be WAAAAAY brighter and exaggerated when I mix them. The purple in the paint looks more brown when applied to the body and backed by black. I probably should have backed the purple with metallic silver or white to see if it would pop more and make the color a little lighter. However, like I said…. this body is painted to look decent on camera and eventually it will unintentionally cartwheel down the road.
So, let’s start covering my mistakes with decals. This is something to ALWAYS remember: when your paint fails, there are always stickers. Too bad we can’t just decal life. I would have a lot of stickers…. so many stickers….. Back on point…. let’s cover some mistakes or make them less obvious.

It helps to heat up the body so the sticker glue sticks. Be warned! The stickers REALLY stick with this trick, so when you stick it…. well, you are committed. This heat gun has served me well over the years. I get no clams, but just pass along a great product.

I am starting with the headlight. One thing I really dislike about the precut decals is that Traxxas has the lights and grill together. My initial instinct was to cut them apart. The reason: I can do left light, right light, and grill all separately. If I were going to do this over again, I would start with centering the grill, then put masking tape for a line reference, and then do the lights. However, this is a technique that I have used in the past: cut a corner, put the decal where you want it, stick the corner, and then run the decal. So, I cut out all the decals before applying them, even though Traxxas provides a sheet with the body of precut decals.
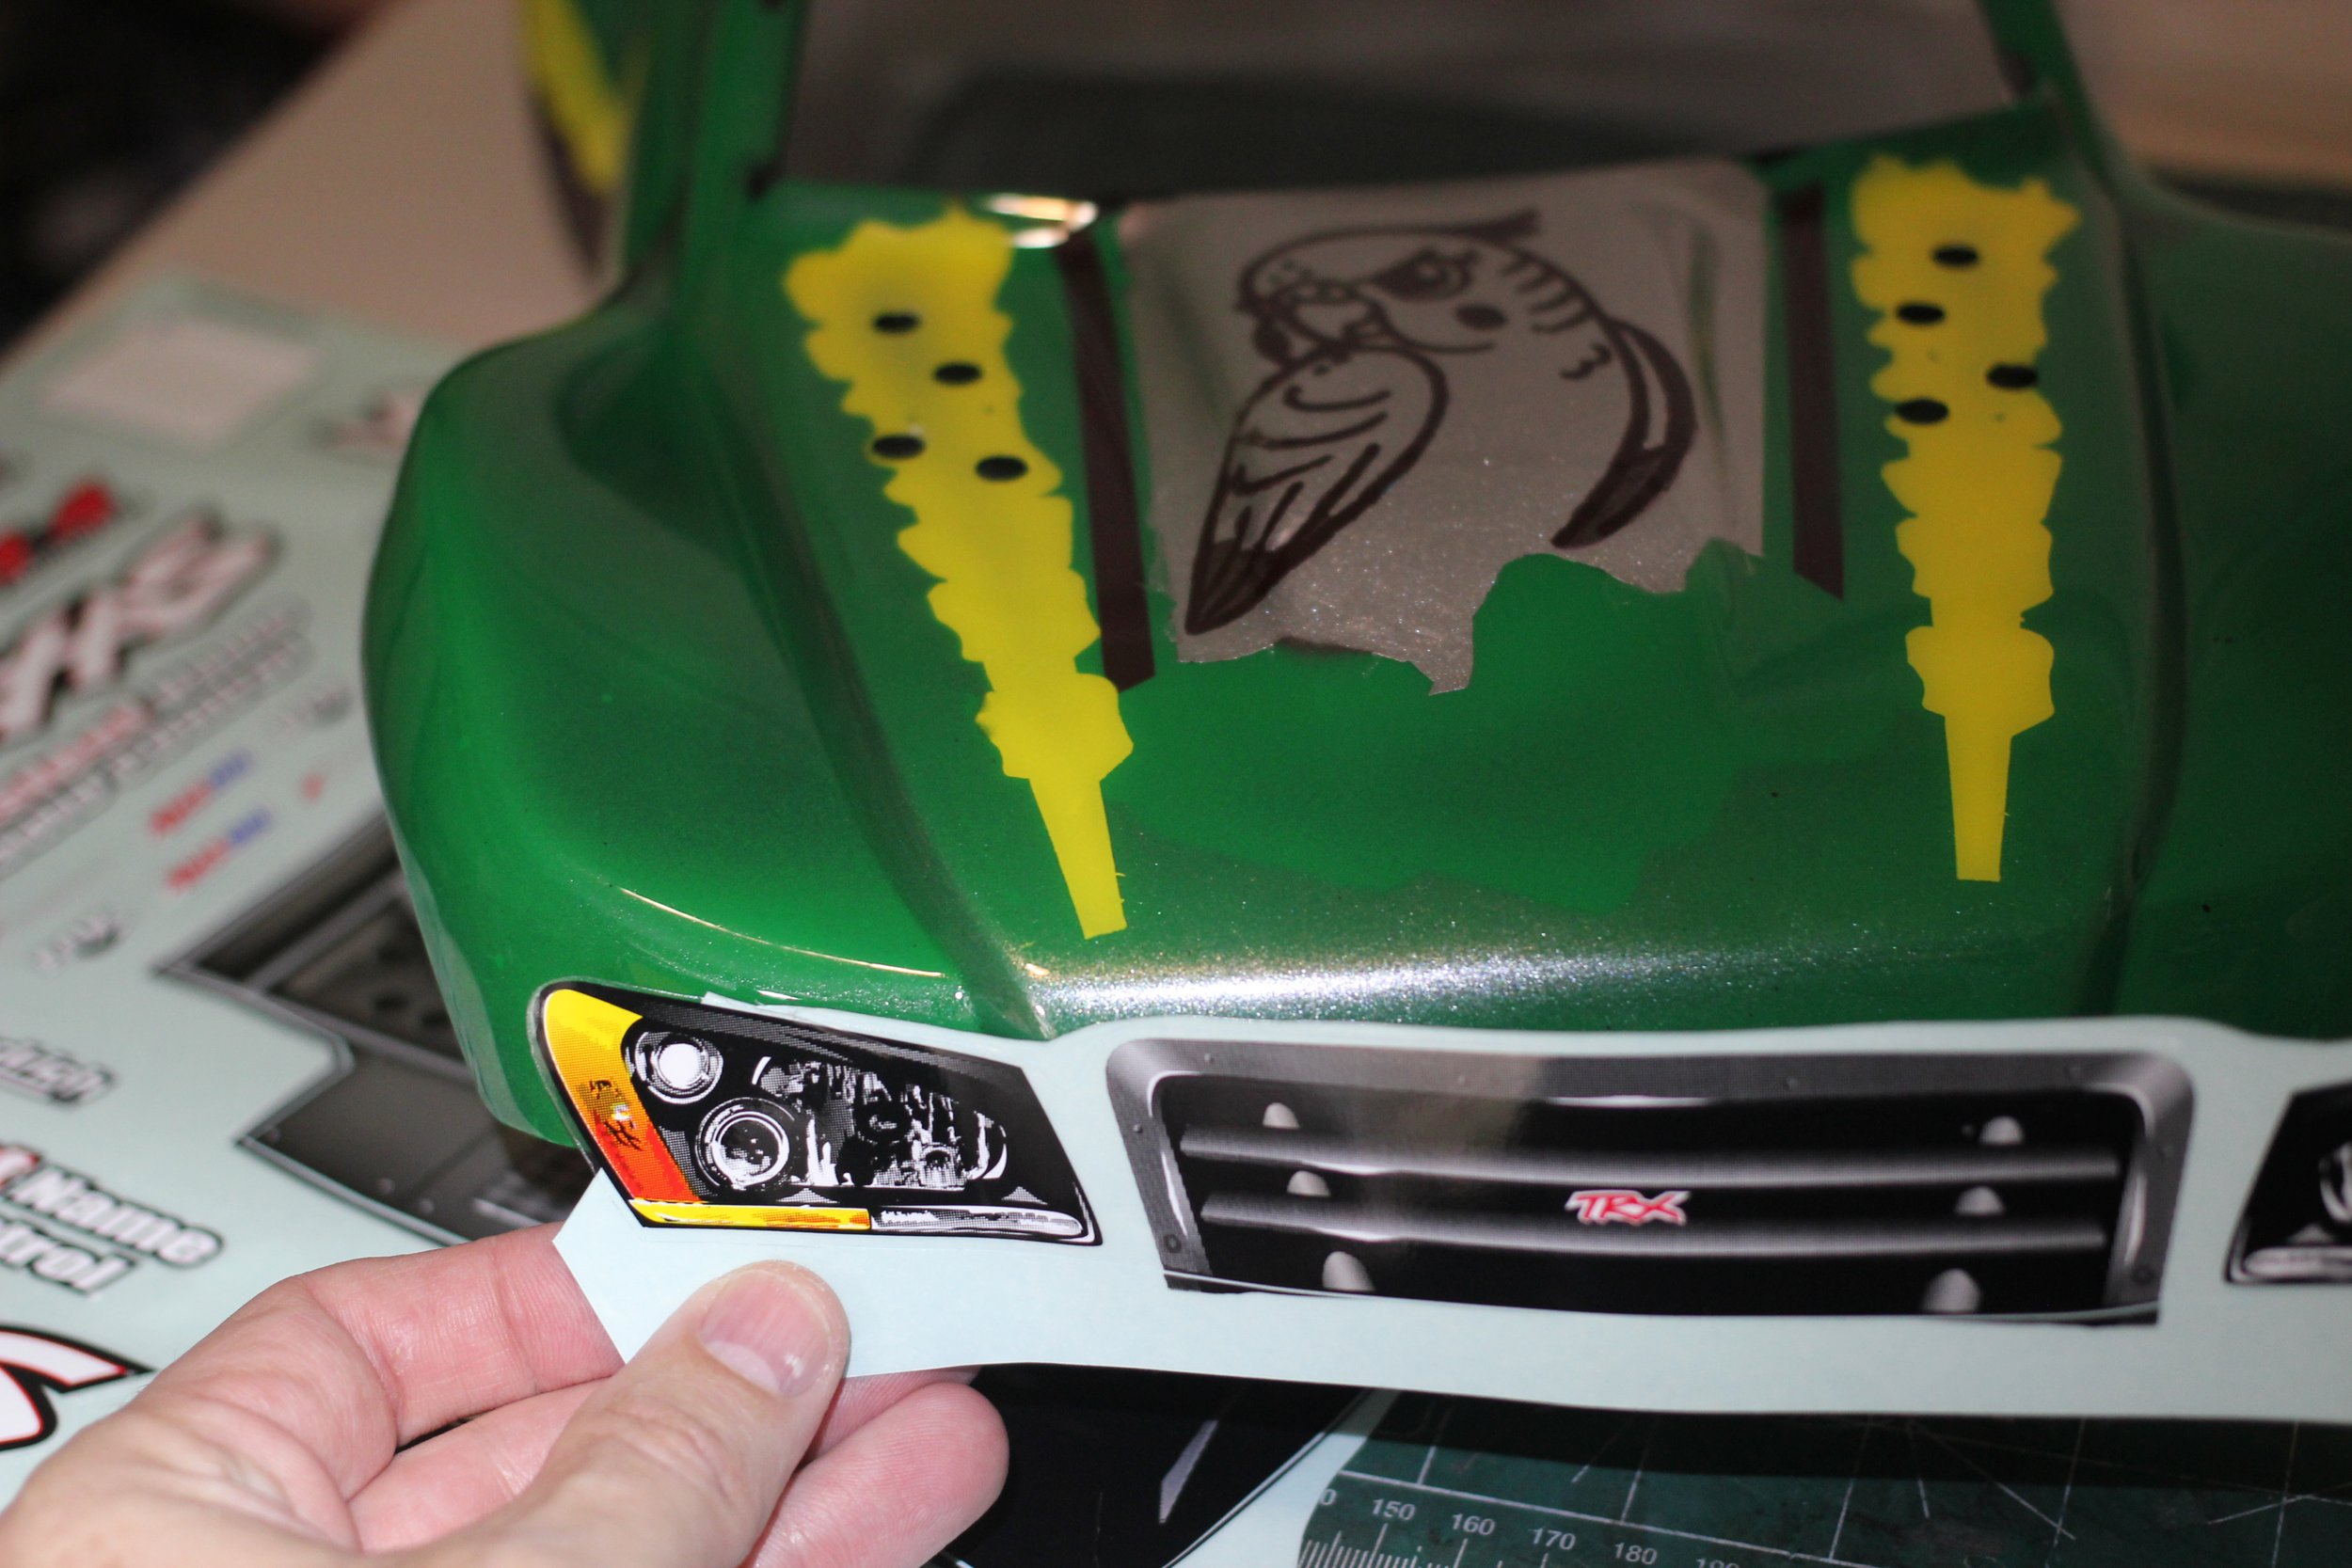
I ended up cutting the decal in the application, but it looks okay. Like I said, this body is built to eventually cartwheel down the road. Good enough is the mantra.
It is time to fix the BF Goodrich mess-up. So, the decal sheet had a Slash 4x4 sticker. I just wanted the Slash, so I cut out the decal. I cut it right at the Slash and cut off the 4x4. This is the result.


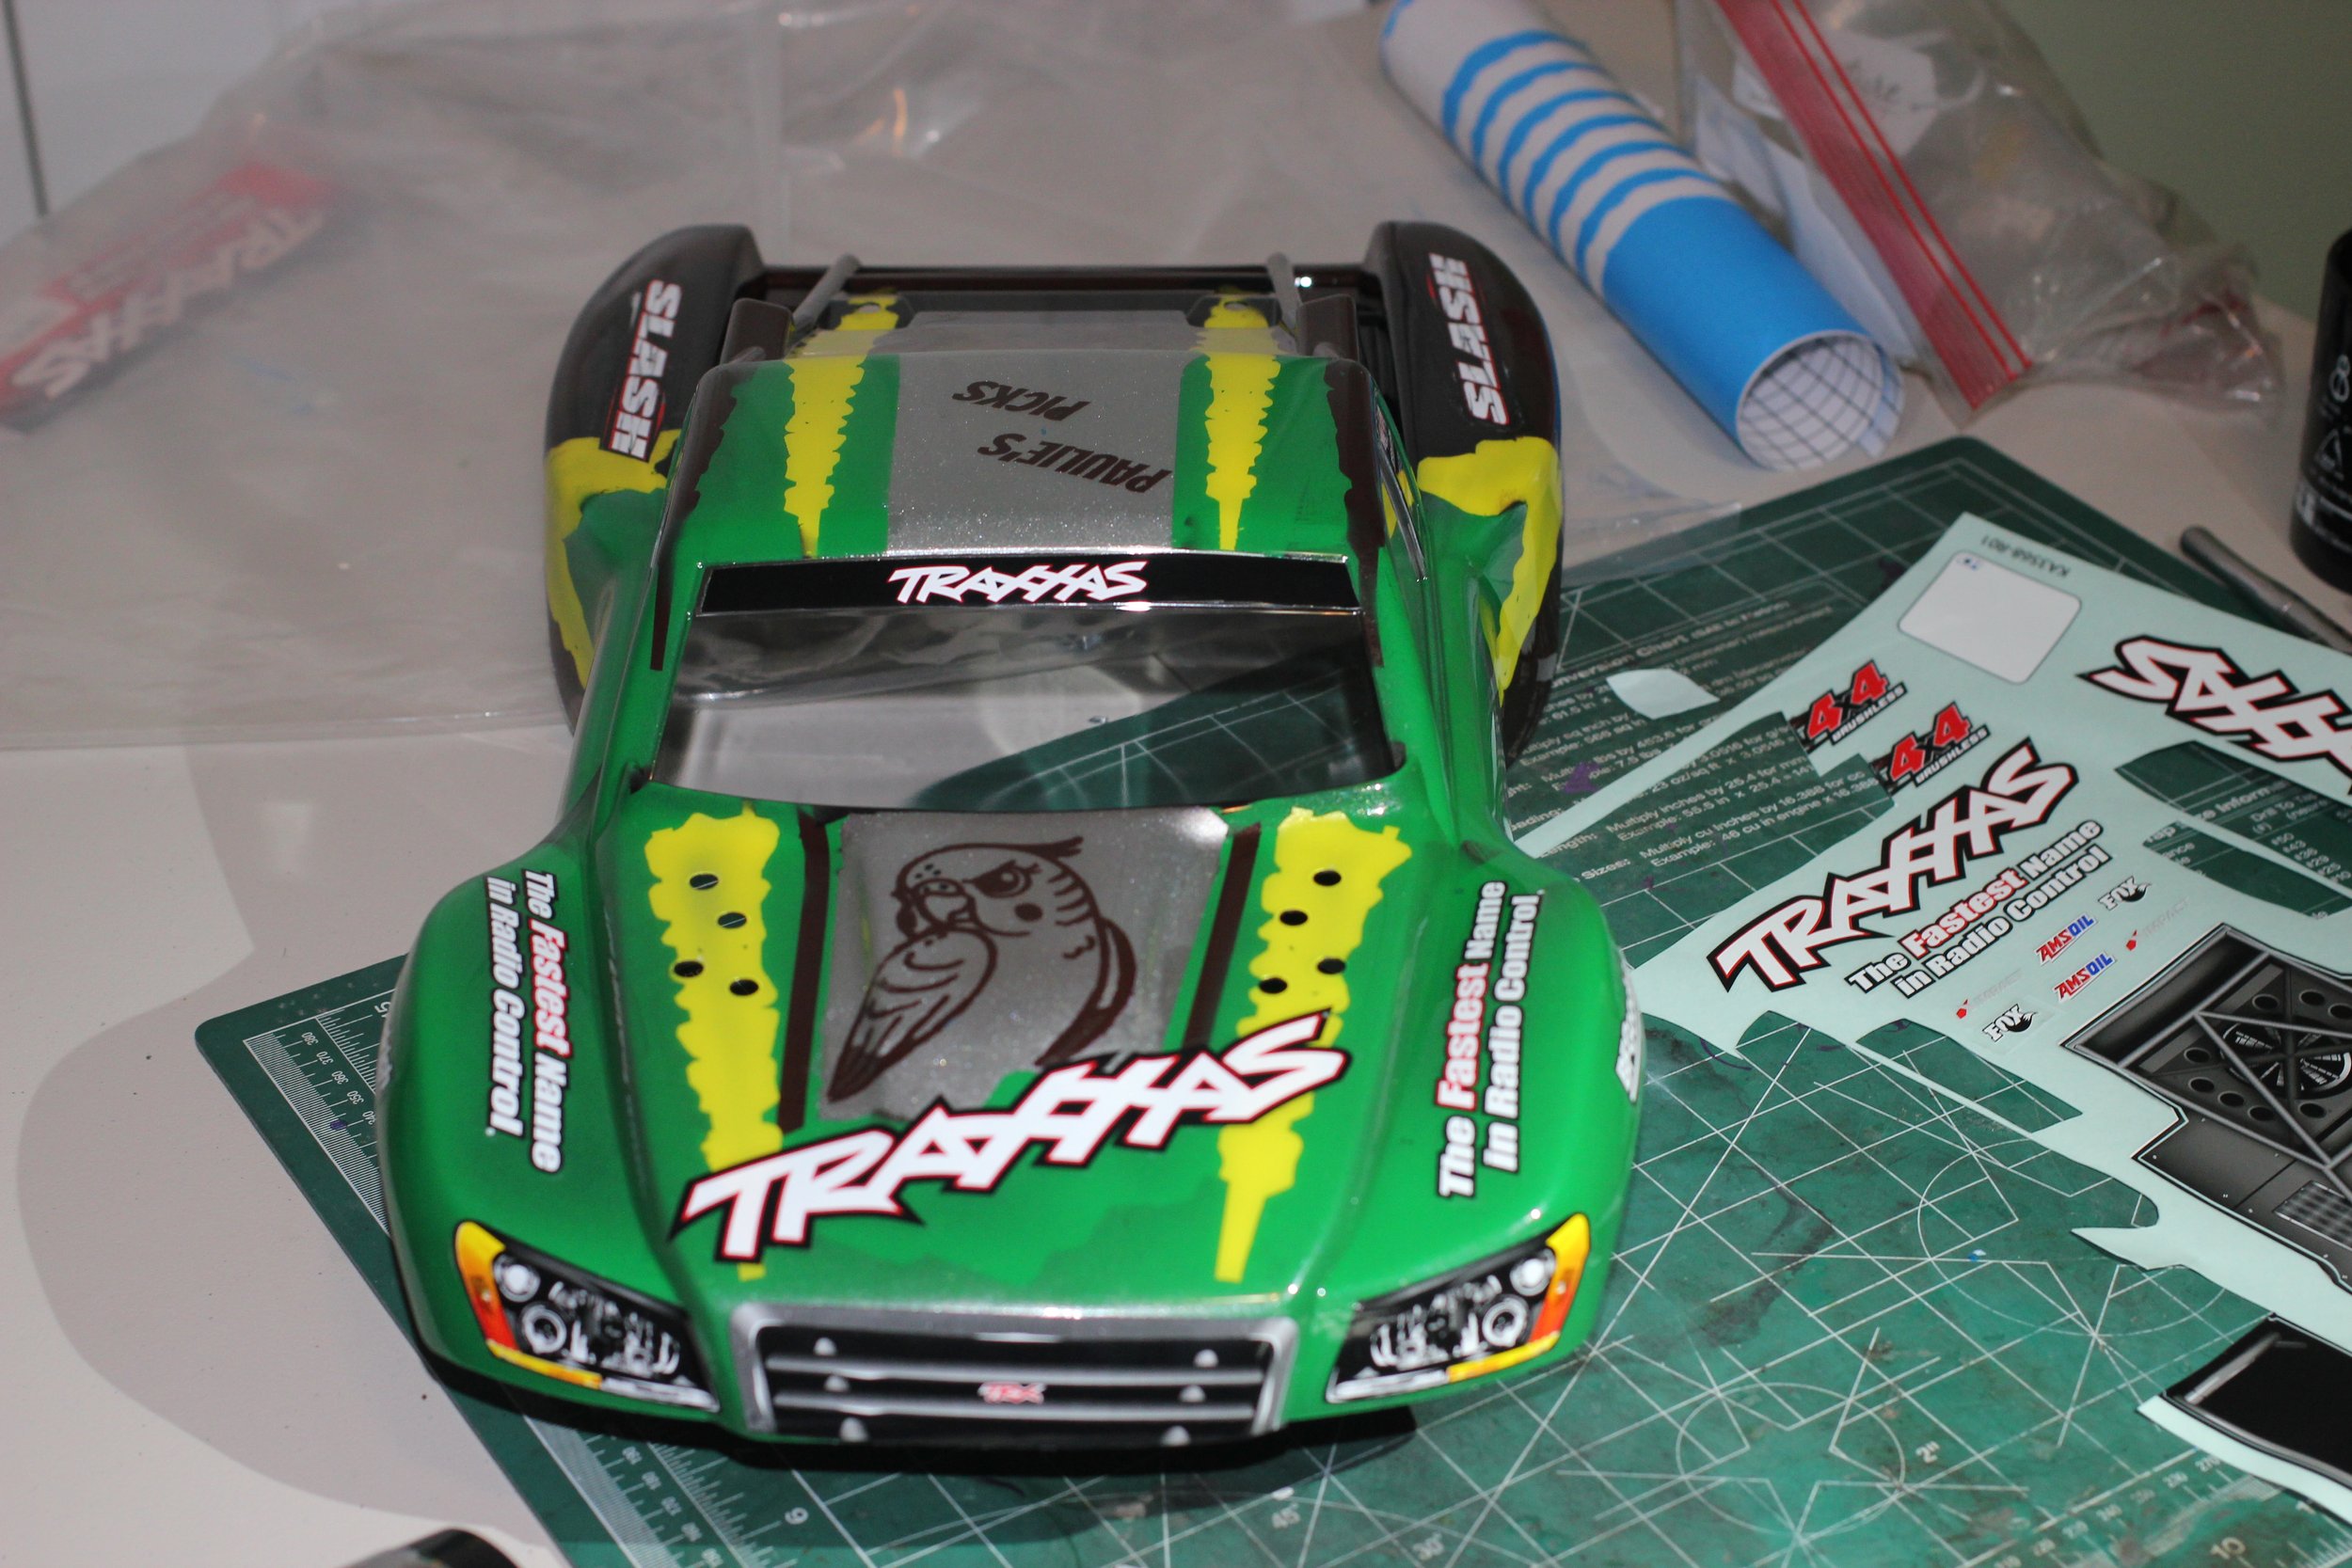
So, here is the Slash decal applied to the rear fender. I put a decal on the back window to add some variety to the body and make it look like a more credible race short-course truck. Here is another picture of it.

Now I wanted to address the chunky green. There is not much I can do other than try to hide it a bit. So, I took one of the Traxxas stickers and placed it on the hood.

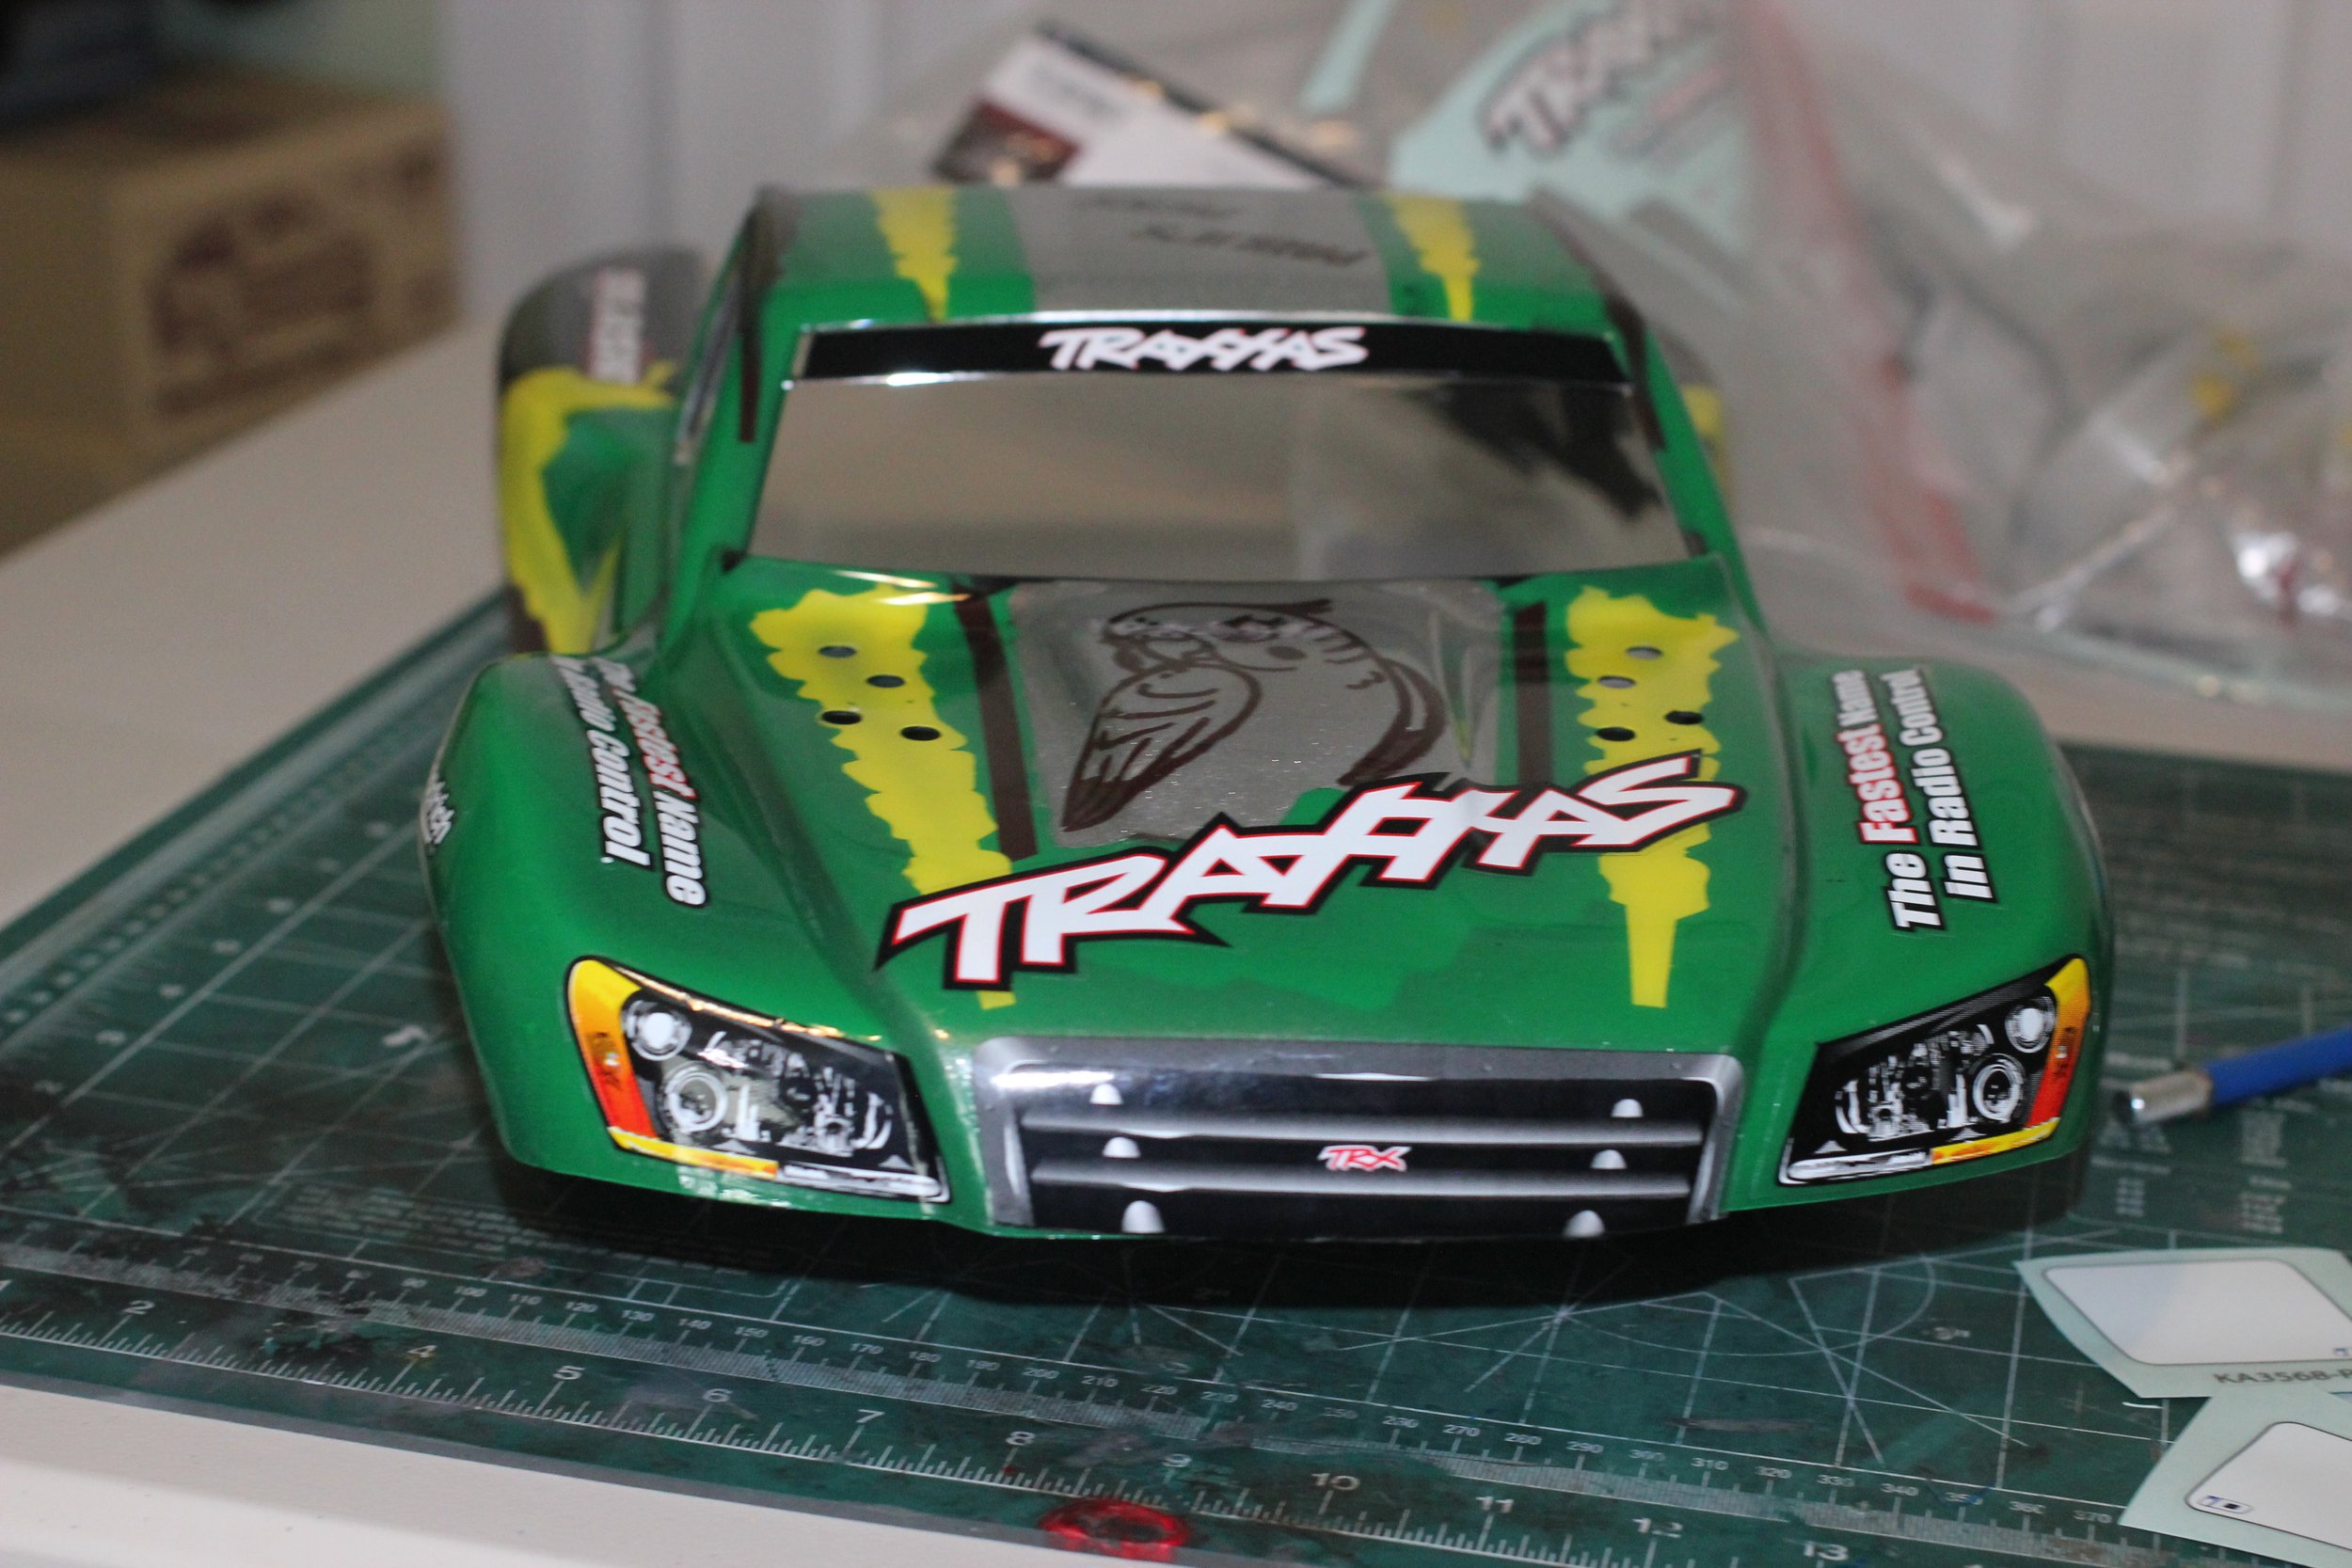
There we have the Traxxas sticker, the grill, and you can see one of the headlights. I added the decal that has Traxxas’ marketing slogan on the fenders as well to try to add some variety.
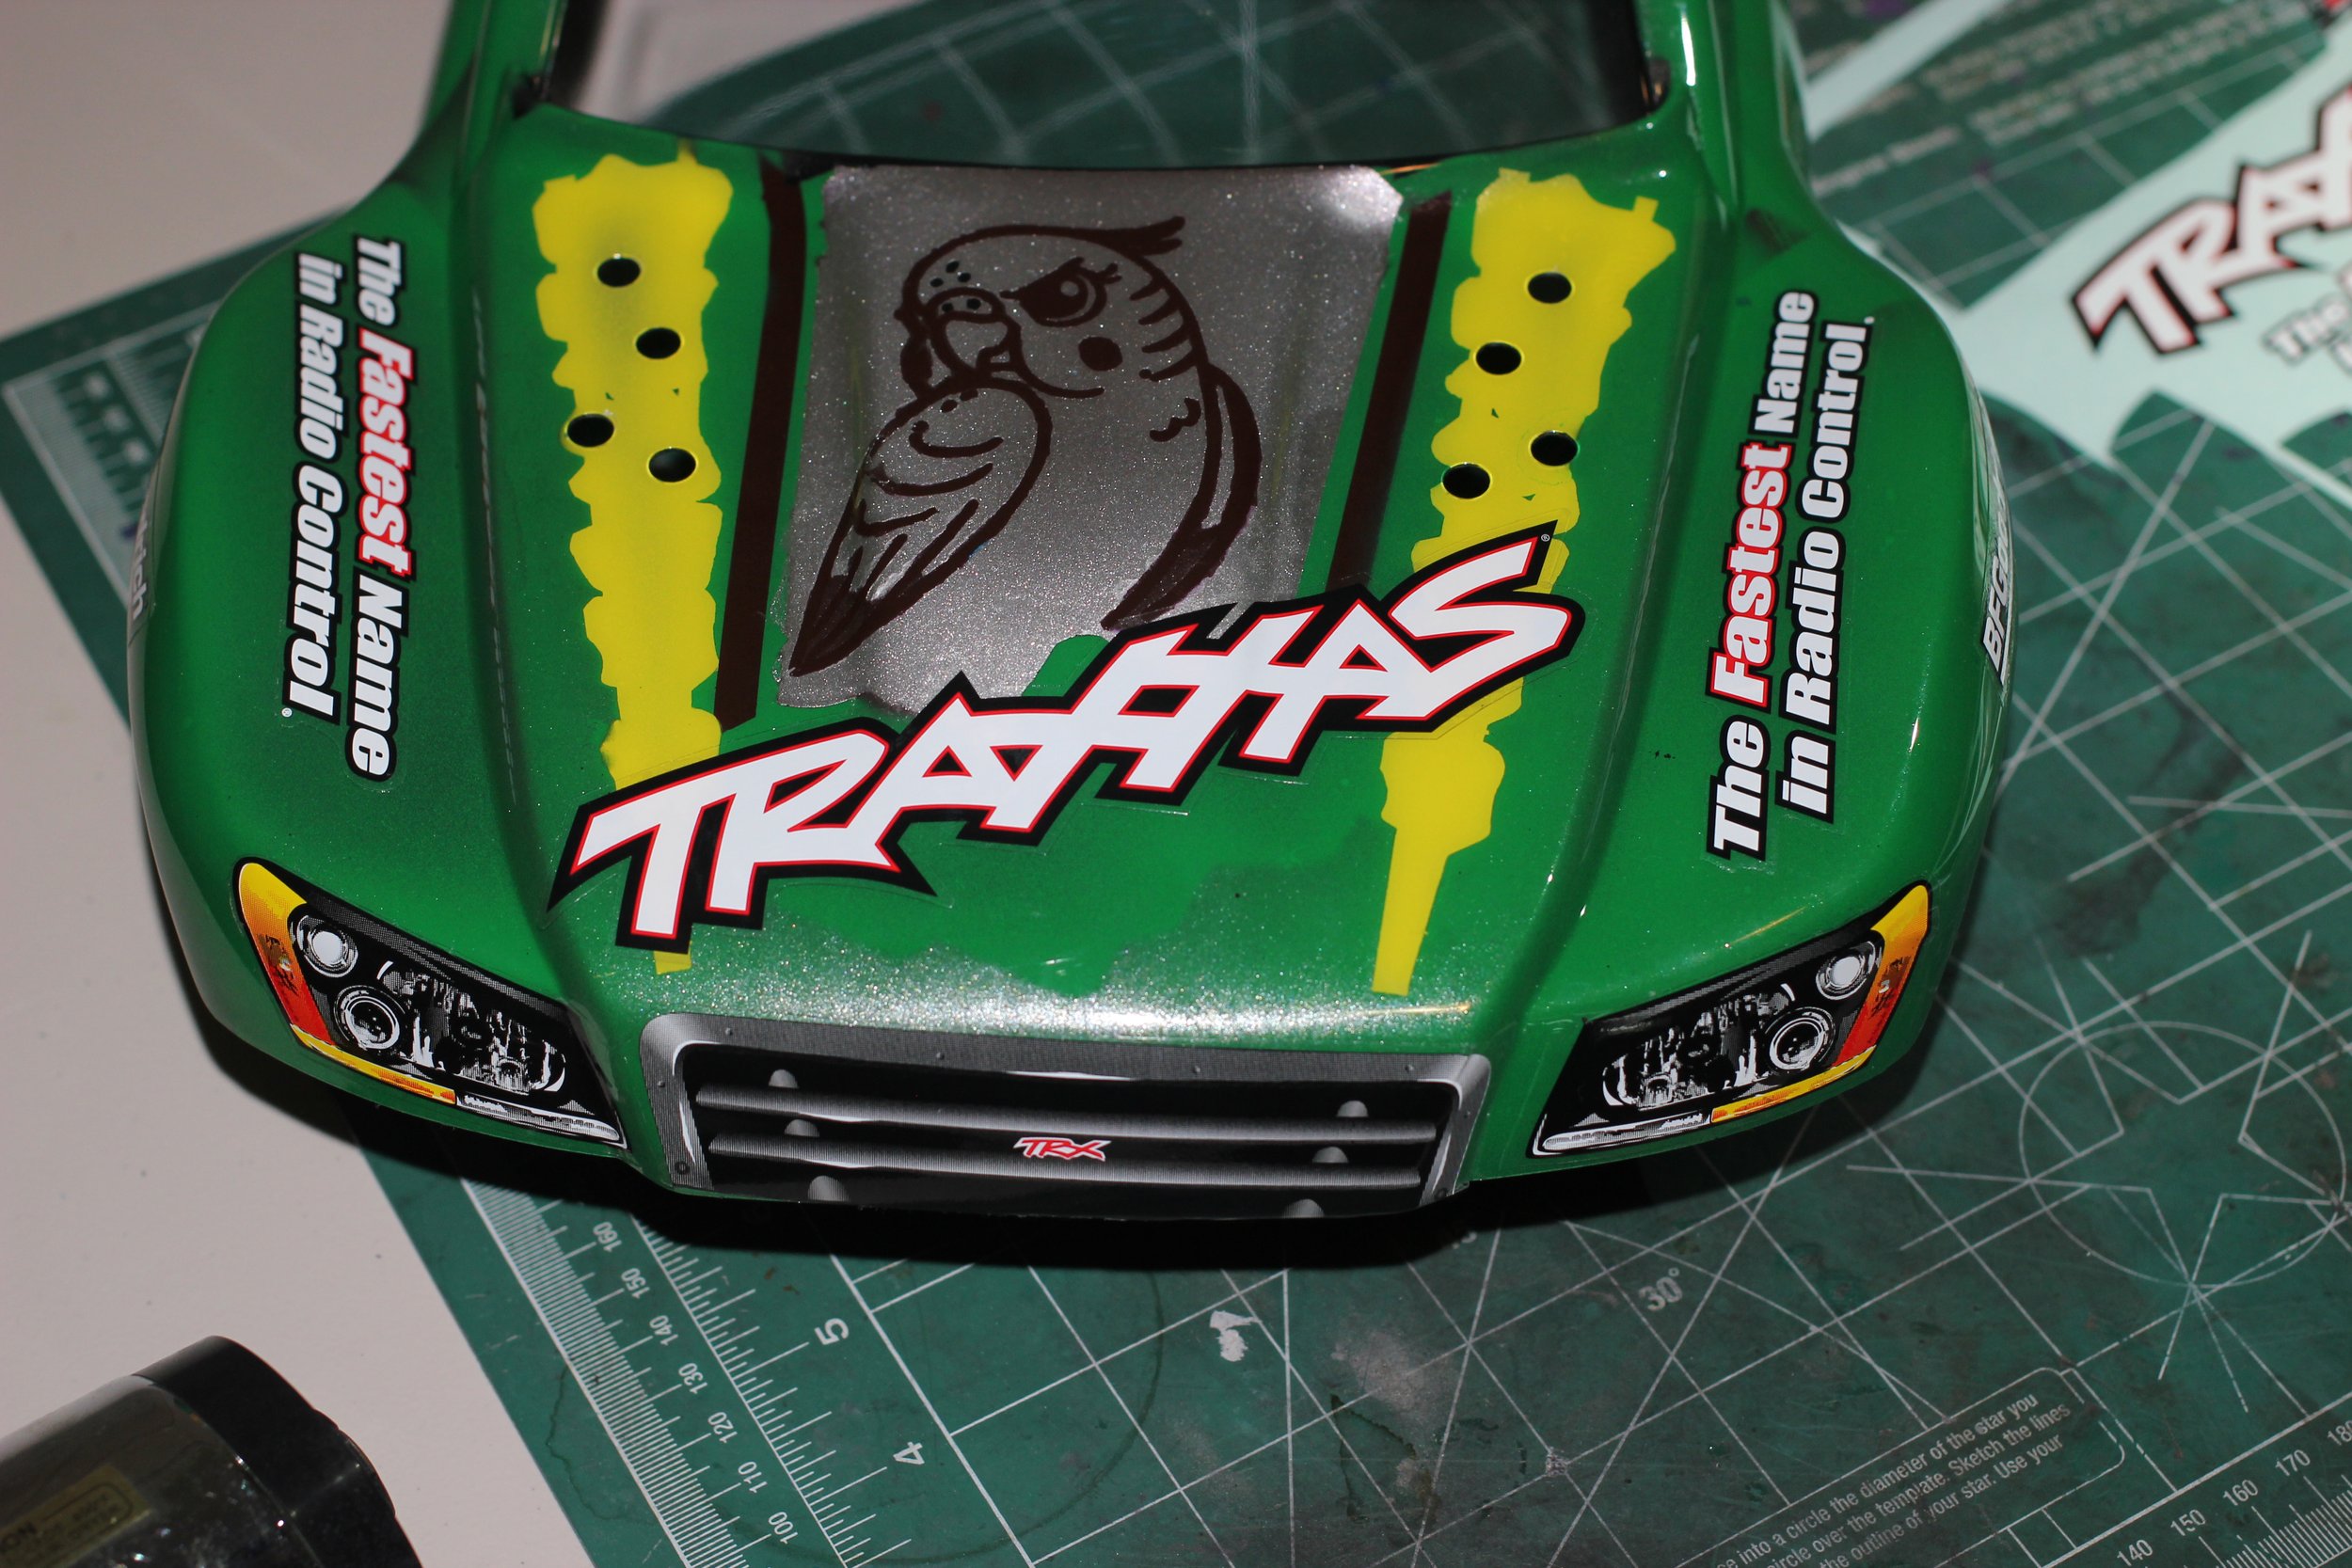
The body that is done for a basher is starting to come together. It is not going to win a beauty contest, but this is not painted to a shelf queen, but to look purty in the light. It should pop and look pretty good. Here is another angle of the body.
Up close you can see the green is not so purty on the hood, but this is also with a light shining on it and the camera focusing on the imperfection. Here are a couple of shots with some distance.
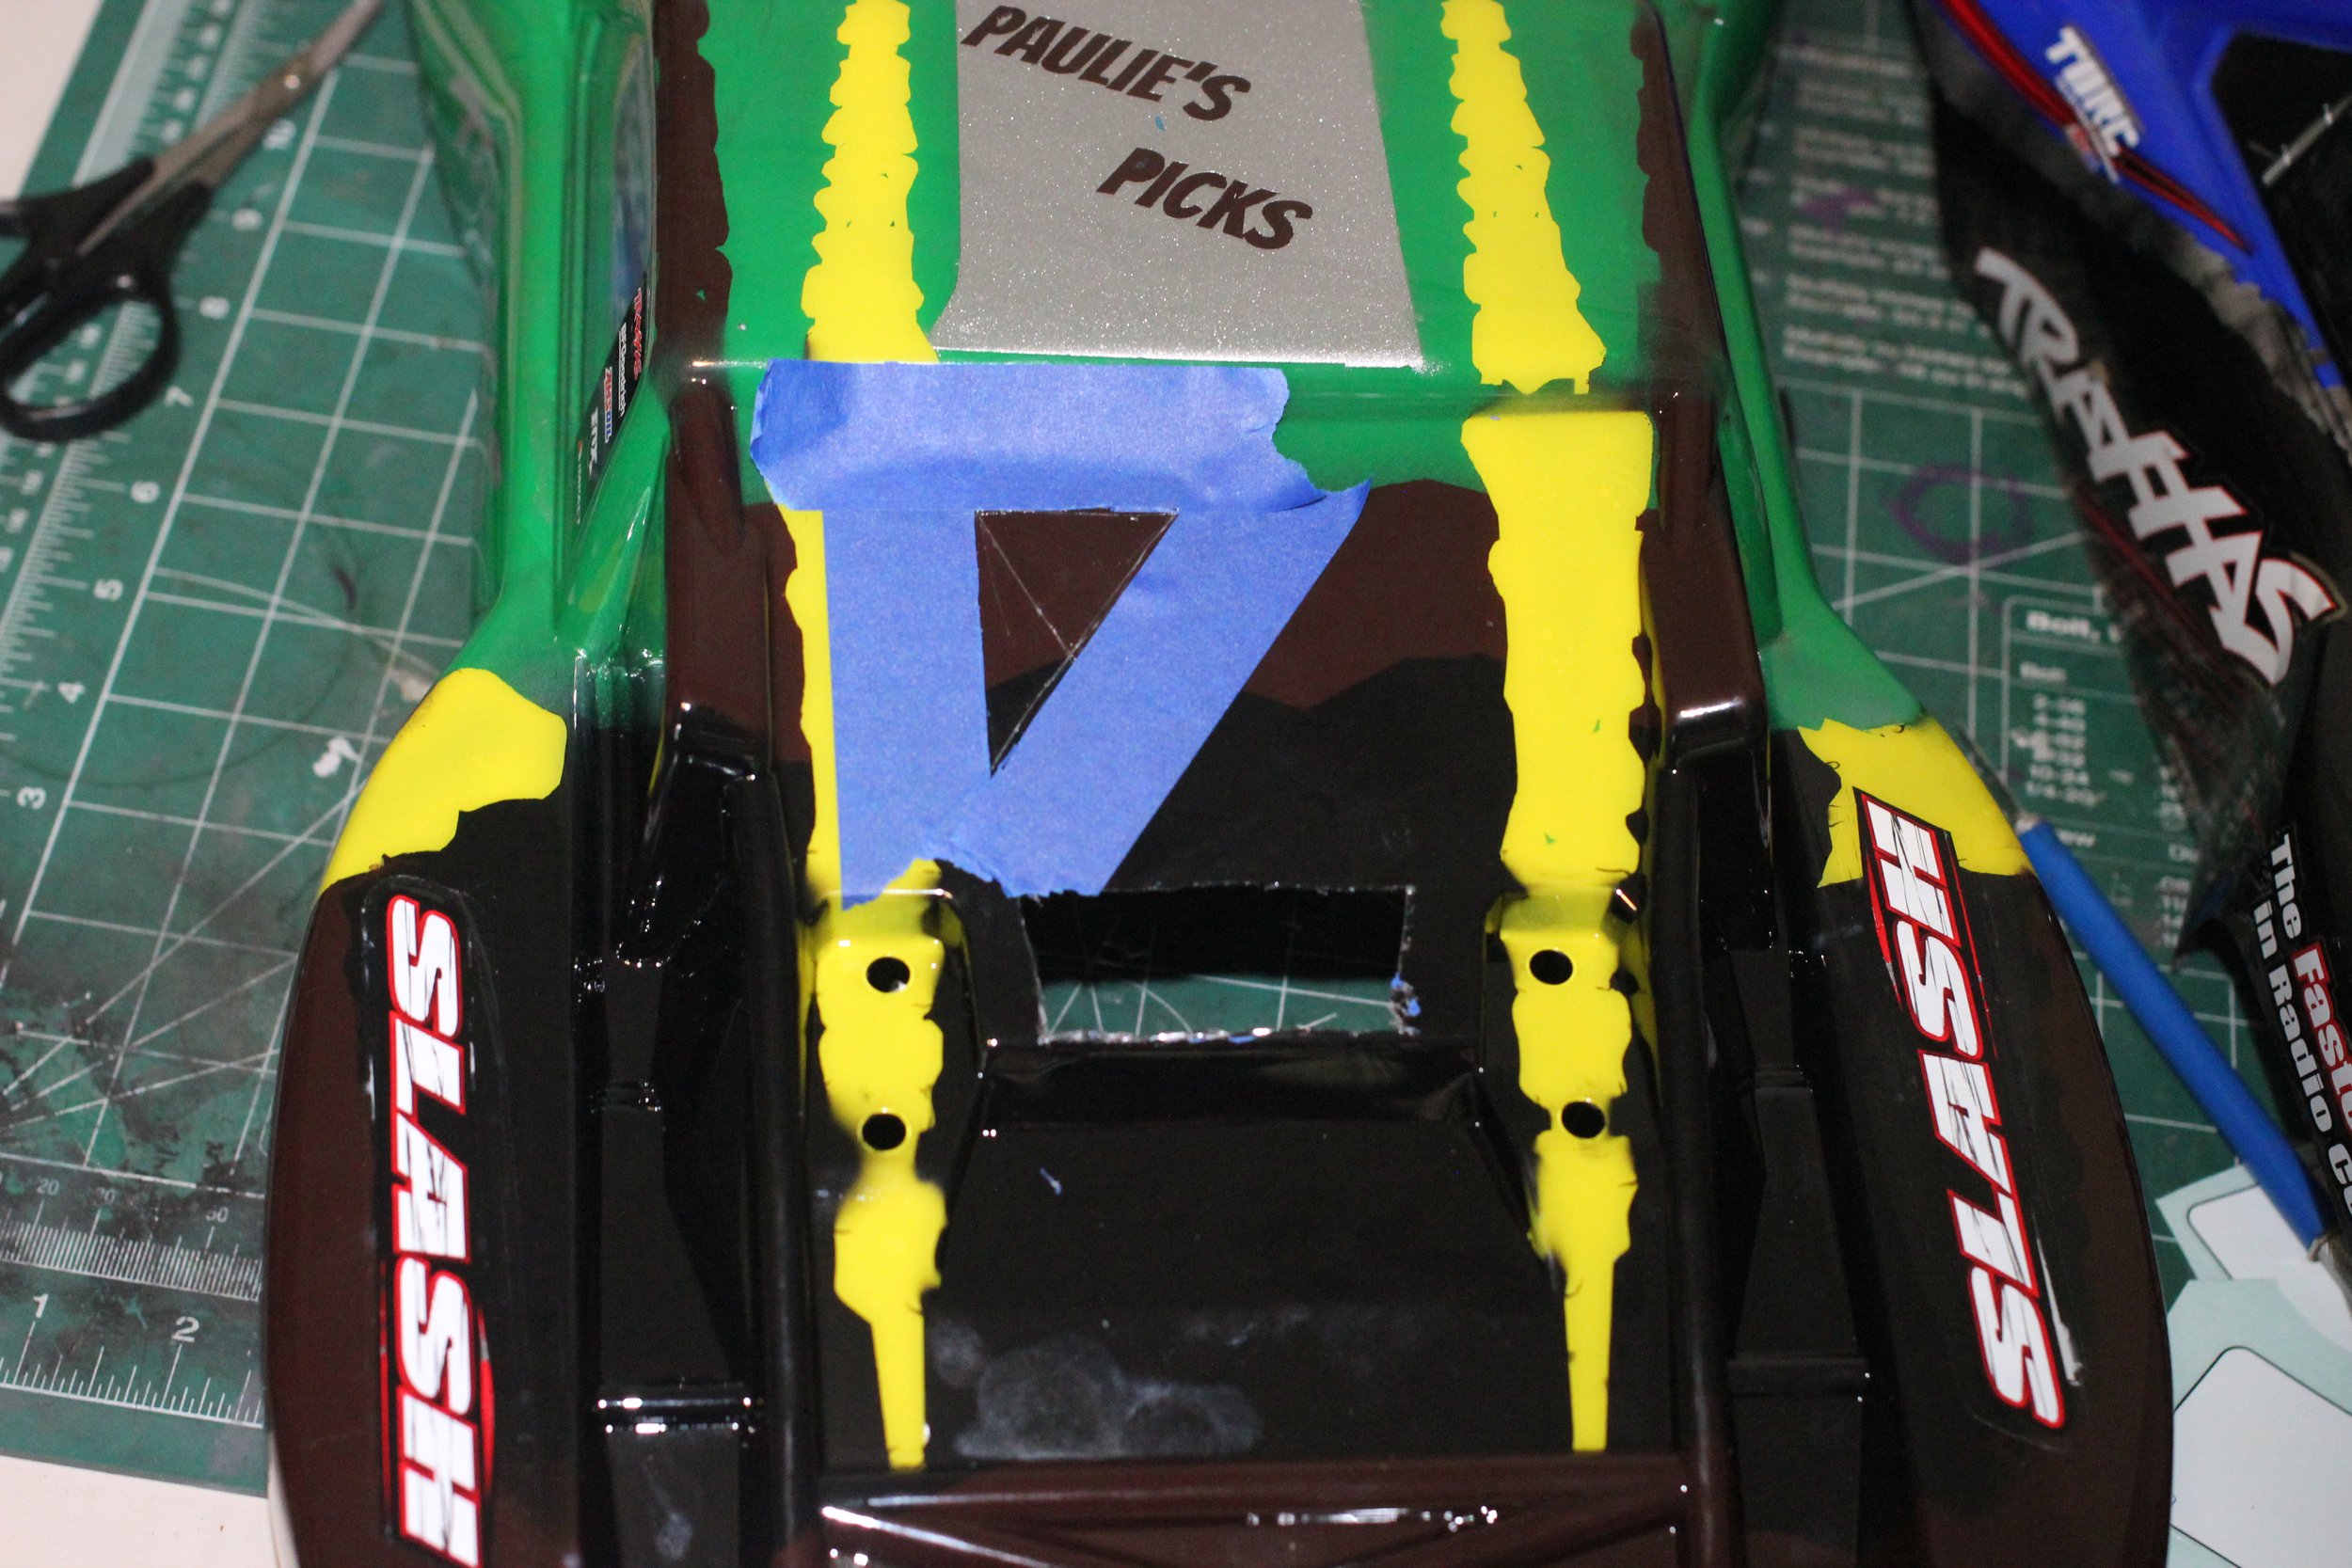
The body painting and the decaling (my patented word) are done. Now, we move to the hard part: cutting the body. This is where I quit because the Xacto knife was not doing a great job of cutting the necessary holes. I managed to get one cut in the windshield, I have one of the rear ones knocked out. I ordered a Tamiya cutting blade to see if it works, along with a body reamer. So, I have to wait for some parts to come, and I still have to repair the steering. I am getting close to deciding whether this nitro truck is a Paulie Pick or not.

I did manage to cut a hole with an X-acto knife and the lexan scissors. However, note that I am buying a saw to make this a little bit easier in the future. I cannot say if the saw is good or bad, but I should know when it arrives. It is supposed to arrive by this weekend.
That is all for this week folks. Next week steering repair, body mounting, and it should be running. I will also be able to test out the Tamiya saw to see if it really works. Oh, and I forgot one other item in this…..

Coffee…. all projects are better with coffee. I use a Breville coffee maker. (Yup, I get clams) I am on my second one because my first one lasted over 20 years! They are more maintenance, but the coffee tastes really good! In all honesty, check for a USED one, as most people sell these because they don’t like the maintenance. Oh, and the card table is a table I got from Costco last January. I love the table, but I have not seen it back at Costco. I need to make a note to review it. The only brand name I can find on a quick look is Avisio. I don’t think that is the brand name, but it would be pretty epic if it were the name!
Well, any other tips you have to future readers? Remember to keep it clean and constructive. I’m not an expert by any means, but just trying to pass the time as I wait for better weather to get outside! In the meantime… do something FUN! If you like the content please buy me a cup of coffee! I promise to put the money back in the blog. Seriously, go do something fun!
Until we meet again, may the Lord’s blessing and peace be upon you!